FREE DINNER EBOOK!
Get your copy!
Cookie Policy
GDPR Policy
Disclaimer
Terms Of Use
Visit my other site:
Fun Cookie Recipes
Home
Dinner
Desserts
Drinks
Appetizers
Contact
About
Privacy Policy
Home
Dinner
Desserts
Drinks
Appetizers
Contact
About
Privacy Policy
Cookie Policy
GDPR Policy
Disclaimer
Terms Of Use
Visit my other site:
Fun Cookie Recipes
HOME / CATEGORIES /
Latest
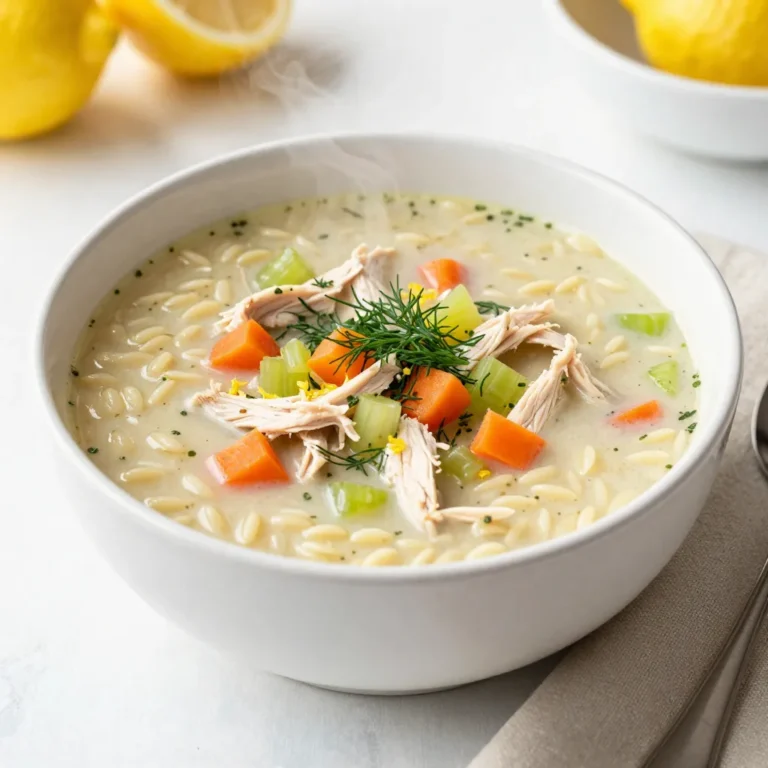
Greek Lemon Chicken Soup Comforting and Hearty Meal
BBQ Ranch Chicken Quesadillas Flavorful Weeknight Meal
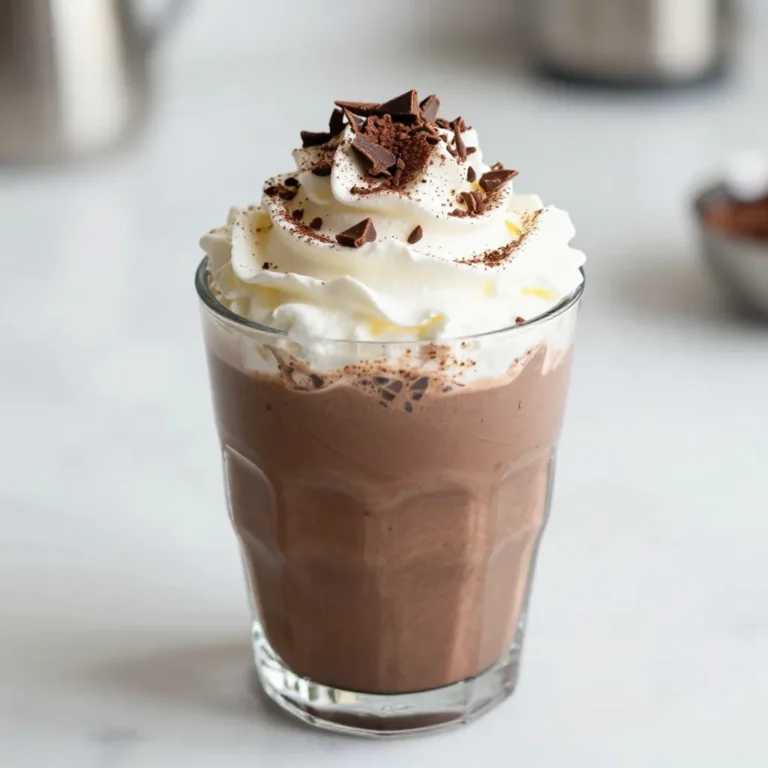
Frozen Hot Chocolate Delightfully Sweet and Creamy Treat
Buttery Garlic Naan Easy and Flavorful Recipe
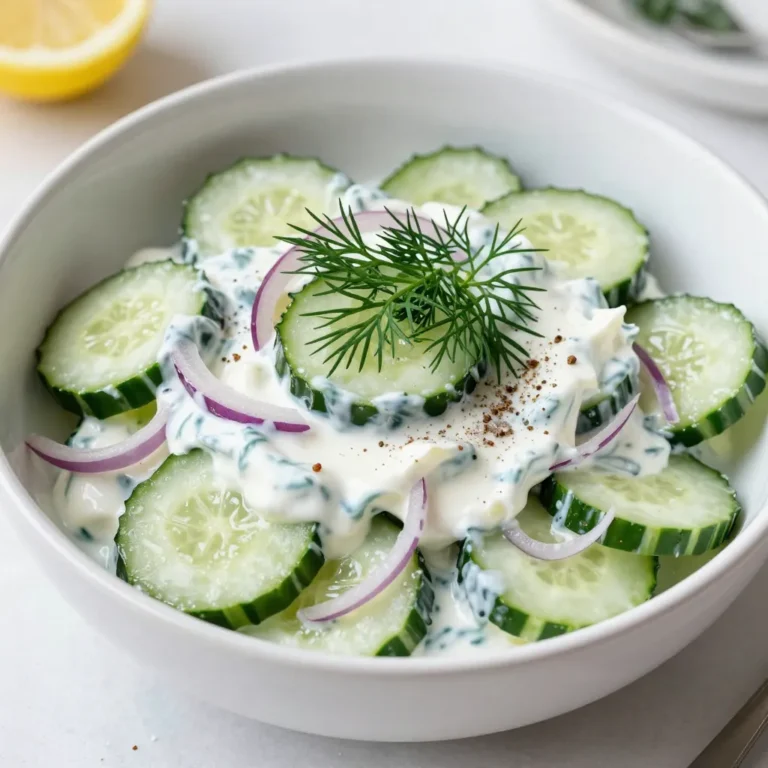
Creamy Cucumber Dill Salad Refreshing and Easy Recipe
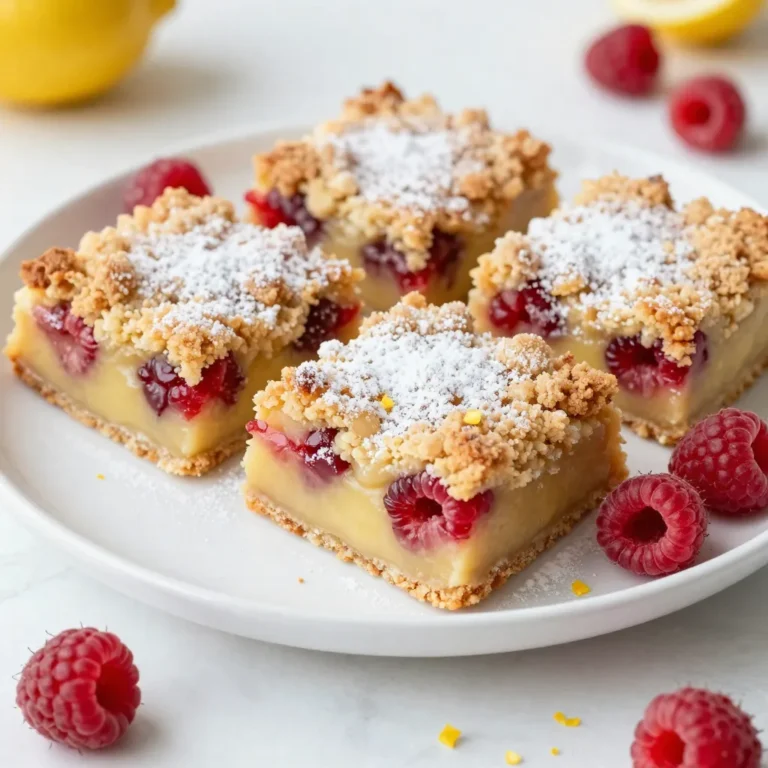
Lemon Raspberry Crumb Bars Irresistible Dessert Treat
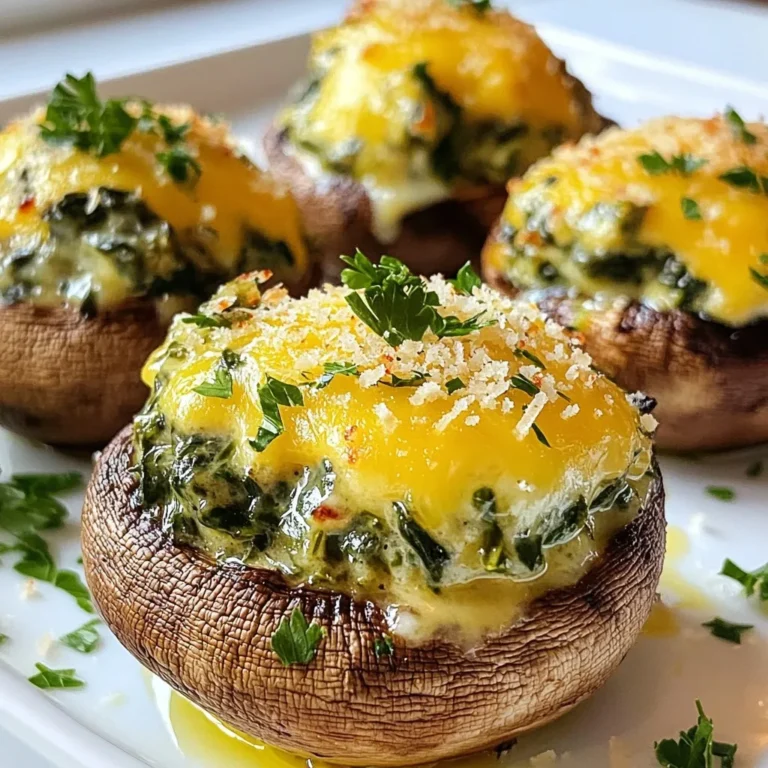
Cheesy Spinach Stuffed Mushrooms Delicious and Easy Dish
Cajun Turkey Sausage Jambalaya Easy and Tasty Recipe
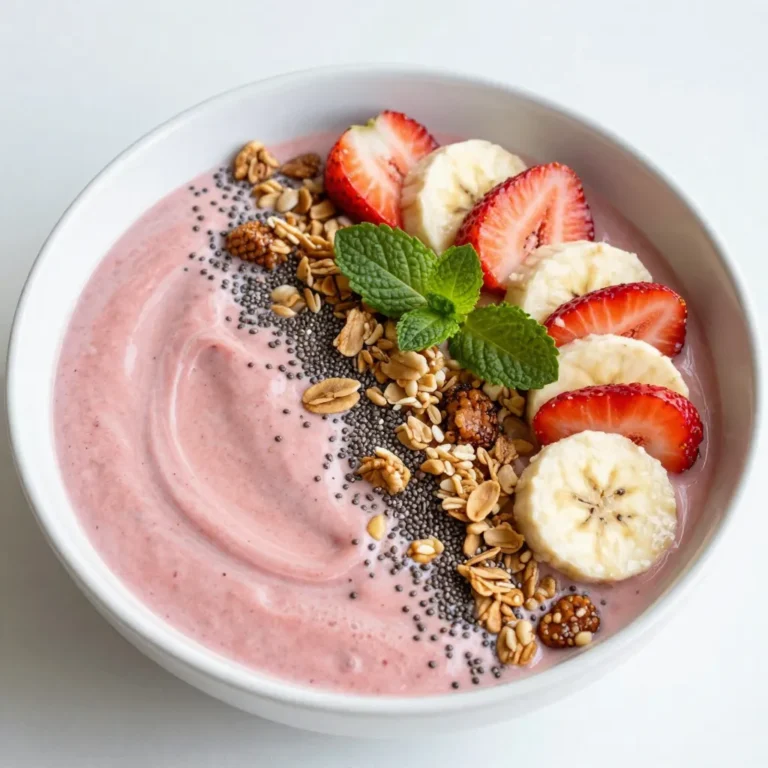
Strawberry Banana Smoothie Bowl Refreshing and Creamy
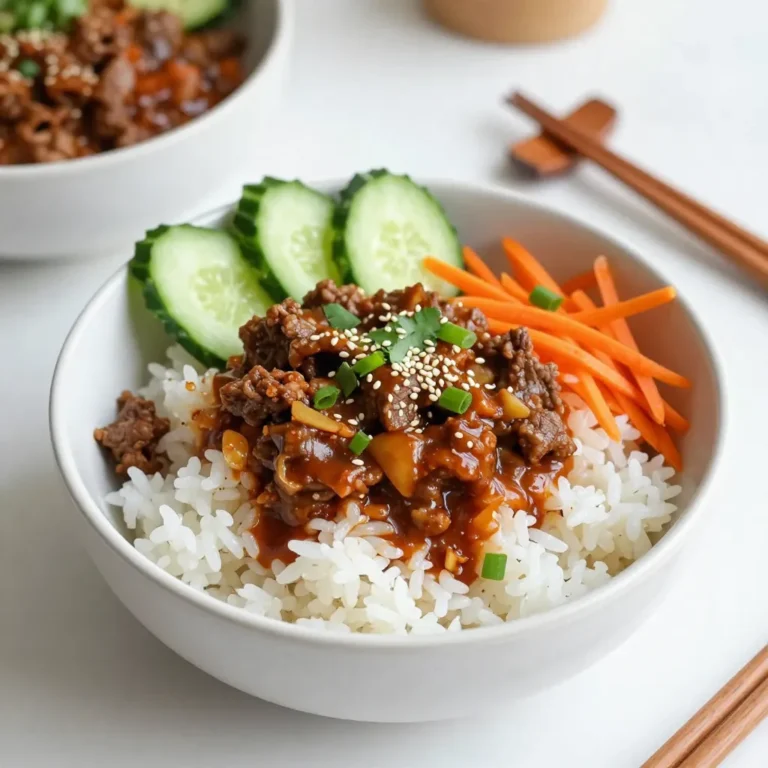
Spicy Korean Beef Bowls Flavorful and Simple Meal
1
2
…
86
NEXT