FREE DINNER EBOOK!
Get your copy!
Cookie Policy
GDPR Policy
Disclaimer
Terms Of Use
Visit my other site:
Fun Cookie Recipes
Home
Dinner
Desserts
Drinks
Appetizers
Contact
About
Privacy Policy
Home
Dinner
Desserts
Drinks
Appetizers
Contact
About
Privacy Policy
Cookie Policy
GDPR Policy
Disclaimer
Terms Of Use
Visit my other site:
Fun Cookie Recipes
HOME / CATEGORIES /
Latest
Savory Pumpkin Cream Cheese Danishes Easy Delight
Teriyaki Chicken Lettuce Wraps Flavorful and Simple Meal
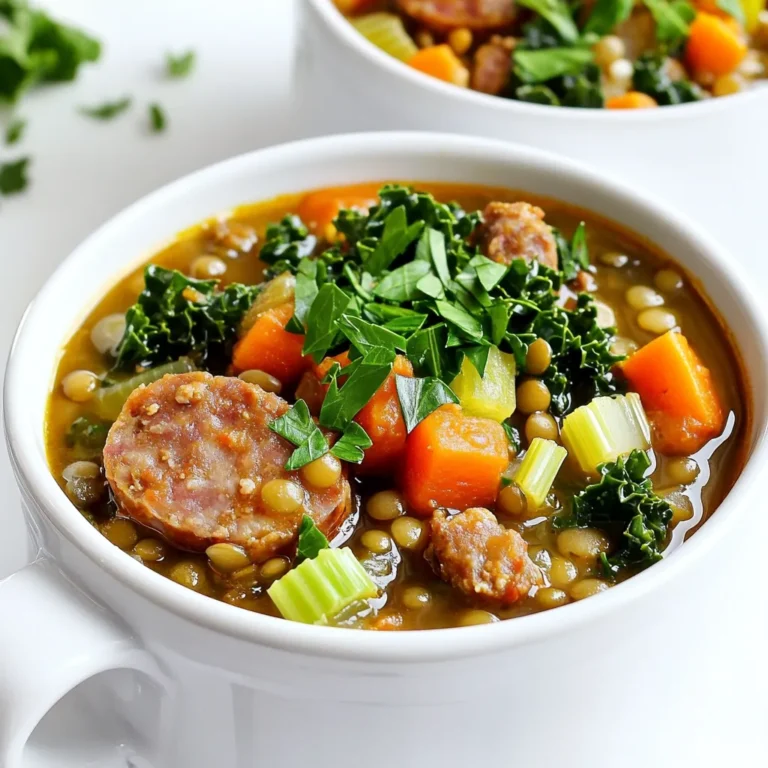
Rustic Sausage Lentil Stew Hearty and Comforting Meal
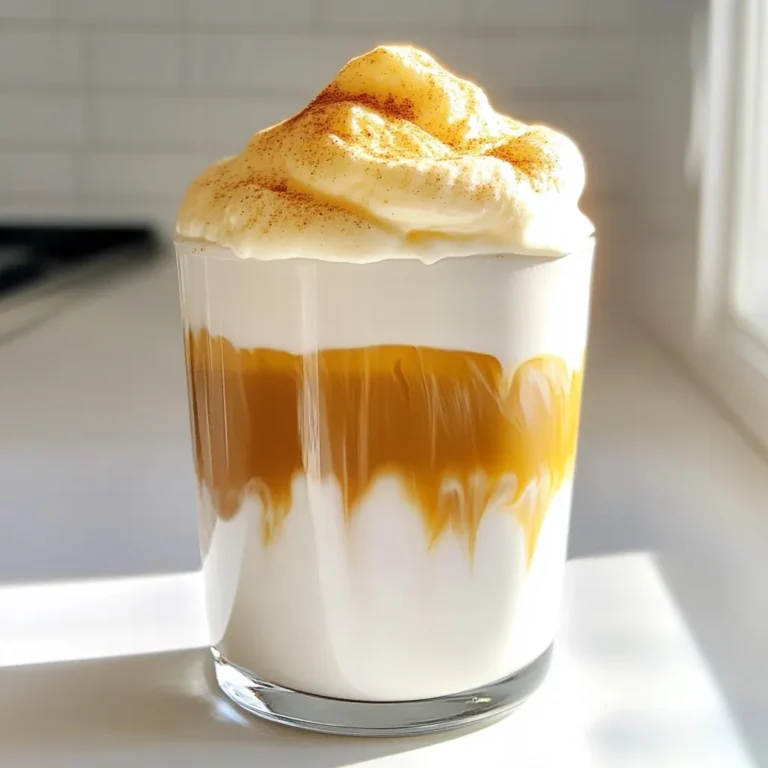
Pumpkin Cream Cold Foam Latte Creamy Delight Recipe
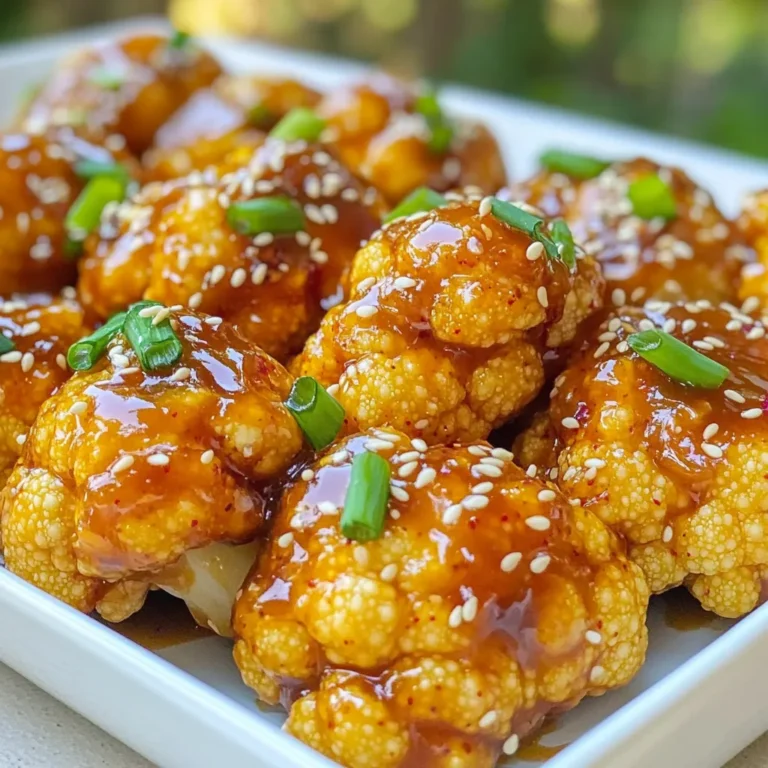
Air Fryer Sweet Chili Cauliflower Flavorful Delight
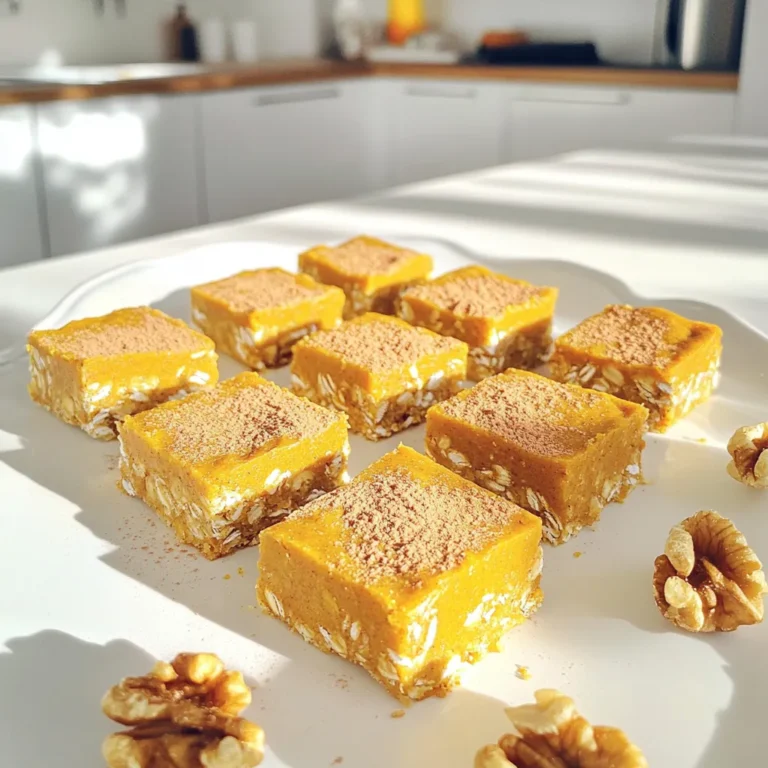
No-Bake Pumpkin Spice Protein Bars Easy and Healthy Treat
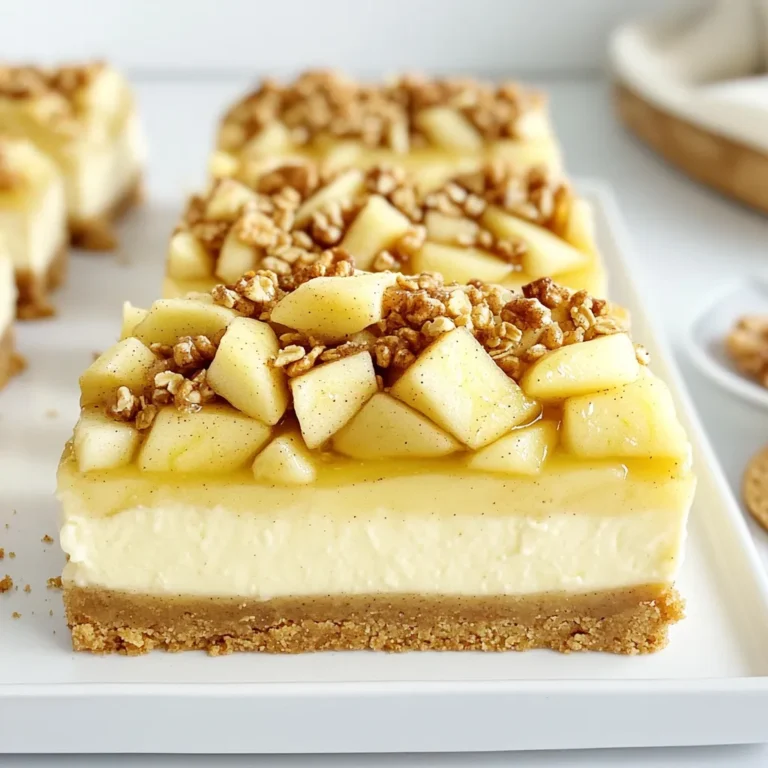
Apple Crisp Cheesecake Bars Delightful and Easy Recipe
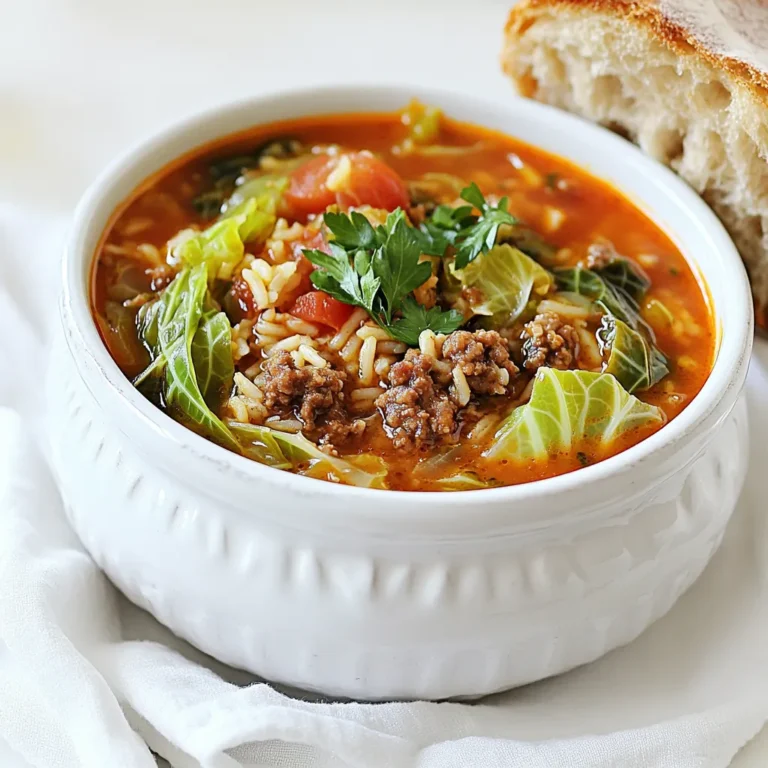
Slow Cooker Stuffed Cabbage Soup Hearty Comfort Dish
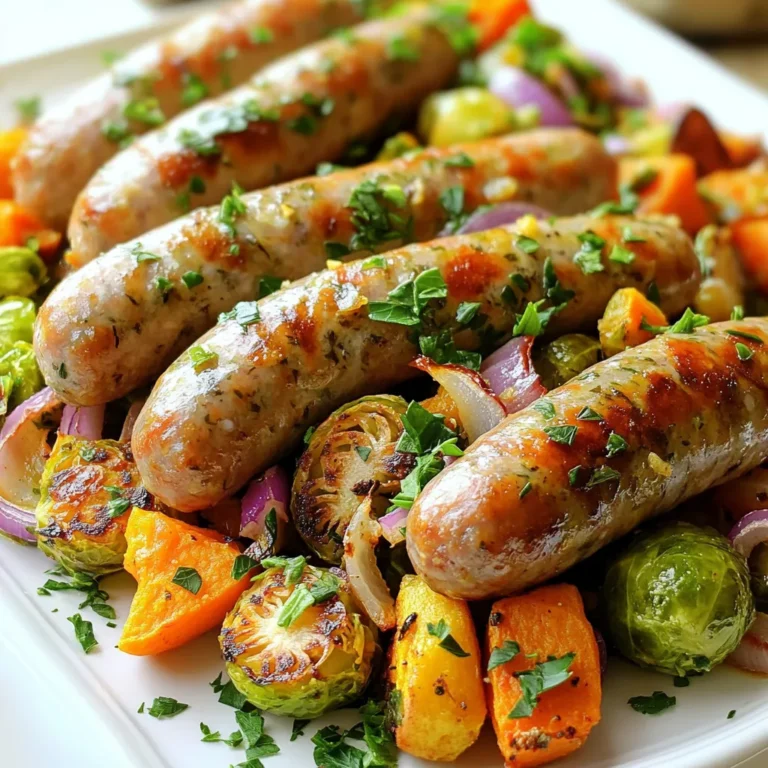
Sheet Pan Roasted Sausage Fall Veggies Delight
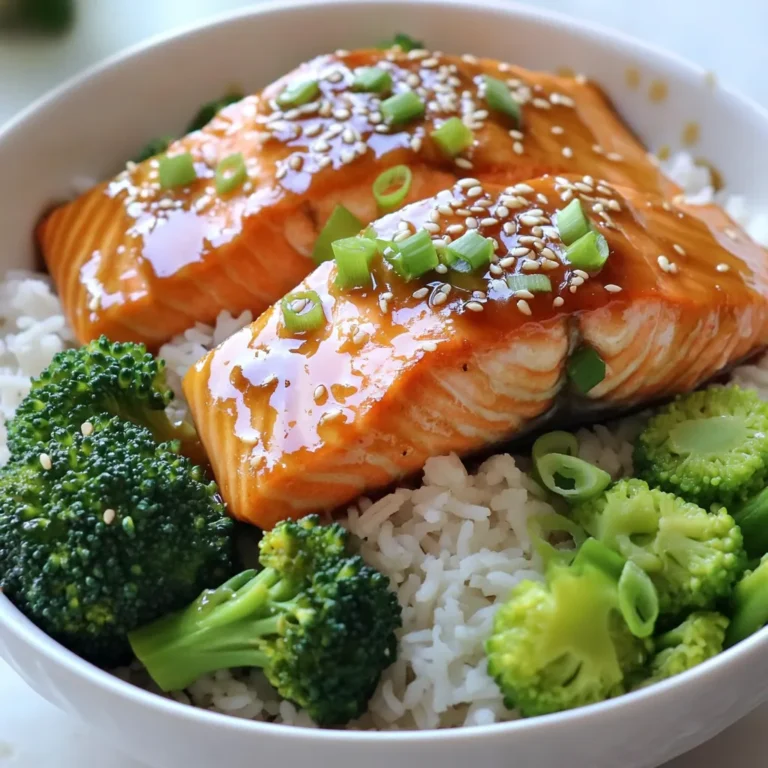
Honey Garlic Salmon Rice Bowls Delicious and Simple Meal
PREV
1
…
9
10
11
…
86
NEXT