FREE DINNER EBOOK!
Get your copy!
Cookie Policy
GDPR Policy
Disclaimer
Terms Of Use
Visit my other site:
Fun Cookie Recipes
Home
Dinner
Desserts
Drinks
Appetizers
Contact
About
Privacy Policy
Home
Dinner
Desserts
Drinks
Appetizers
Contact
About
Privacy Policy
Cookie Policy
GDPR Policy
Disclaimer
Terms Of Use
Visit my other site:
Fun Cookie Recipes
HOME / CATEGORIES /
Latest
Buffalo Chicken Stuffed Zucchini Boats Easy and Tasty
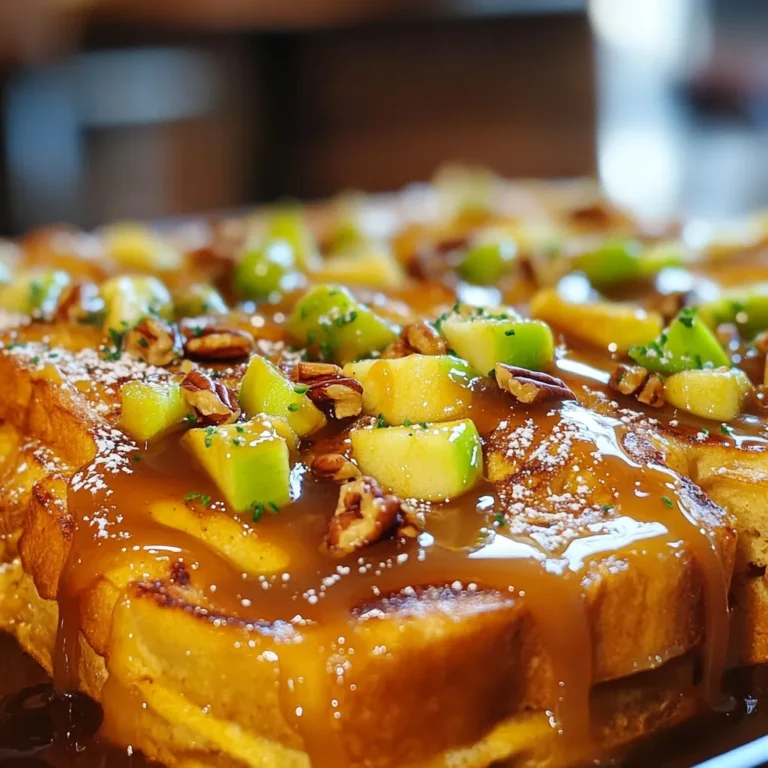
Caramel Apple French Toast Bake Tasty Breakfast Delight
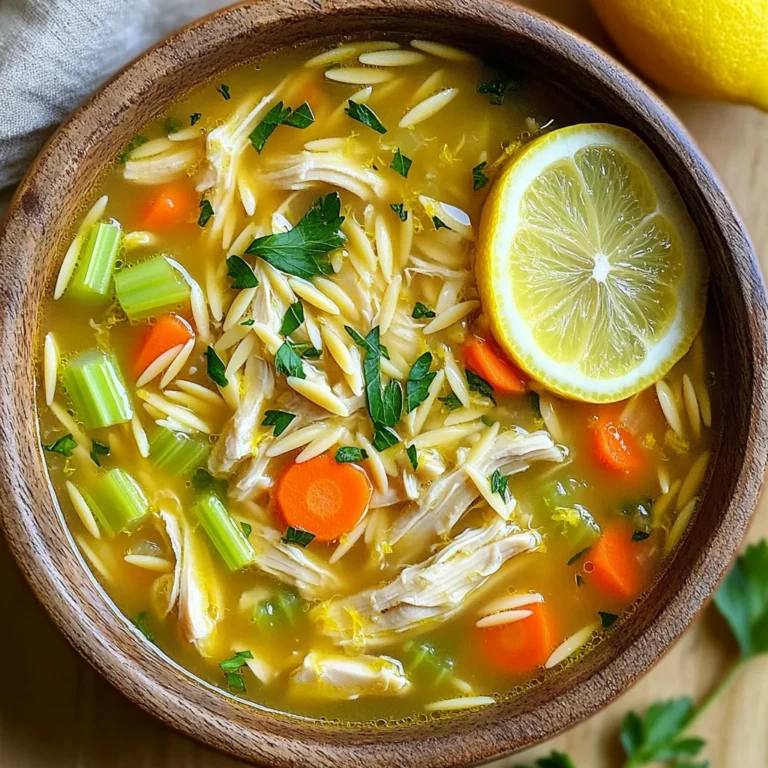
Greek Lemon Chicken Soup Flavorful and Nourishing Dish
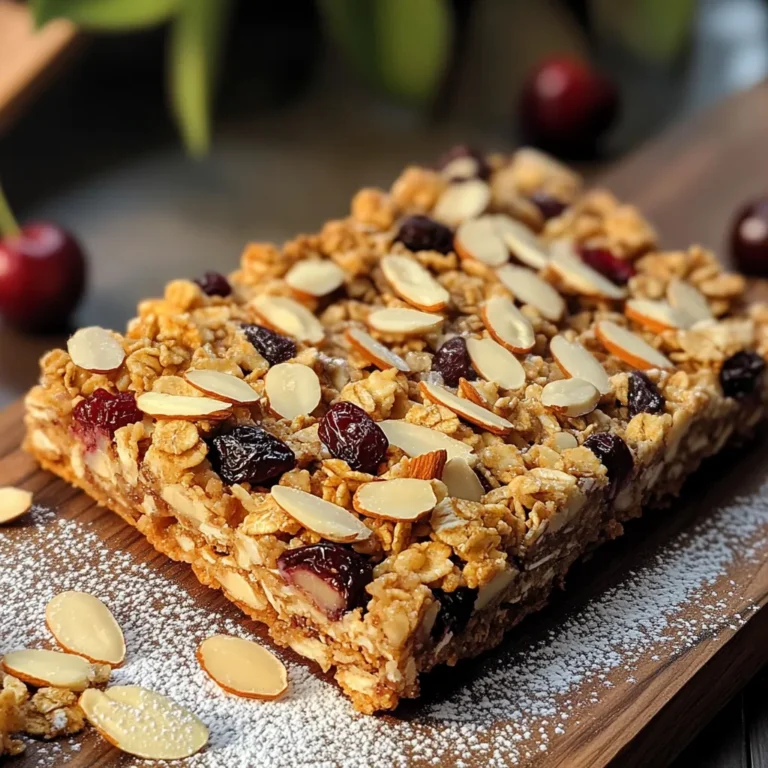
Cherry Almond Granola Bars Tasty and Healthy Snack
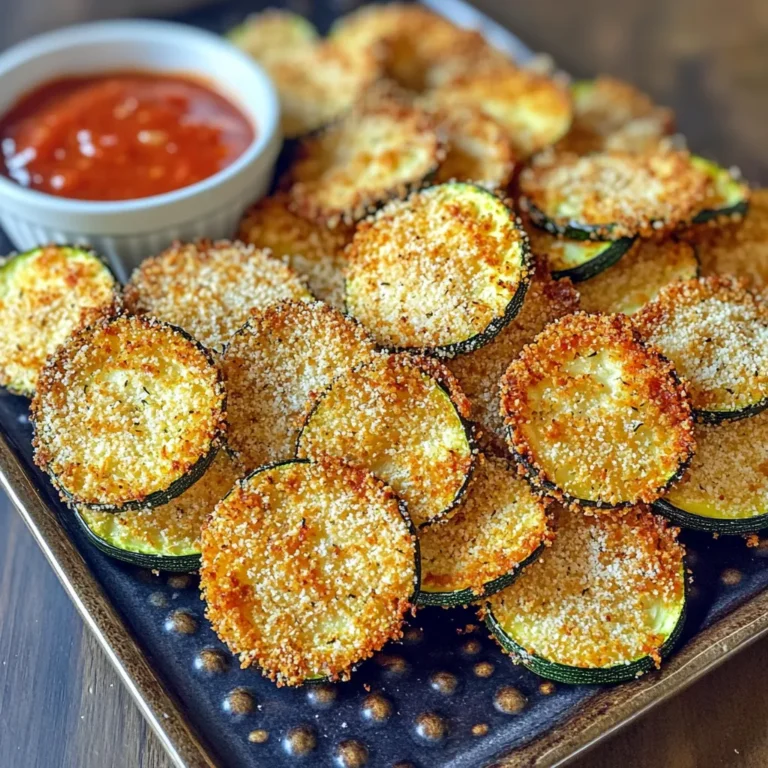
Air Fryer Zucchini Chips Crunchy and Tasty Snack
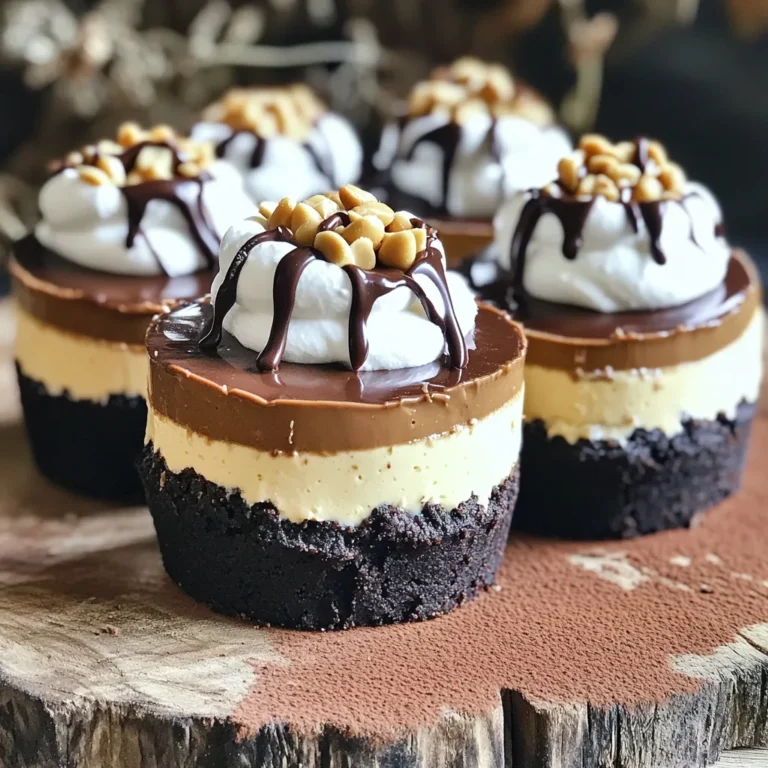
Decadent Chocolate Peanut Butter Cheesecake Cups
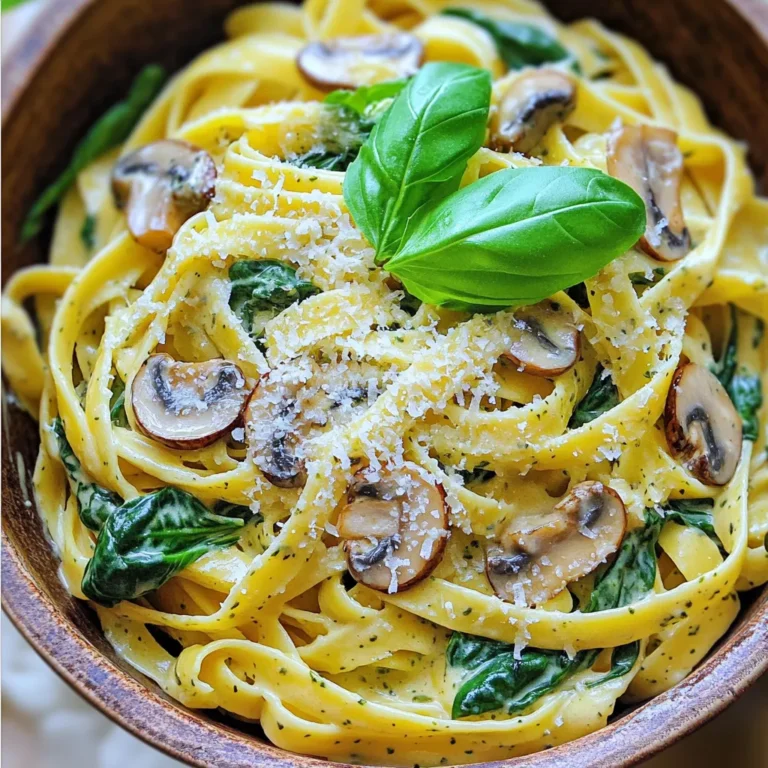
Creamy Spinach Mushroom Pasta Flavorful Weeknight Meal
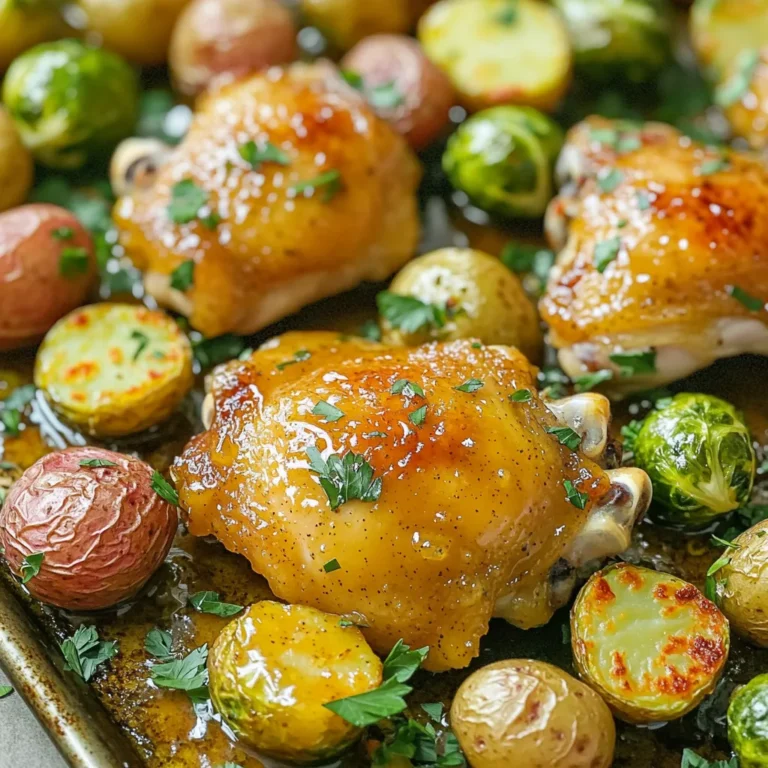
Sheet-Pan Honey Mustard Chicken Thighs Savory Delight
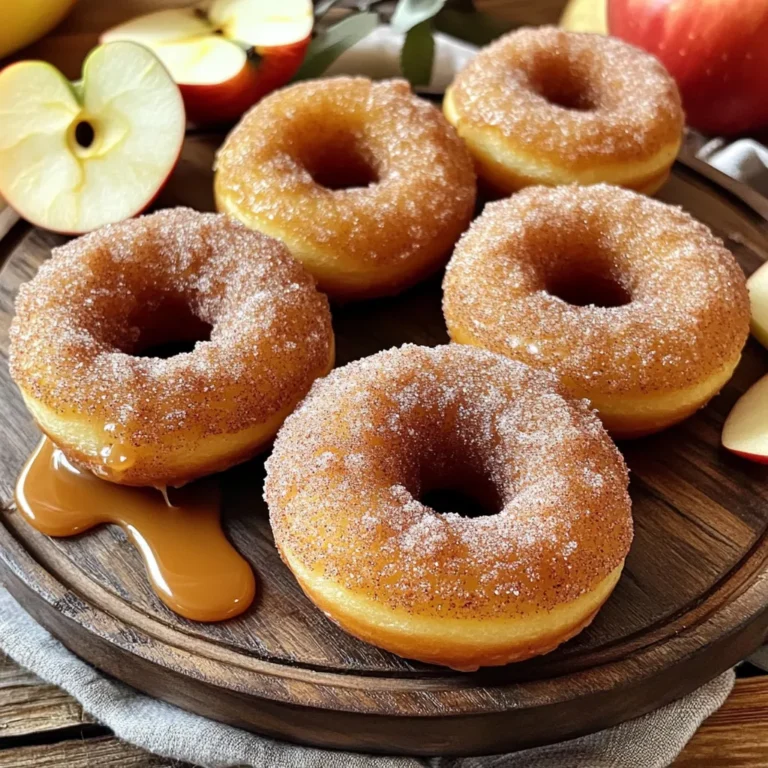
Apple Cider Donuts Delightful Fall Flavor Treat
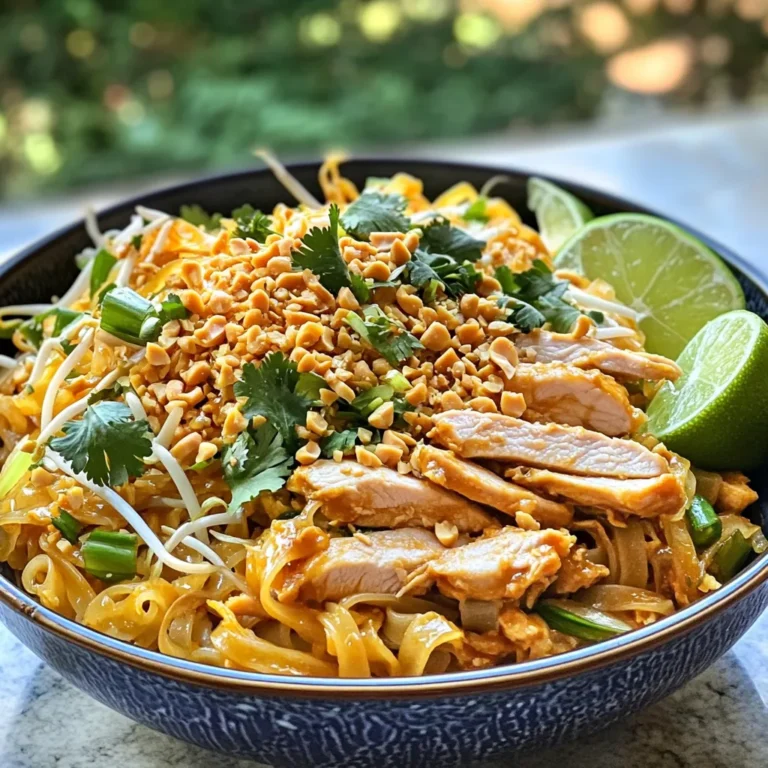
Savory Chicken Pad Thai Quick and Easy Recipe
PREV
1
…
10
11
12
…
65
NEXT