FREE DINNER EBOOK!
Get your copy!
Cookie Policy
GDPR Policy
Disclaimer
Terms Of Use
Visit my other site:
Fun Cookie Recipes
Home
Dinner
Desserts
Drinks
Appetizers
Contact
About
Privacy Policy
Home
Dinner
Desserts
Drinks
Appetizers
Contact
About
Privacy Policy
Cookie Policy
GDPR Policy
Disclaimer
Terms Of Use
Visit my other site:
Fun Cookie Recipes
HOME / CATEGORIES /
Latest
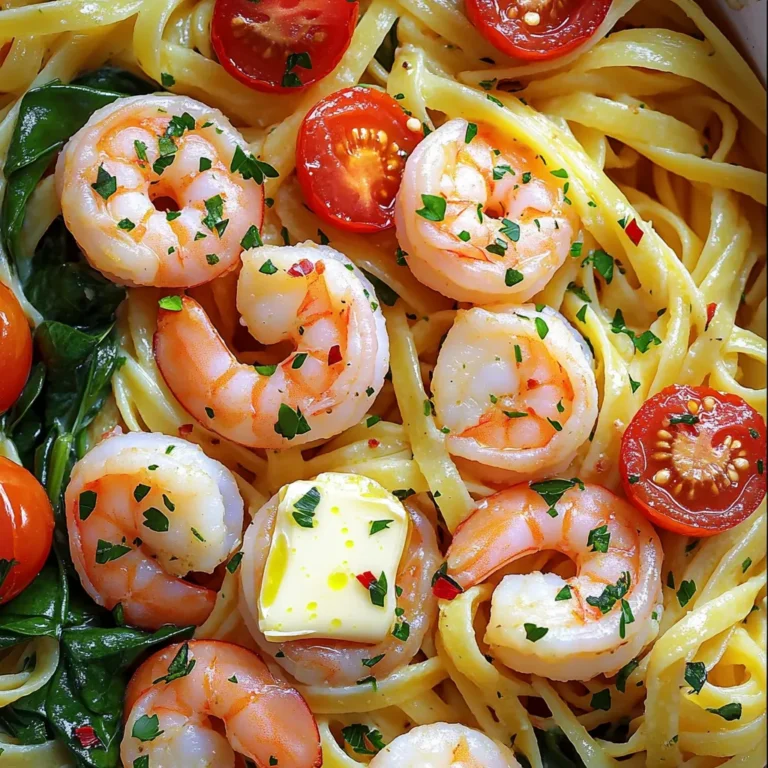
Garlic Butter Shrimp Linguine Simple and Fresh Meal
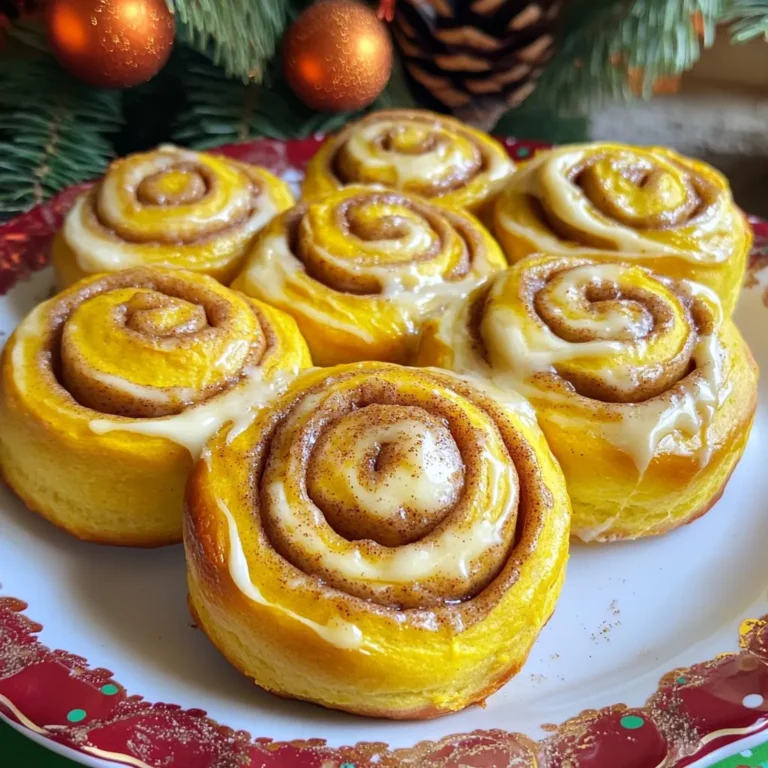
Pumpkin Cream Cheese Cinnamon Rolls Irresistible Treat
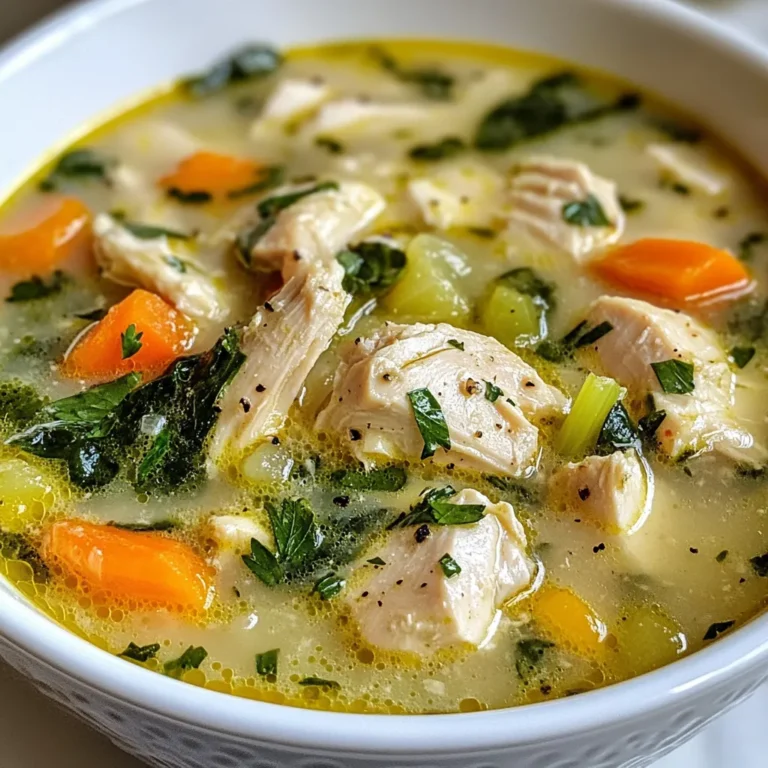
Marry Me Chicken Soup Hearty and Flavorful Bowl
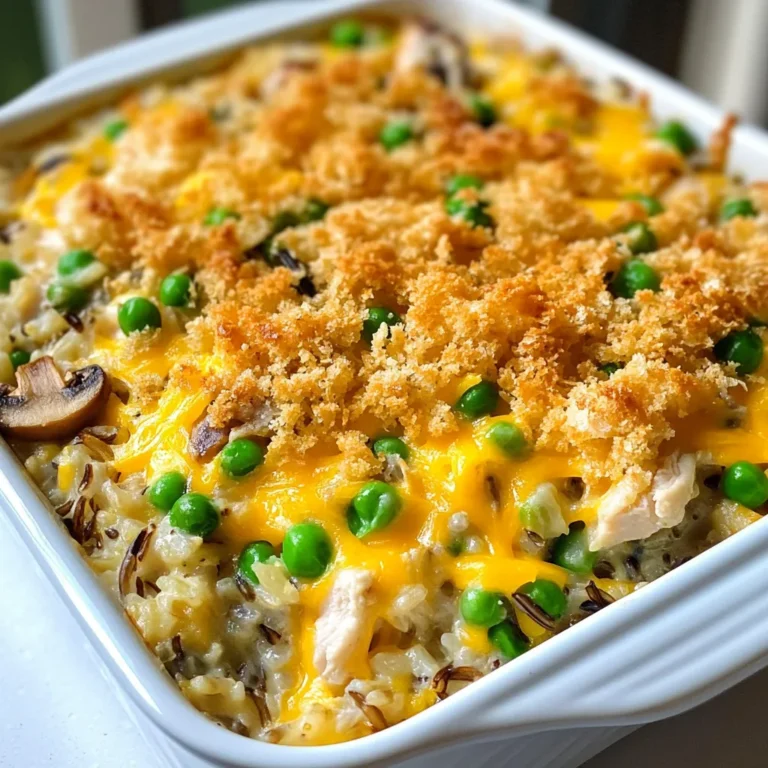
Chicken Wild Rice Casserole Flavorful Dinner Delight
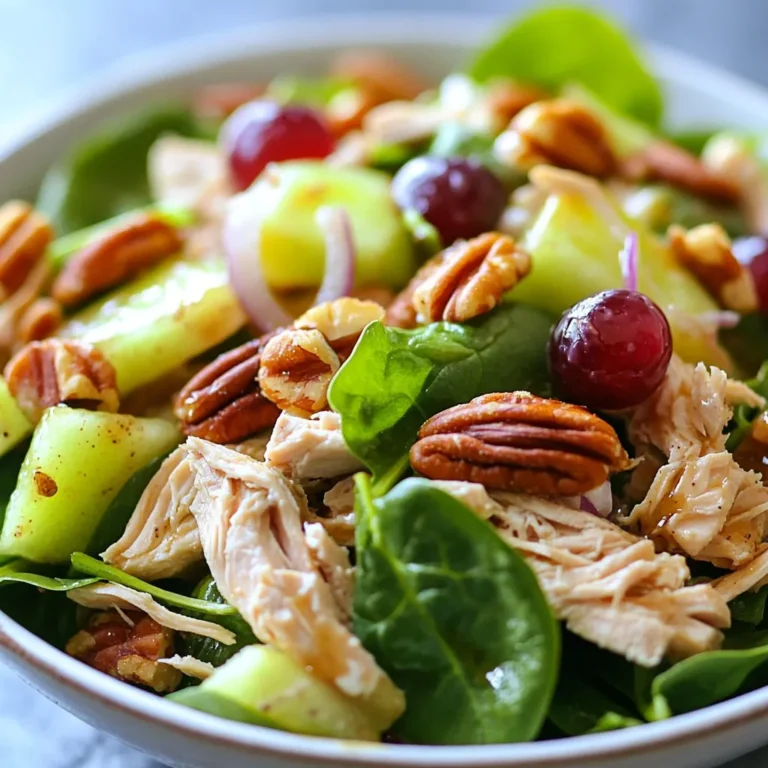
Savory Apple Pecan Chicken Salad Recipe for Fresh Flavor
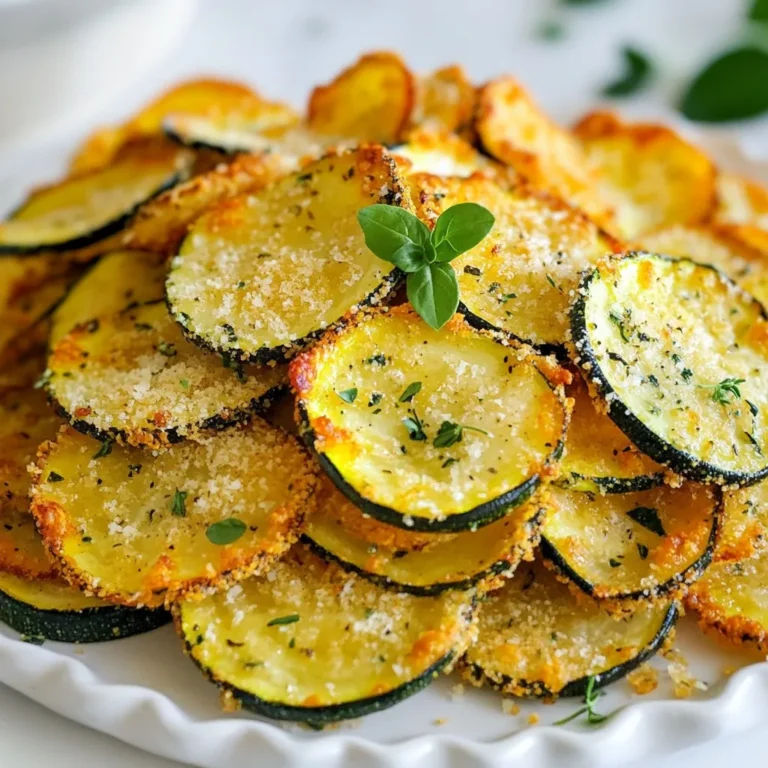
Garlic Parmesan Zucchini Chips Crunchy and Flavorful
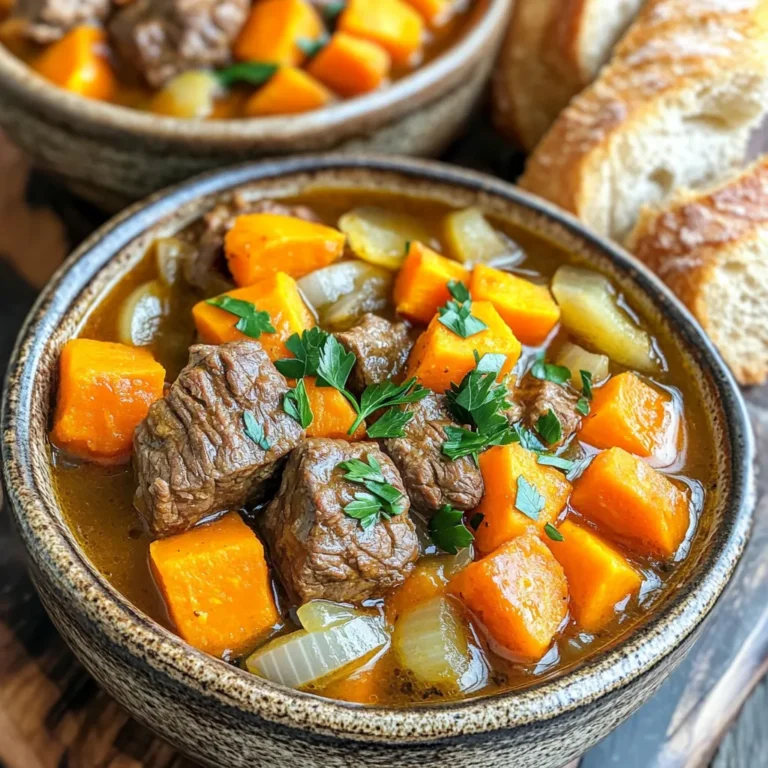
Satisfying Slow Cooker Beef & Sweet Potato Stew Recipe
No-Bake Pumpkin Cheesecake Bars Easy and Delicious Treat
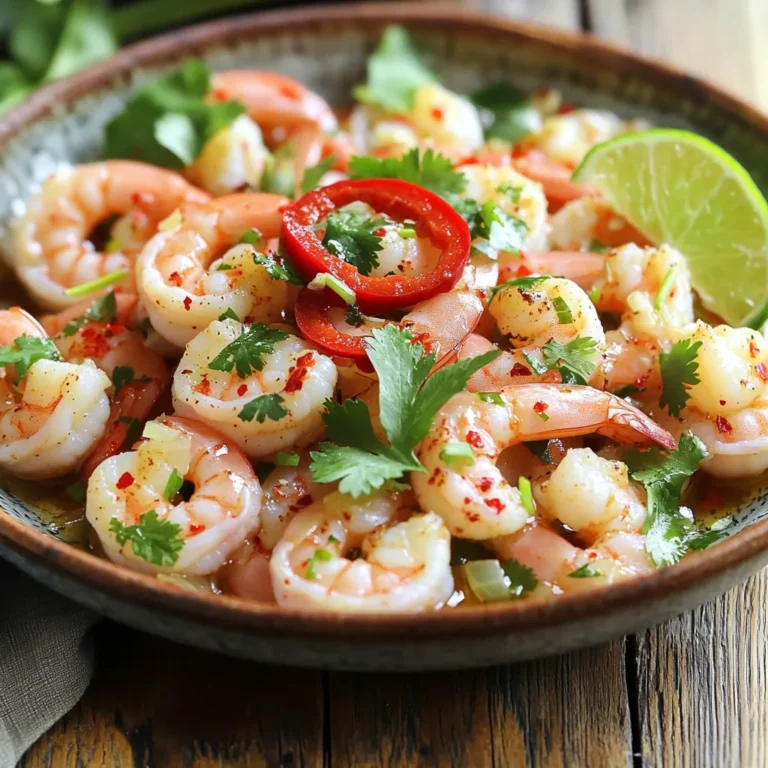
Minute Chili Garlic Shrimp Flavorful and Fast Dish
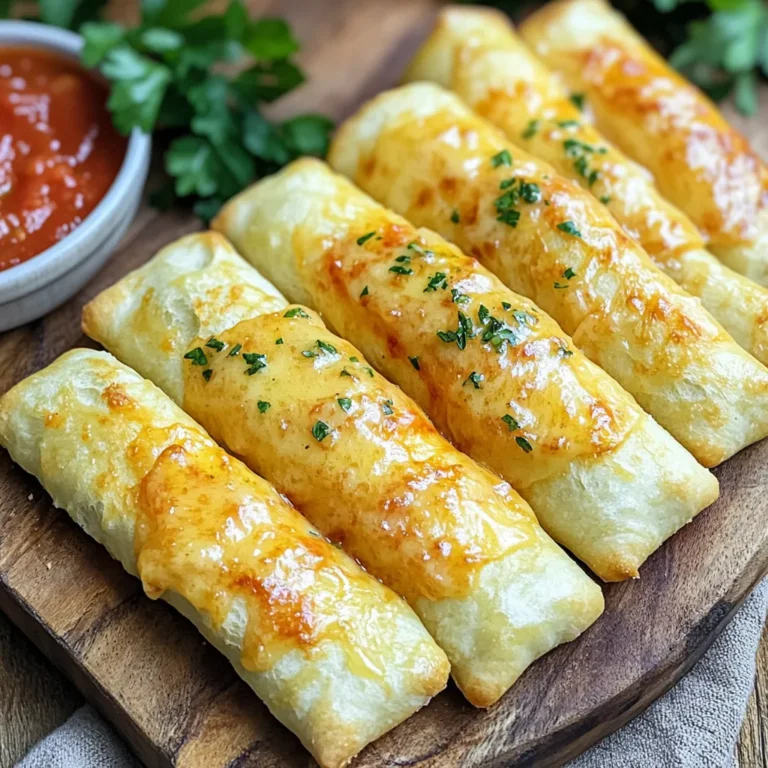
Air Fryer Garlic Breadsticks Quick and Tasty Recipe
PREV
1
…
11
12
13
…
65
NEXT