FREE DINNER EBOOK!
Get your copy!
Cookie Policy
GDPR Policy
Disclaimer
Terms Of Use
Visit my other site:
Fun Cookie Recipes
Home
Dinner
Desserts
Drinks
Appetizers
Contact
About
Privacy Policy
Home
Dinner
Desserts
Drinks
Appetizers
Contact
About
Privacy Policy
Cookie Policy
GDPR Policy
Disclaimer
Terms Of Use
Visit my other site:
Fun Cookie Recipes
HOME / CATEGORIES /
Latest
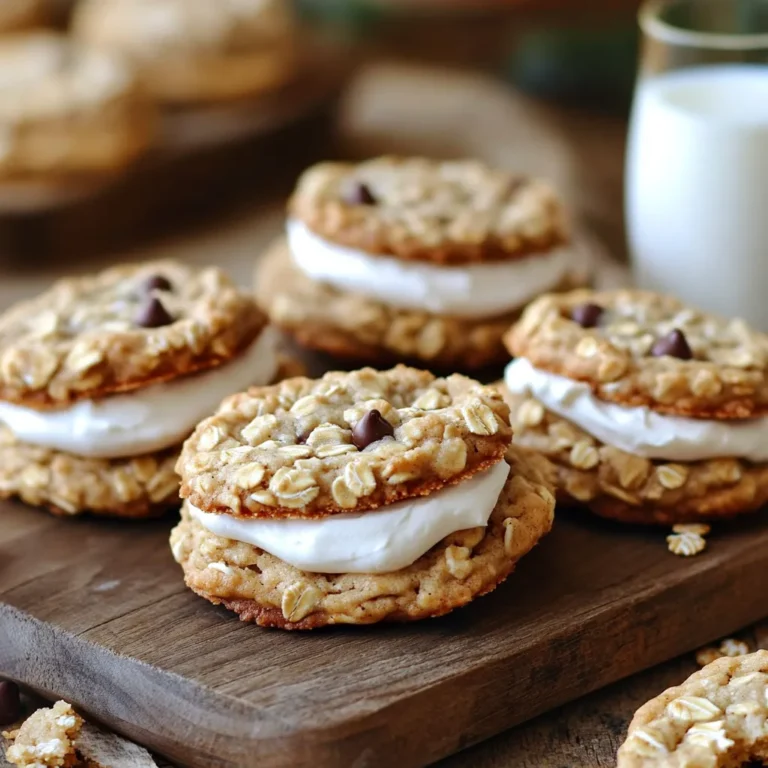
Oatmeal Creme Pies Easy Recipe for Homemade Treats
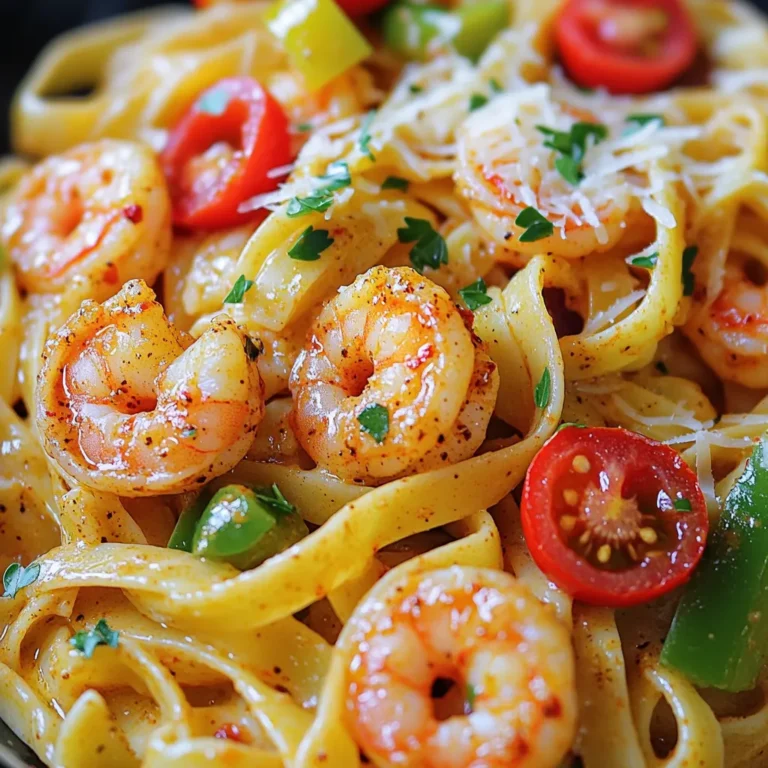
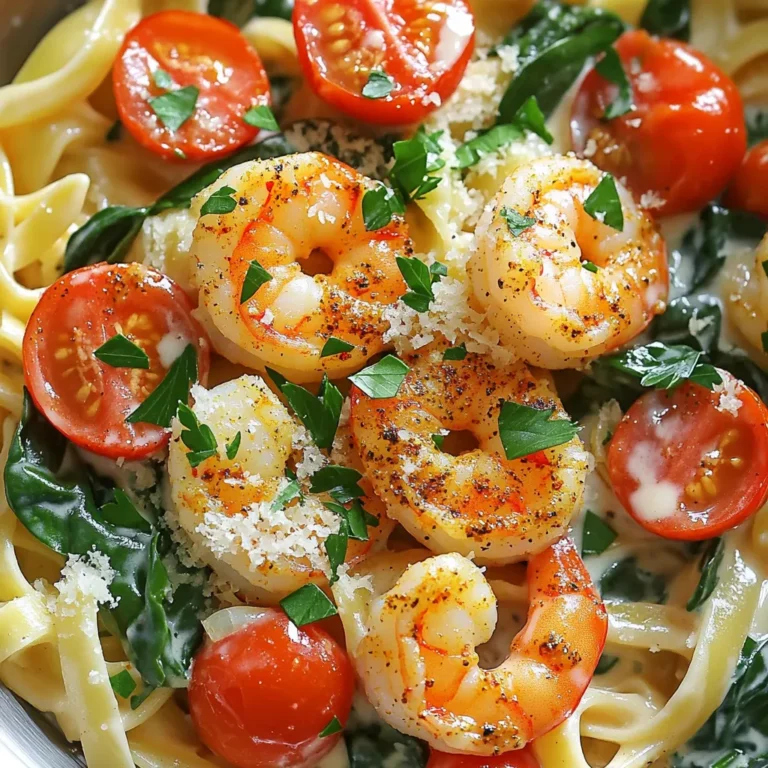
Spicy Cajun Shrimp Pasta Flavorful and Easy Recipe
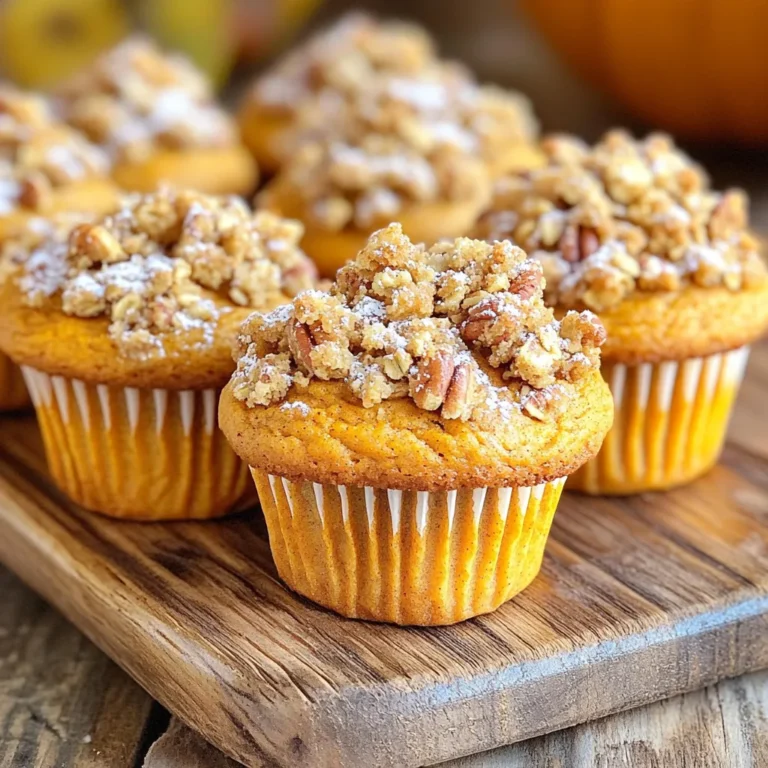
Pumpkin Streusel Coffee Cake Muffins Delightful Treat
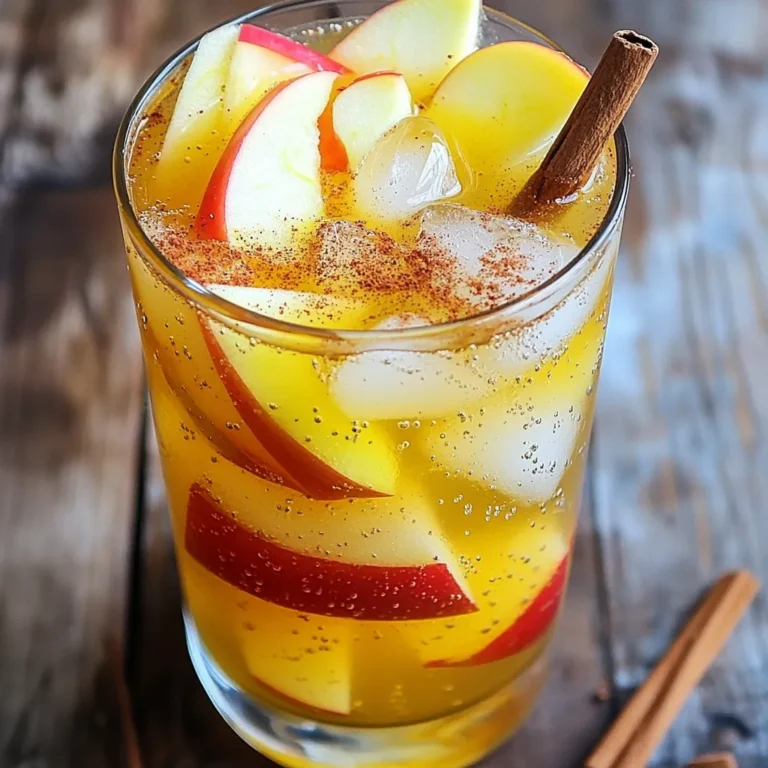
Apple Cider Spritz Refreshing Seasonal Drink Recipe
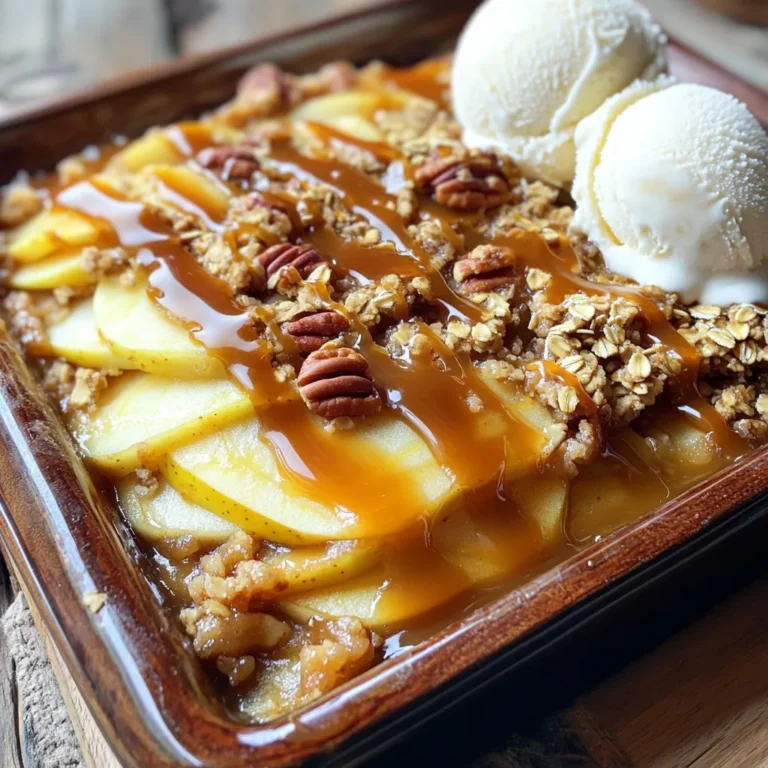
Caramel Pecan Apple Crisp Irresistible Dessert Idea
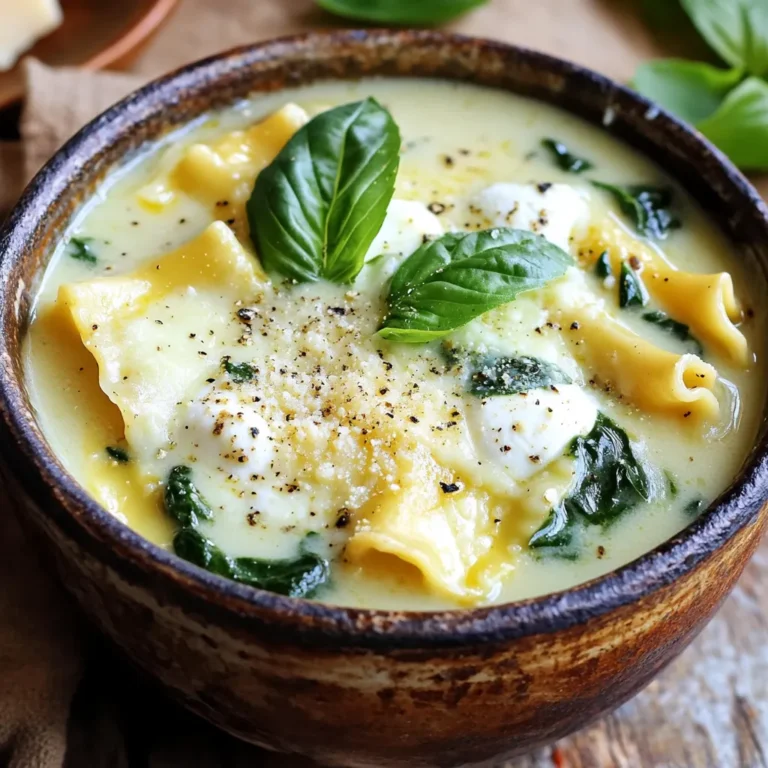
Savory Slow Cooker White Lasagna Soup Recipe
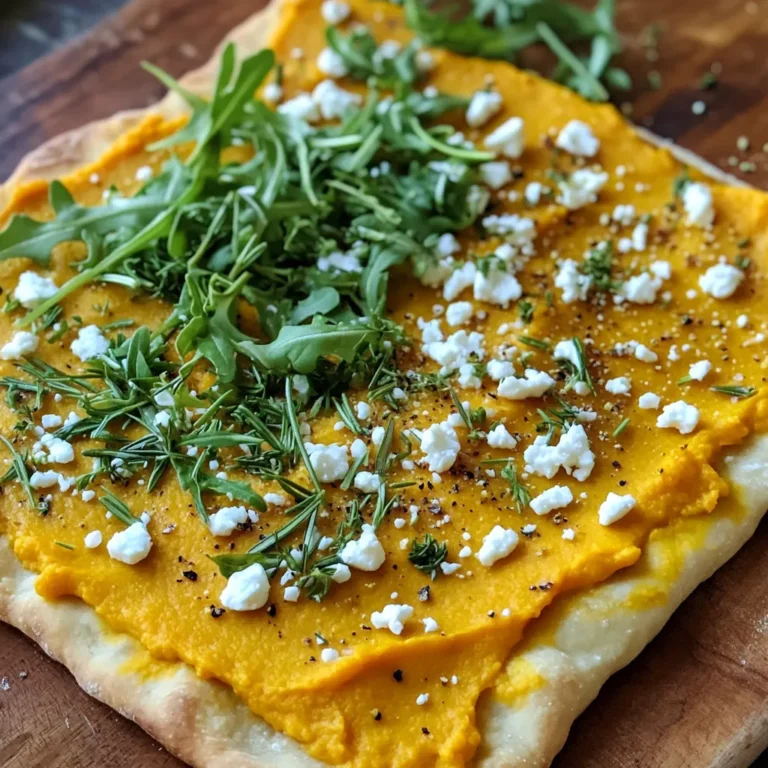
Pumpkin Feta Flatbread Savory and Simple Snack
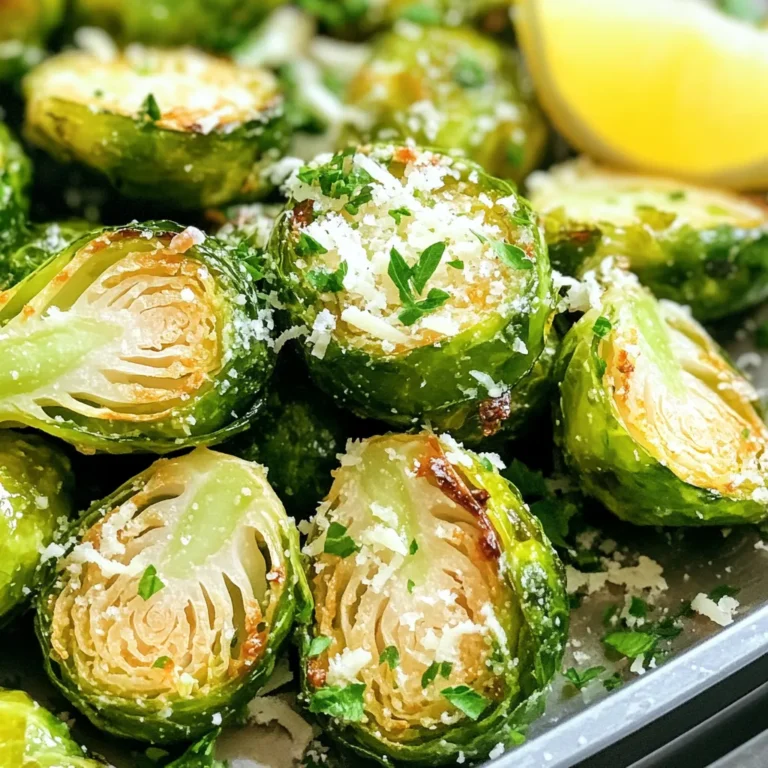
Air Fryer Garlic Parmesan Brussels Sprouts Delight
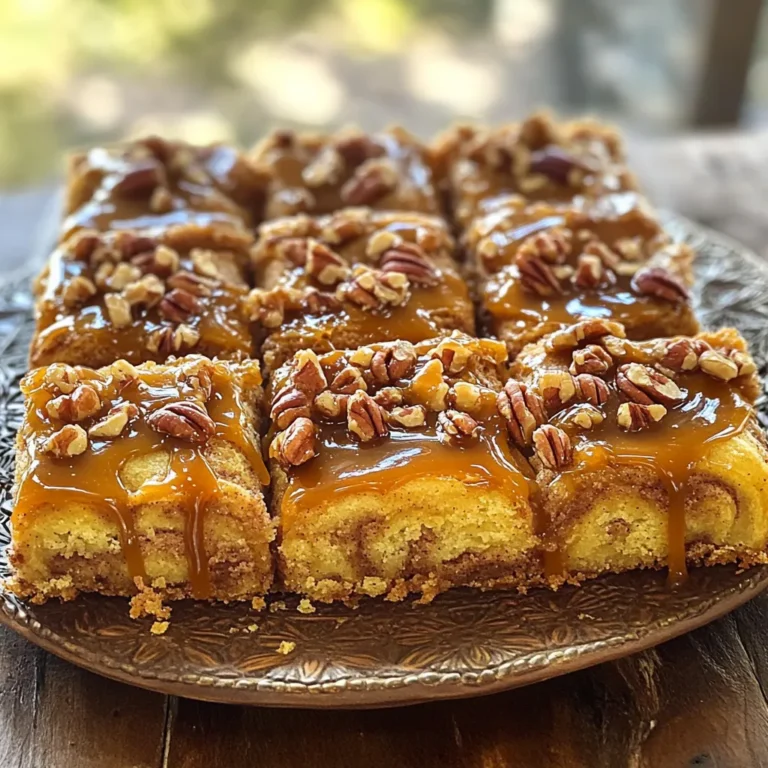
Caramel Pecan Cinnamon Roll Cake Tempting Dessert Treat
One Pot Cajun Shrimp Alfredo Flavorful Simple Dish
PREV
1
…
12
13
14
…
65
NEXT