FREE DINNER EBOOK!
Get your copy!
Cookie Policy
GDPR Policy
Disclaimer
Terms Of Use
Visit my other site:
Fun Cookie Recipes
Home
Dinner
Desserts
Drinks
Appetizers
Contact
About
Privacy Policy
Home
Dinner
Desserts
Drinks
Appetizers
Contact
About
Privacy Policy
Cookie Policy
GDPR Policy
Disclaimer
Terms Of Use
Visit my other site:
Fun Cookie Recipes
HOME / CATEGORIES /
Latest
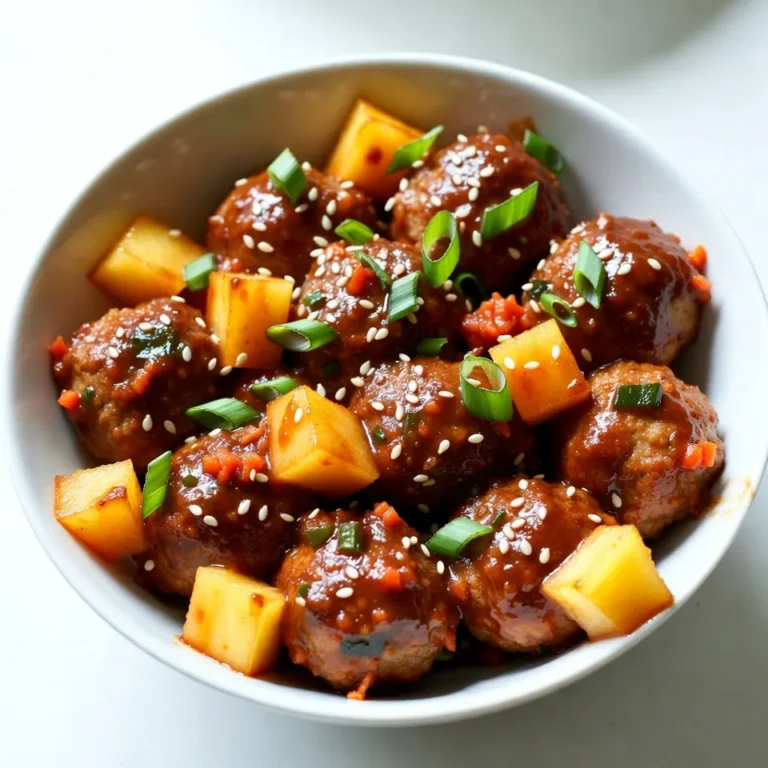
Pineapple Teriyaki Meatballs Flavorful and Easy Recipe
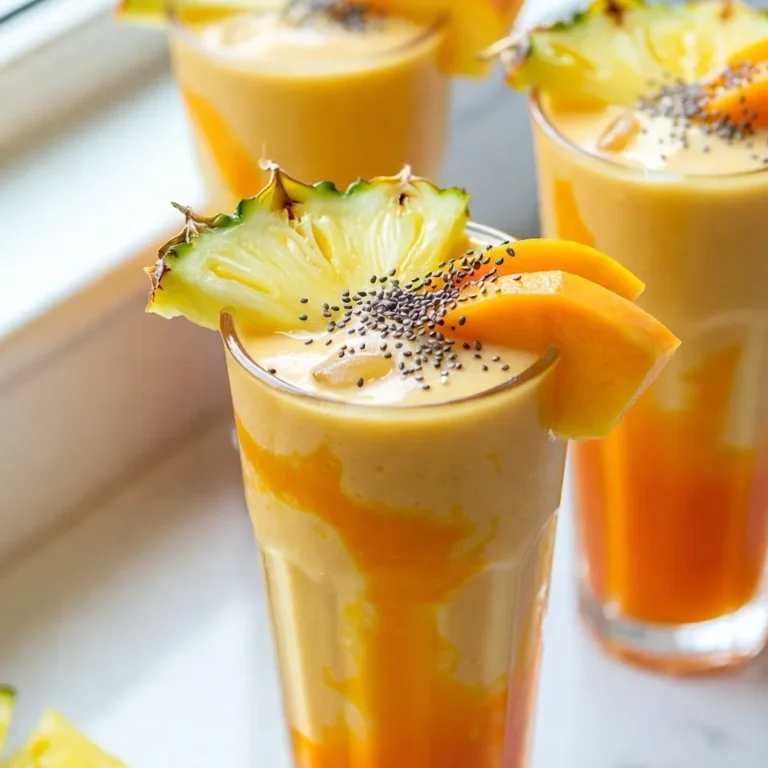
Mango Pineapple Smoothie Refreshing Summer Blend
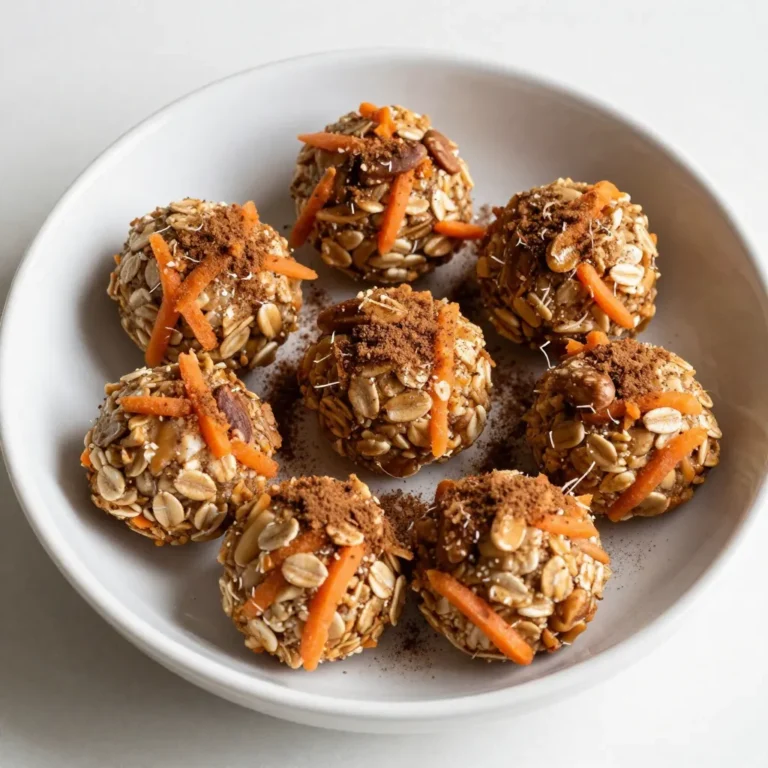
Carrot Cake Energy Bites Healthy Snack Delight
Eggnog Icebox Cake Delightfully Creamy Dessert Recipe
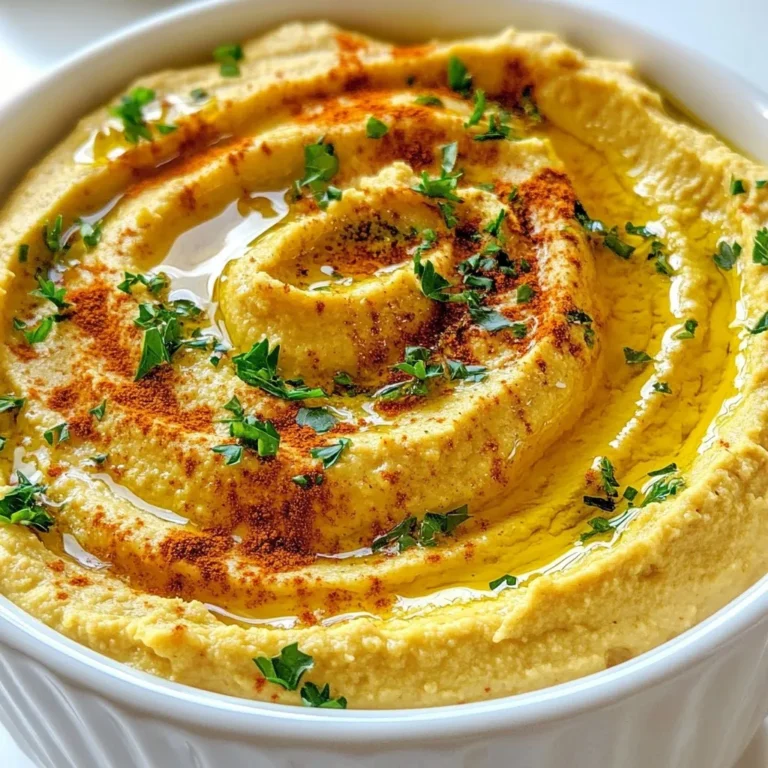
Roasted Garlic Hummus Flavorful and Simple Recipe
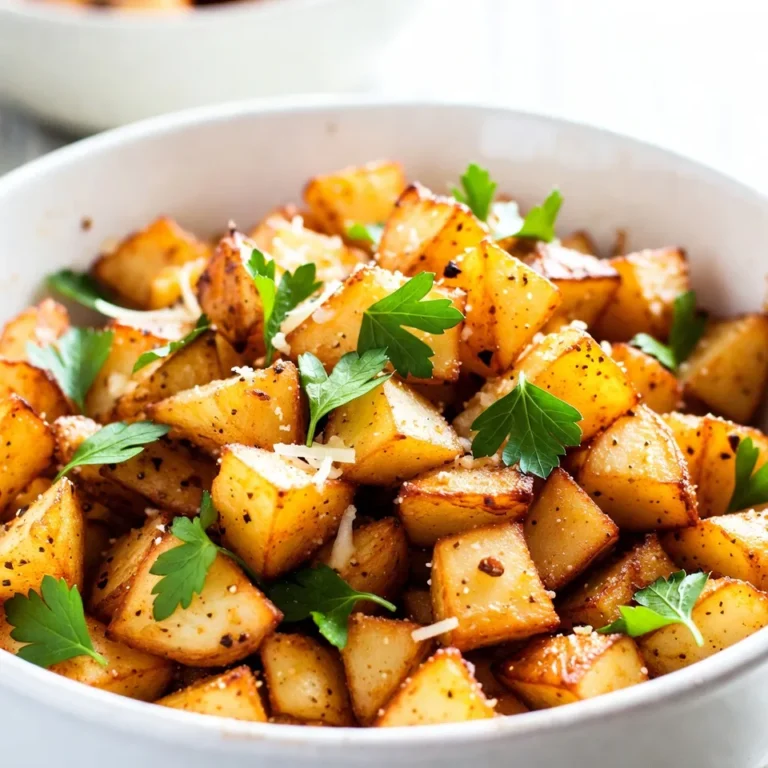
Garlic Parmesan Air Fryer Potatoes Irresistible Recipe
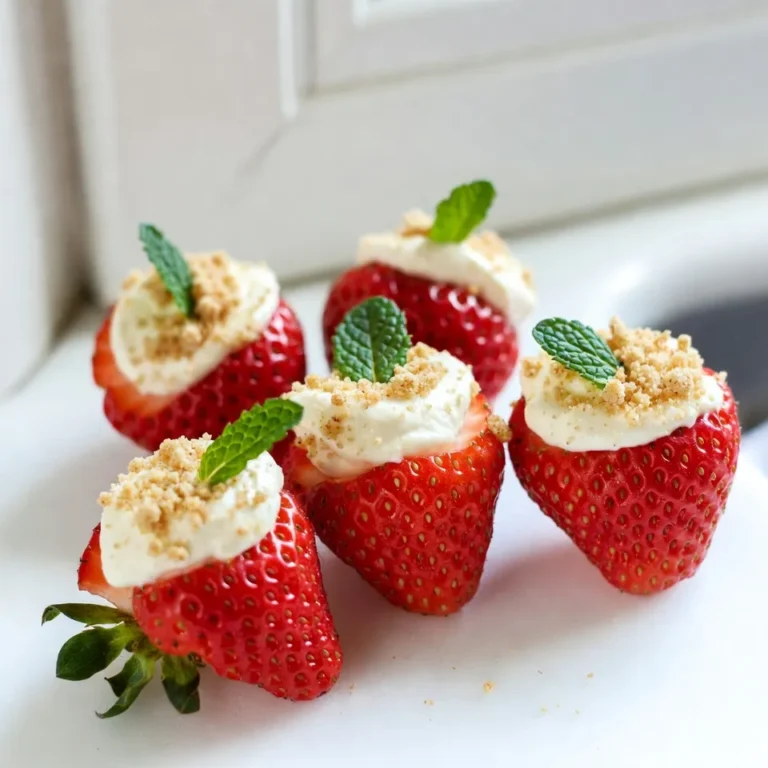
Cheesecake Stuffed Strawberries Delicious and Fun Treat
Spicy Peanut Chicken Wraps Flavorful and Easy Recipe
Chocolate Covered Pretzel Rods Easy Recipe Guide
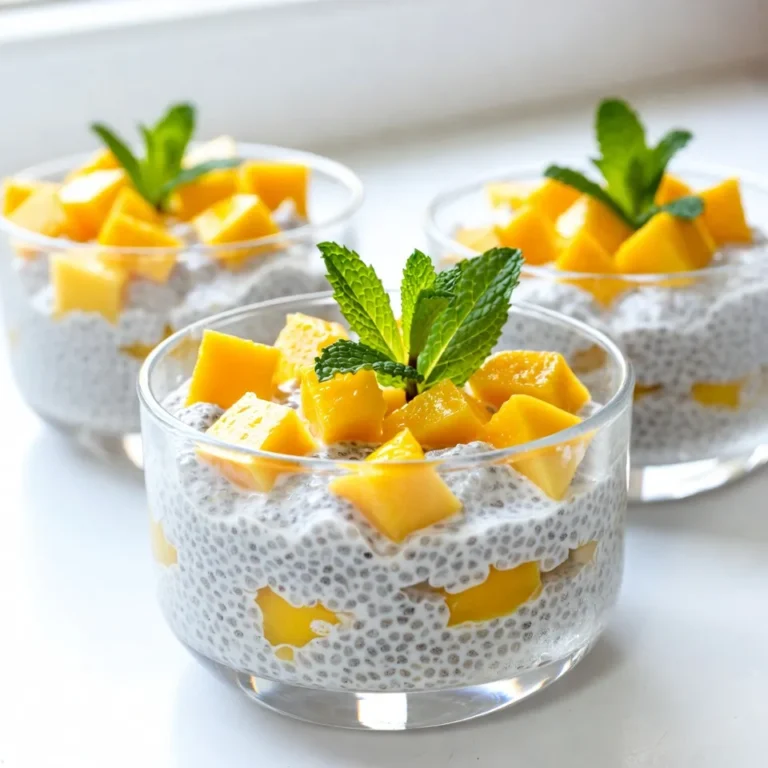
Mango Coconut Chia Pudding Creamy and Healthy Treat
PREV
1
2
3
…
86
NEXT