FREE DINNER EBOOK!
Get your copy!
Cookie Policy
GDPR Policy
Disclaimer
Terms Of Use
Visit my other site:
Fun Cookie Recipes
Home
Dinner
Desserts
Drinks
Appetizers
Contact
About
Privacy Policy
Home
Dinner
Desserts
Drinks
Appetizers
Contact
About
Privacy Policy
Cookie Policy
GDPR Policy
Disclaimer
Terms Of Use
Visit my other site:
Fun Cookie Recipes
HOME / CATEGORIES /
Latest
Authentic Beef Madras Flavorful and Hearty Dish
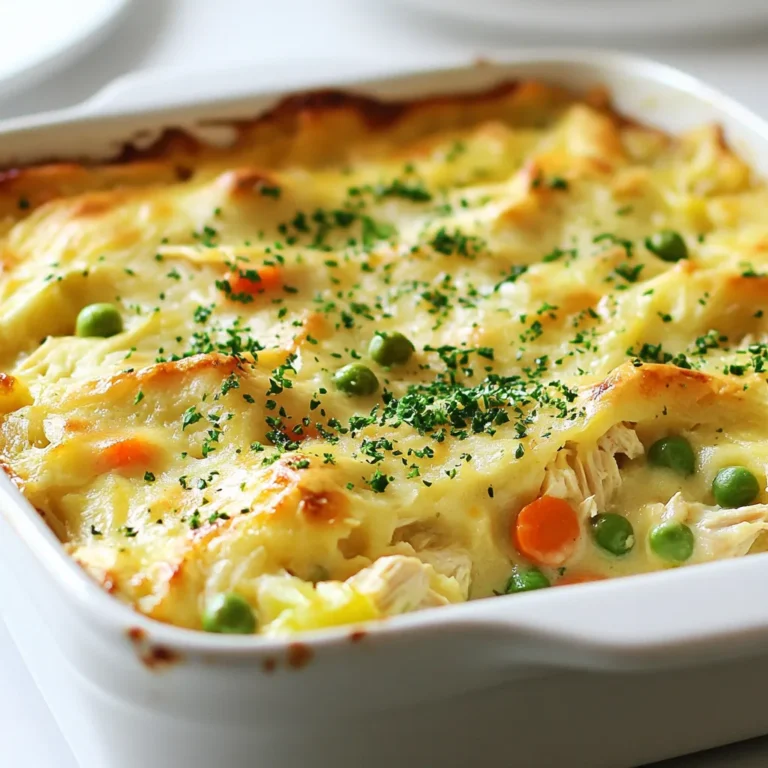
Crustless Chicken Pot Pie Simple Comfort Food Recipe
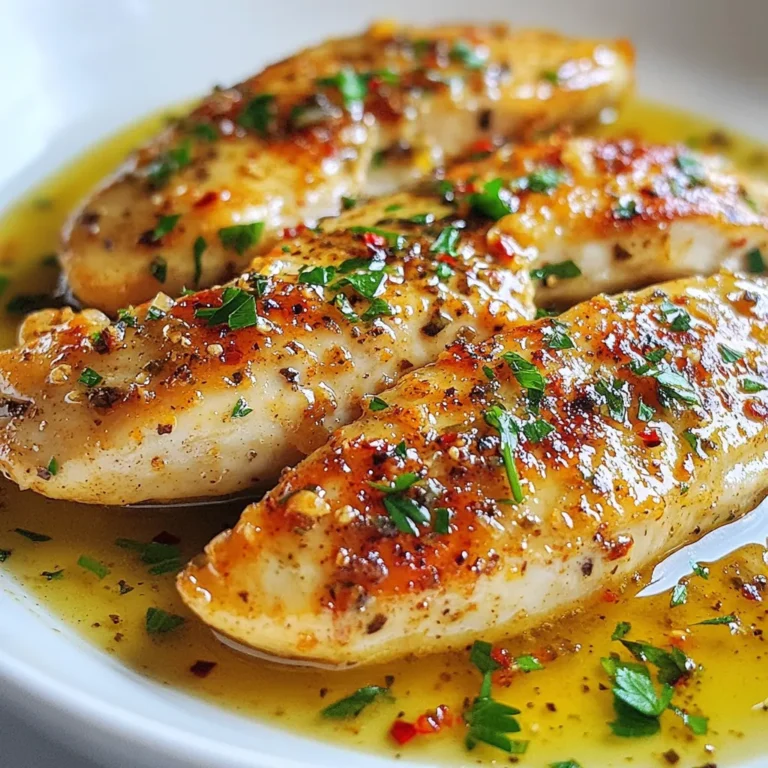
Garlic Skillet Chicken Flavorful and Easy Dinner Idea
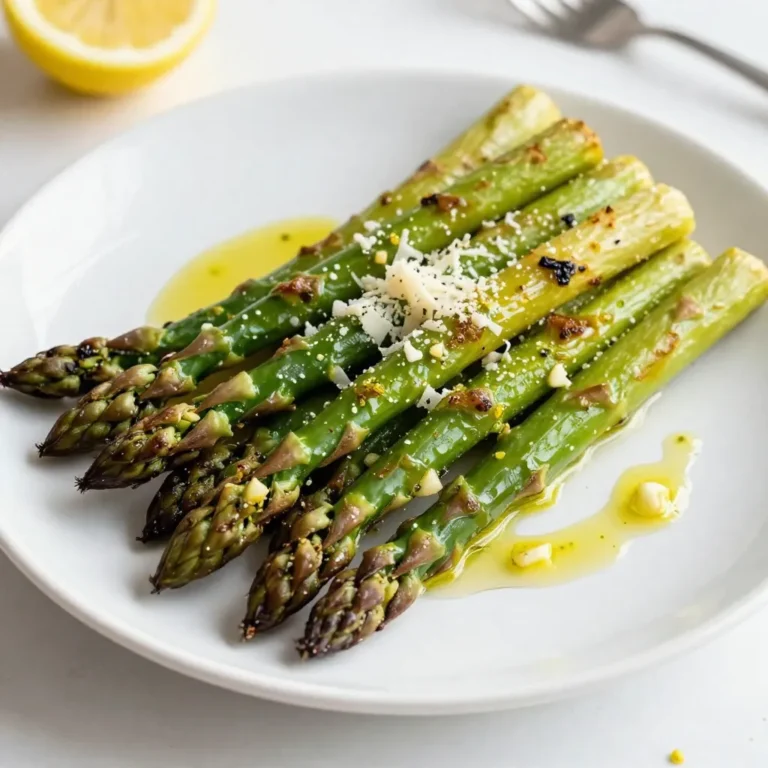
Lemon Garlic Roasted Asparagus Flavorful and Easy Dish
Chocolate Covered Strawberry Brownies Delightful Treat
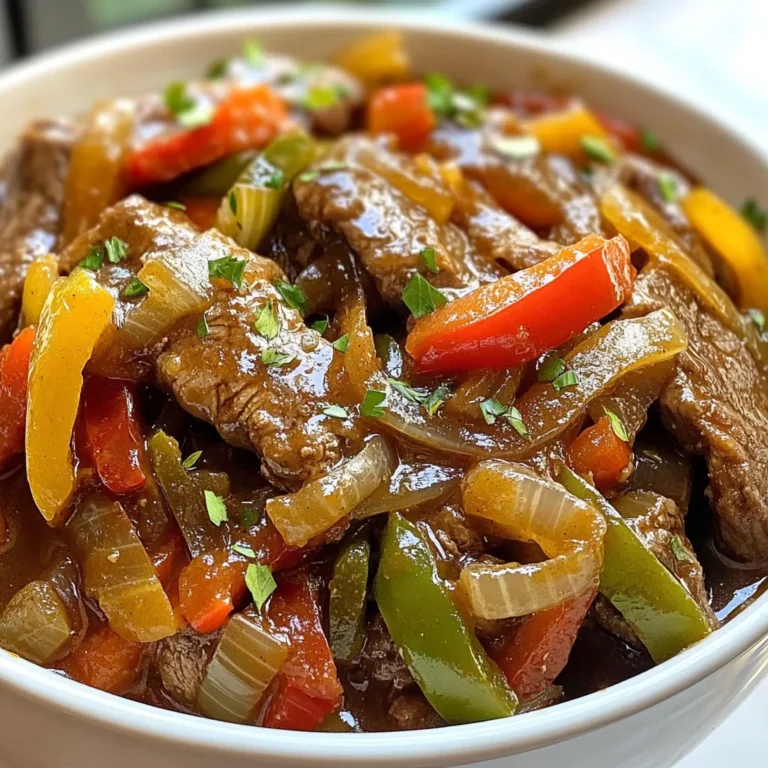
Crock Pot Pepper Steak Savory and Easy Recipe
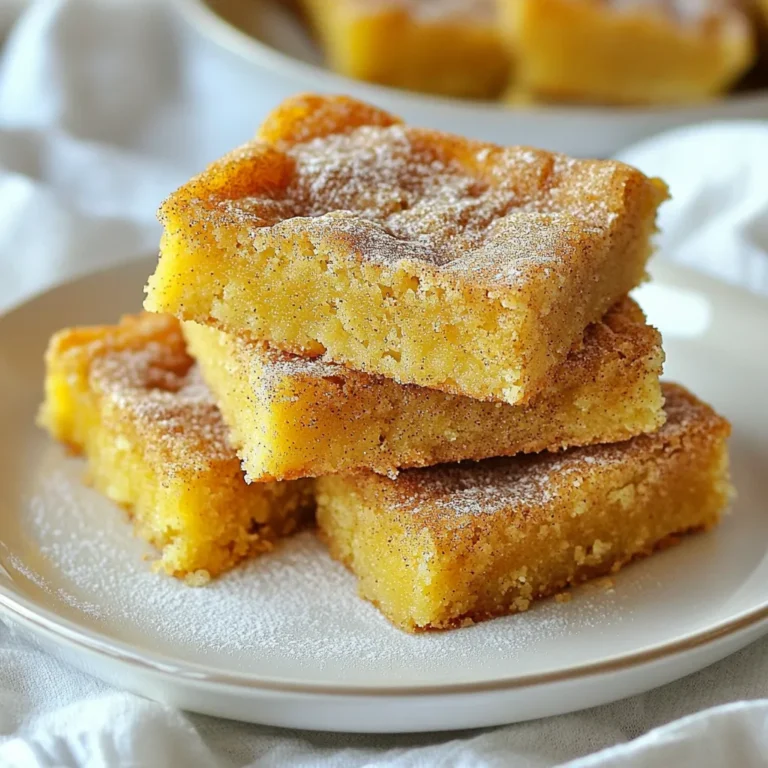
Classic Snickerdoodle Blondies Tasty and Simple Treat
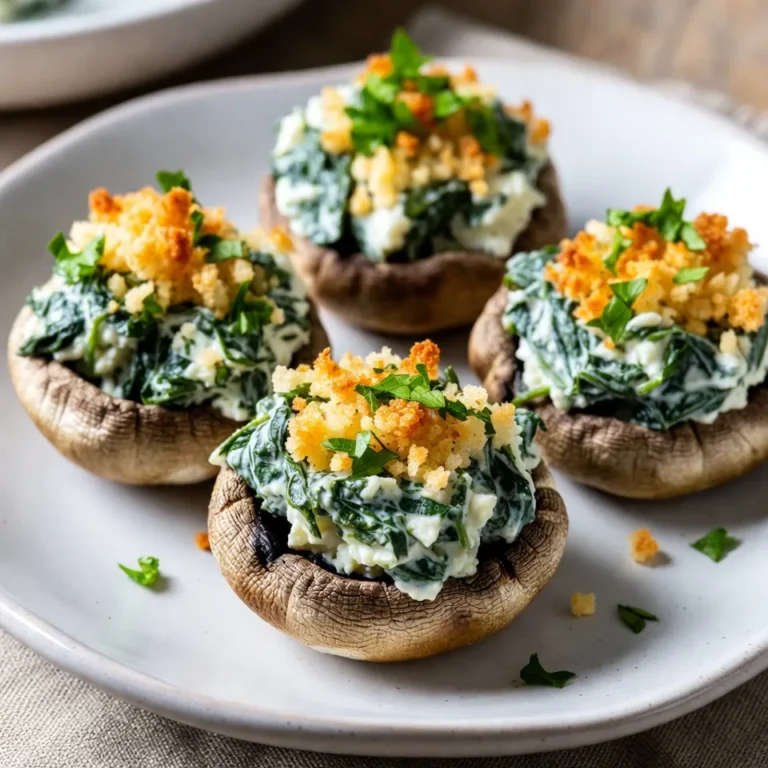
Savory Spinach Parmesan Stuffed Mushrooms Recipe
Peanut Butter Protein Bites Easy and Nutritious Snack
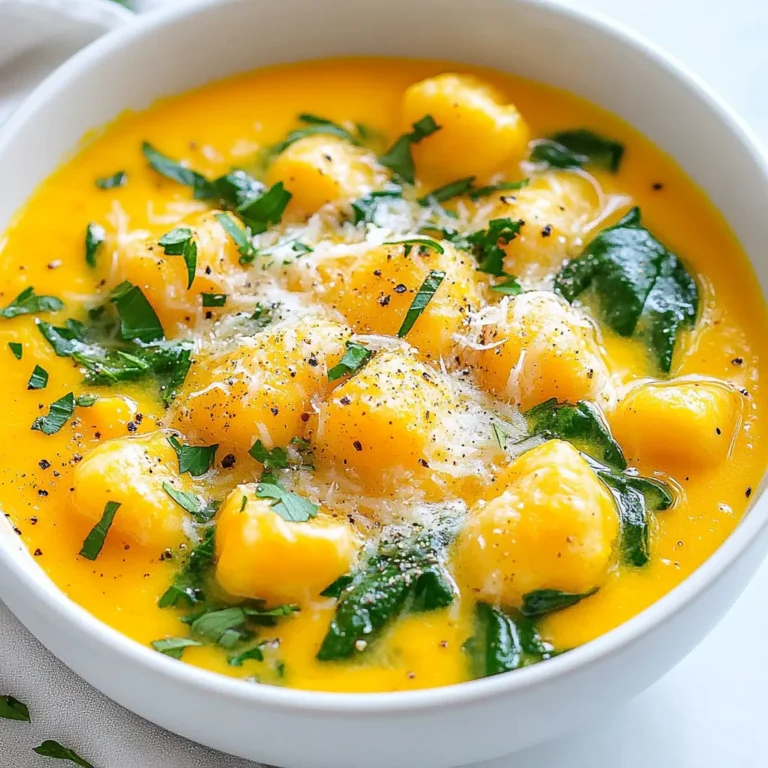
Butternut Squash Gnocchi Soup Hearty and Comforting Meal
PREV
1
…
5
6
7
…
86
NEXT