FREE DINNER EBOOK!
Get your copy!
Cookie Policy
GDPR Policy
Disclaimer
Terms Of Use
Visit my other site:
Fun Cookie Recipes
Home
Dinner
Desserts
Drinks
Appetizers
Contact
About
Privacy Policy
Home
Dinner
Desserts
Drinks
Appetizers
Contact
About
Privacy Policy
Cookie Policy
GDPR Policy
Disclaimer
Terms Of Use
Visit my other site:
Fun Cookie Recipes
HOME / CATEGORIES /
Latest
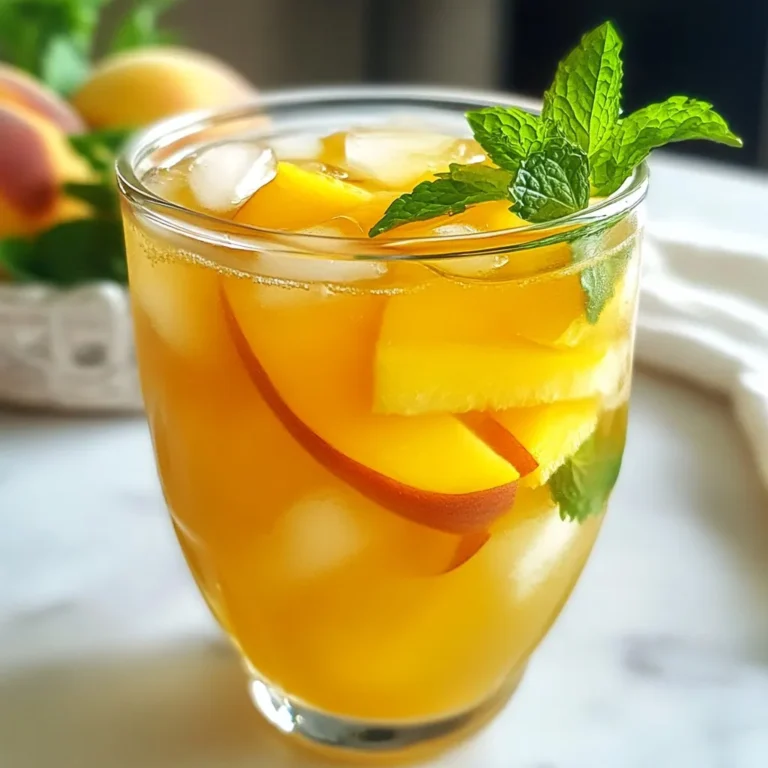
Ginger Peach Iced Tea Refreshing and Easy Recipe
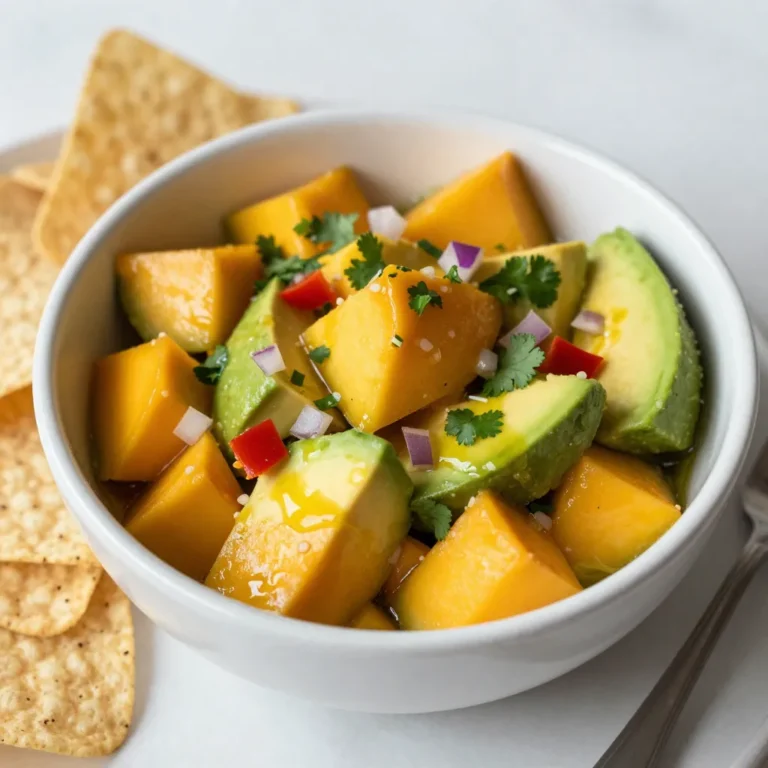
Mango Avocado Salsa Fresh and Flavorful Delight
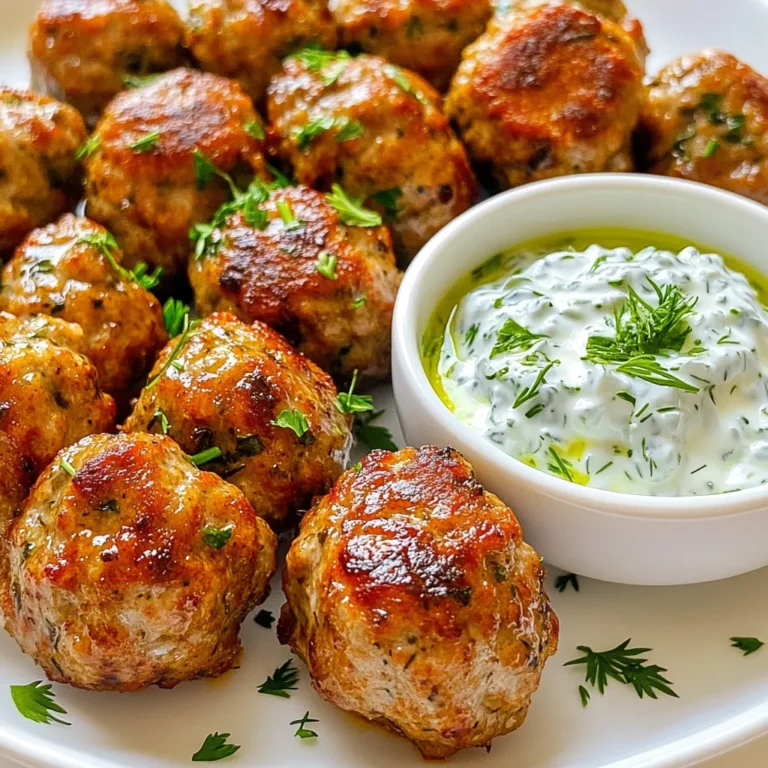
Greek Turkey Meatballs with Tzatziki Delight Recipe
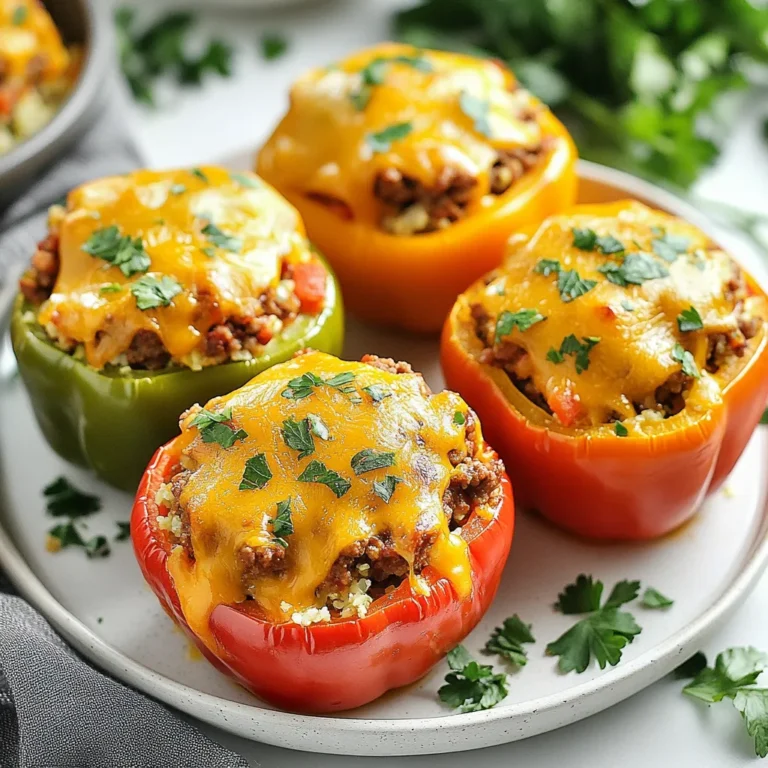
Keto Stuffed Bell Peppers Flavorful and Healthy Meal
Loaded Veggie Quesadillas Flavorful and Easy Recipe
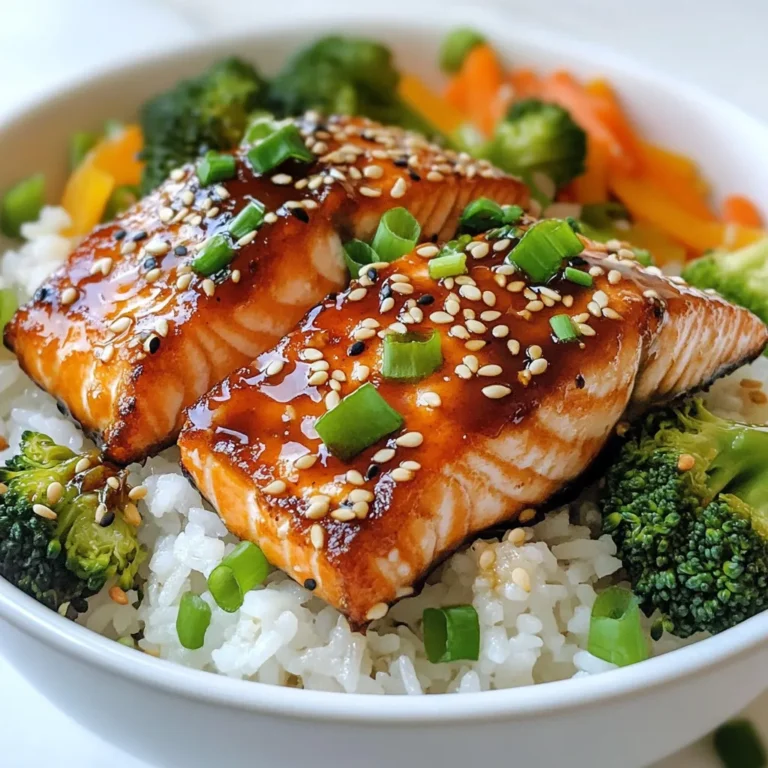
Teriyaki Salmon Rice Bowl Flavorful and Simple Dish
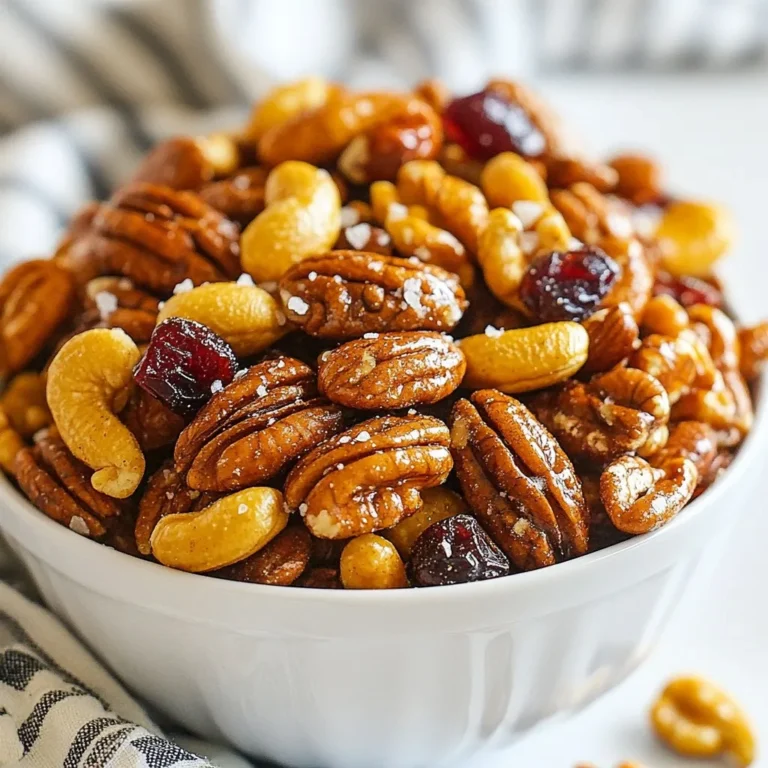
Slow Cooker Spiced Nuts Irresistible Flavor Recipe
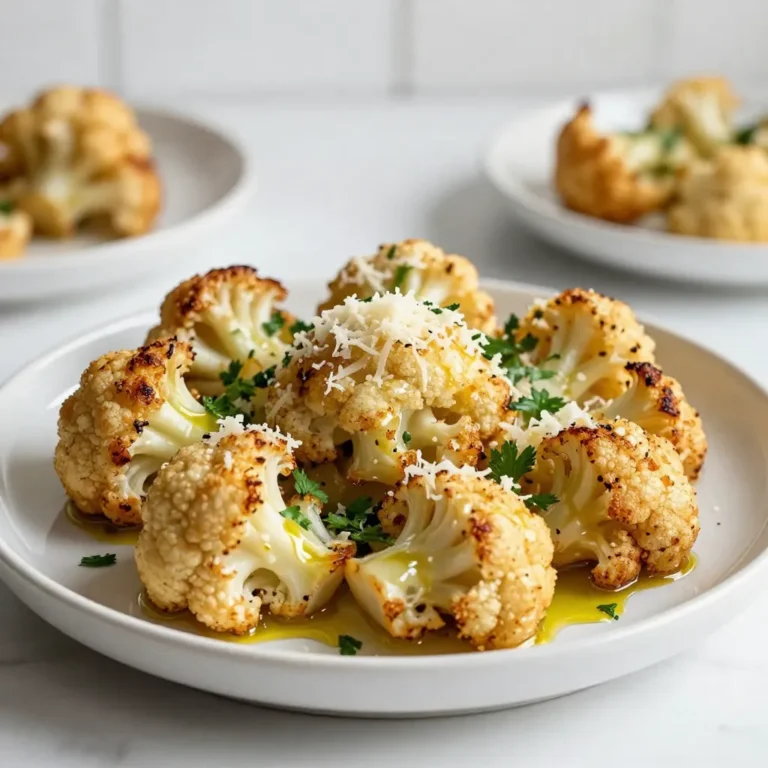
Garlic Parmesan Roasted Cauliflower Delightful Dish
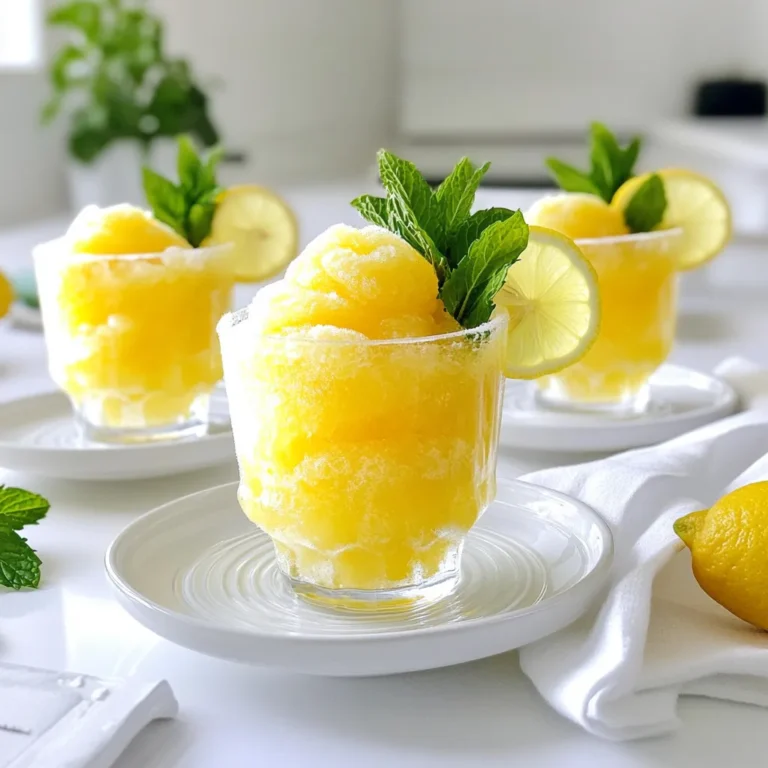
Frozen Lemonade Refreshing and Simple Recipe Guide
Creamy Tuscan Chicken Orzo Delicious Weeknight Meal
PREV
1
…
6
7
8
…
86
NEXT