FREE DINNER EBOOK!
Get your copy!
Cookie Policy
GDPR Policy
Disclaimer
Terms Of Use
Visit my other site:
Fun Cookie Recipes
Home
Dinner
Desserts
Drinks
Appetizers
Contact
About
Privacy Policy
Home
Dinner
Desserts
Drinks
Appetizers
Contact
About
Privacy Policy
Cookie Policy
GDPR Policy
Disclaimer
Terms Of Use
Visit my other site:
Fun Cookie Recipes
HOME / CATEGORIES /
Latest
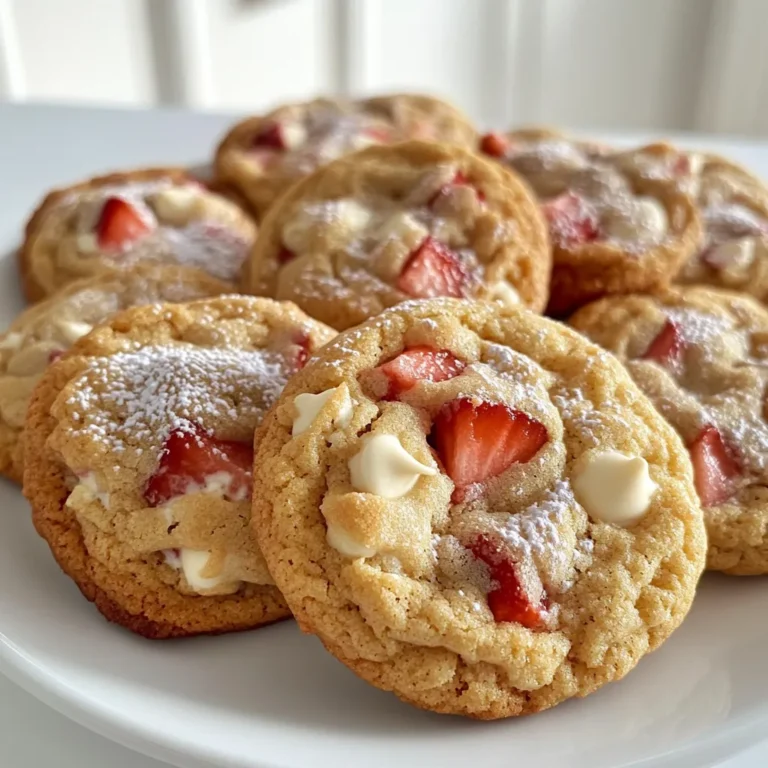
Strawberry Cheesecake Cookies Tasty and Easy Treat
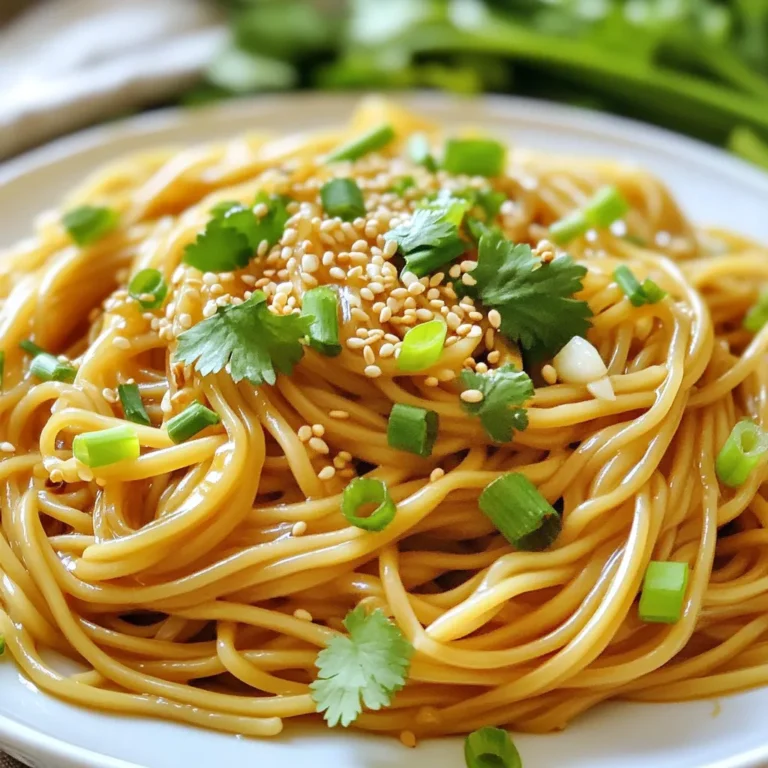
Garlic Sesame Noodles Quick and Flavorful Recipe
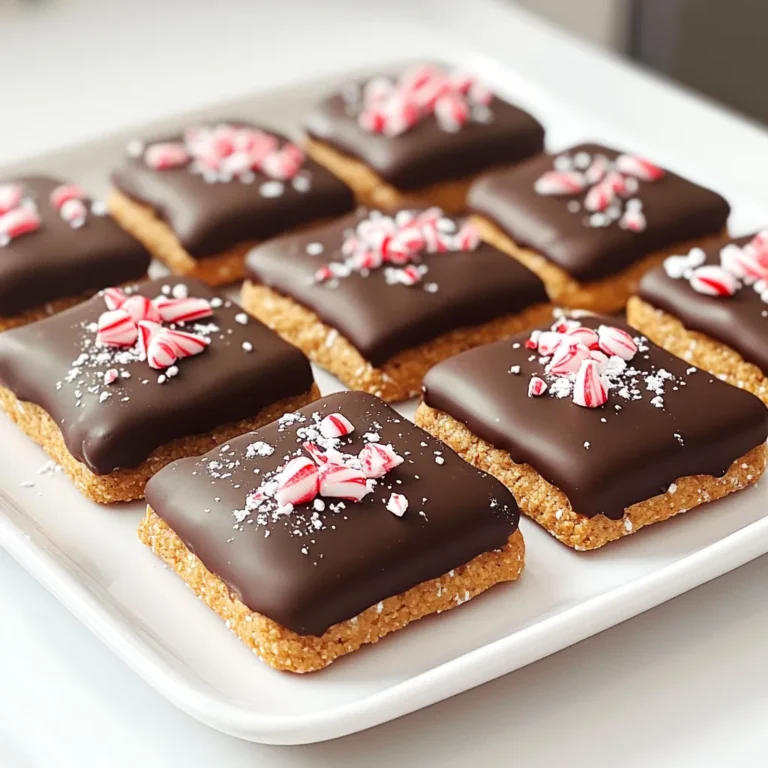
Chocolate Peppermint Graham Crackers Delightful Treat
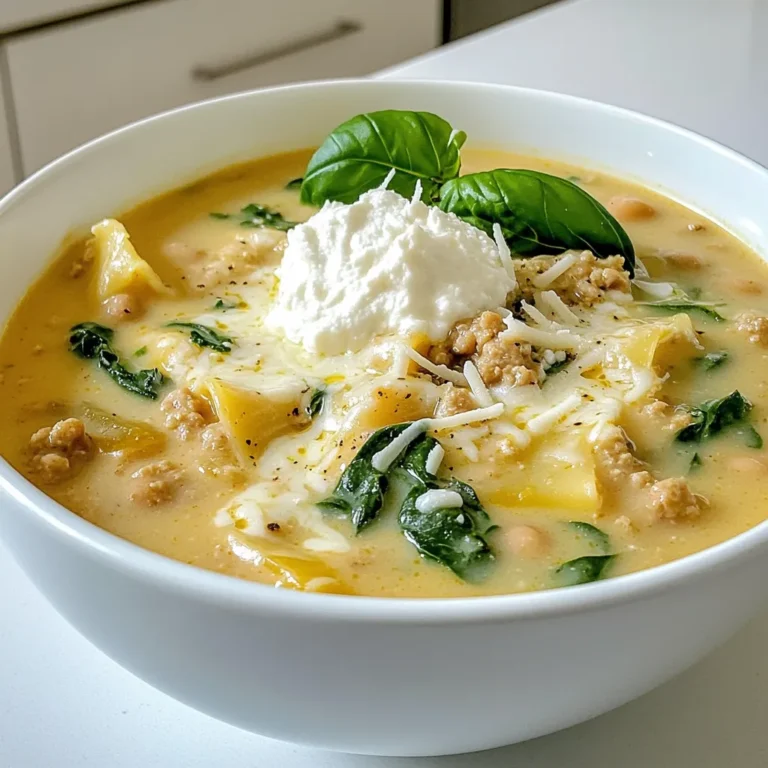
Creamy White Lasagna Soup Comforting and Tasty Dish
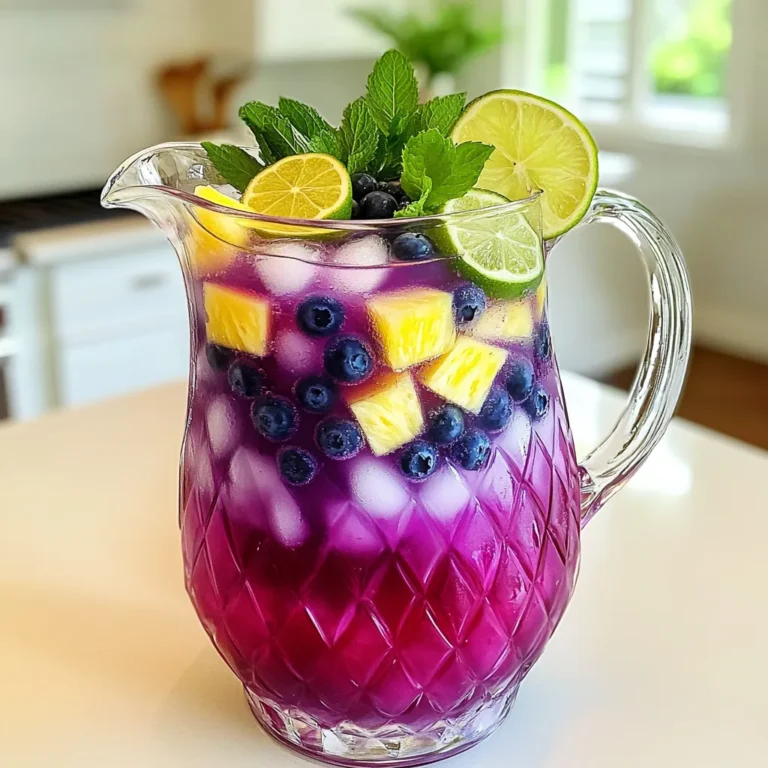
Purple Paradise Punch Refreshing Summer Beverage Delight
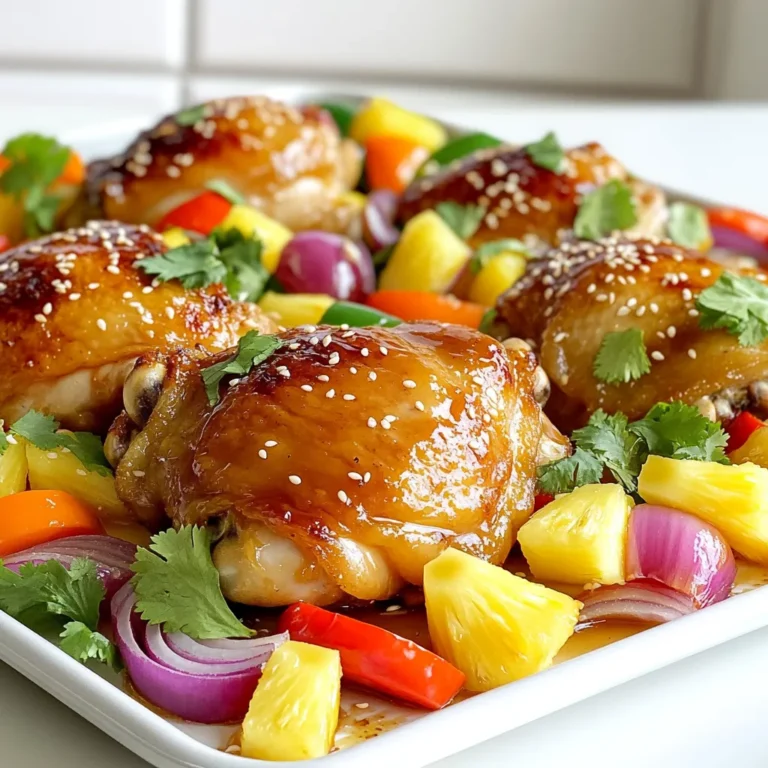
Hawaiian Chicken Sheet Pan Tasty and Simple Recipe
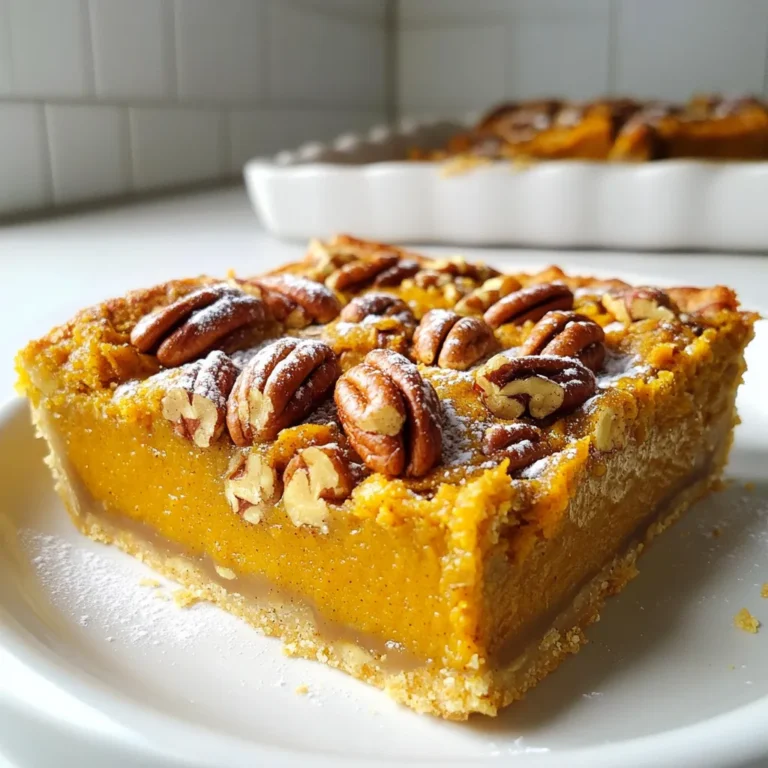
Pumpkin Pecan Pie Bars Irresistible Fall Delight
Sheet Pan Lemon Herb Chicken Simple and Tasty Meal
Maple Chai Oatmeal Latte Flavorful Warm Drink Delight
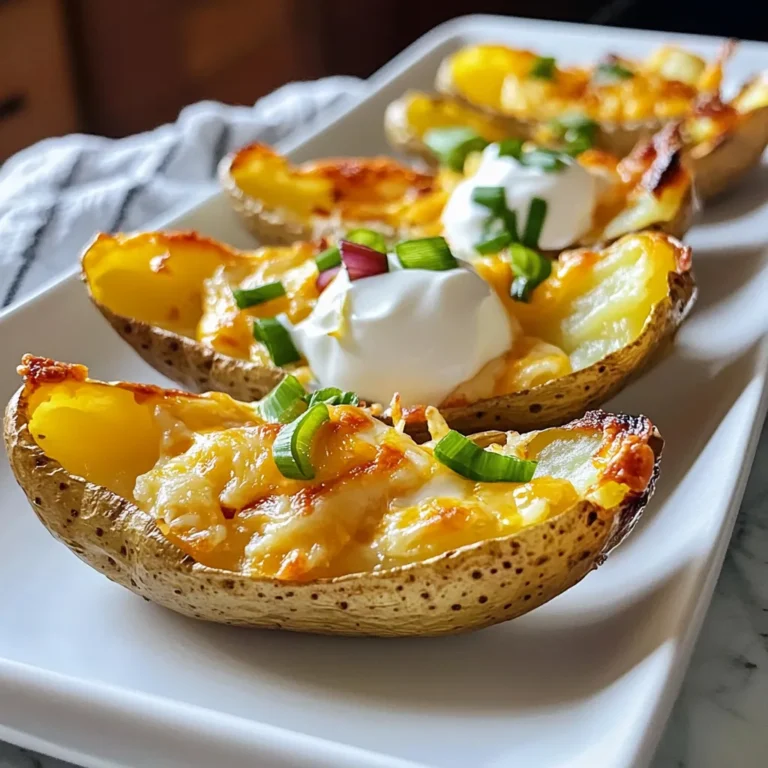
Air Fryer Ranch Potato Skins Flavorful Snack Recipe
PREV
1
…
7
8
9
…
86
NEXT