FREE DINNER EBOOK!
Get your copy!
Cookie Policy
GDPR Policy
Disclaimer
Terms Of Use
Visit my other site:
Fun Cookie Recipes
Home
Dinner
Desserts
Drinks
Appetizers
Contact
About
Privacy Policy
Home
Dinner
Desserts
Drinks
Appetizers
Contact
About
Privacy Policy
Cookie Policy
GDPR Policy
Disclaimer
Terms Of Use
Visit my other site:
Fun Cookie Recipes
HOME / CATEGORIES /
Latest
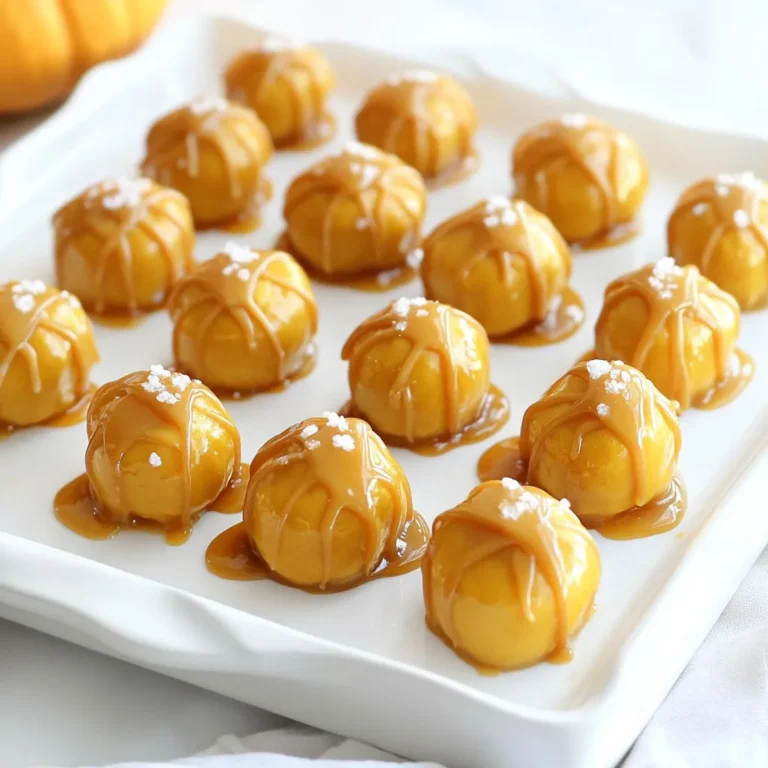
No Bake Caramel Pretzel Pumpkin Bites Tasty Treat
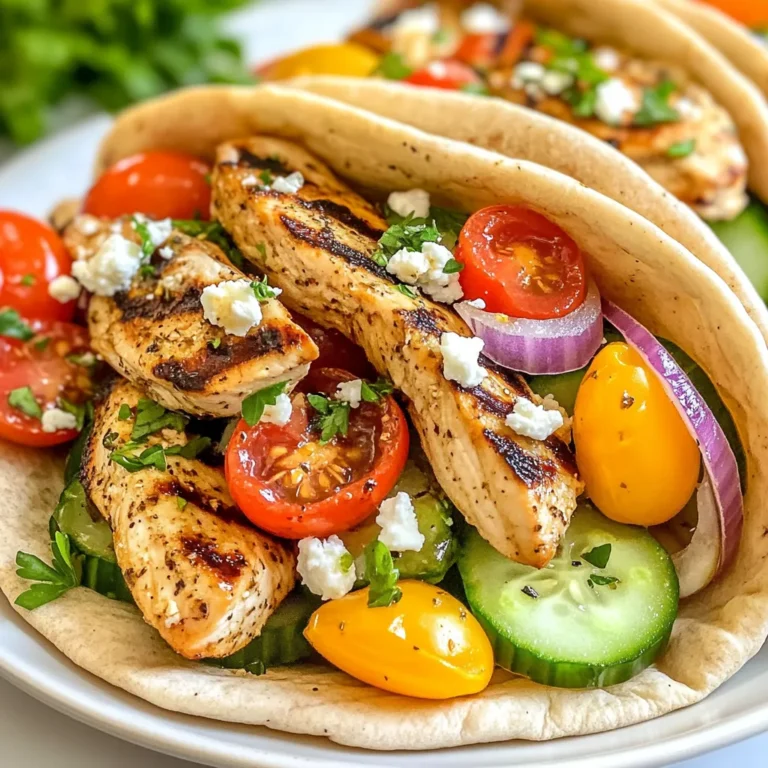
Greek Chicken Pita Pockets Tasty and Simple Recipe
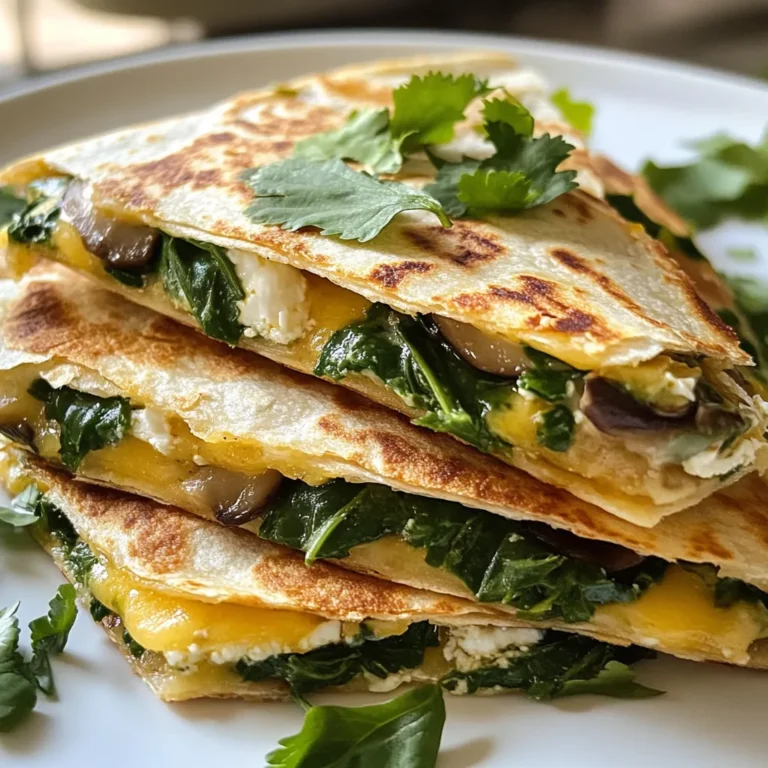
Spinach Mushroom Quesadilla Quick and Tasty Recipe
Peach Cobbler Dump Cake Simple and Delicious Dessert
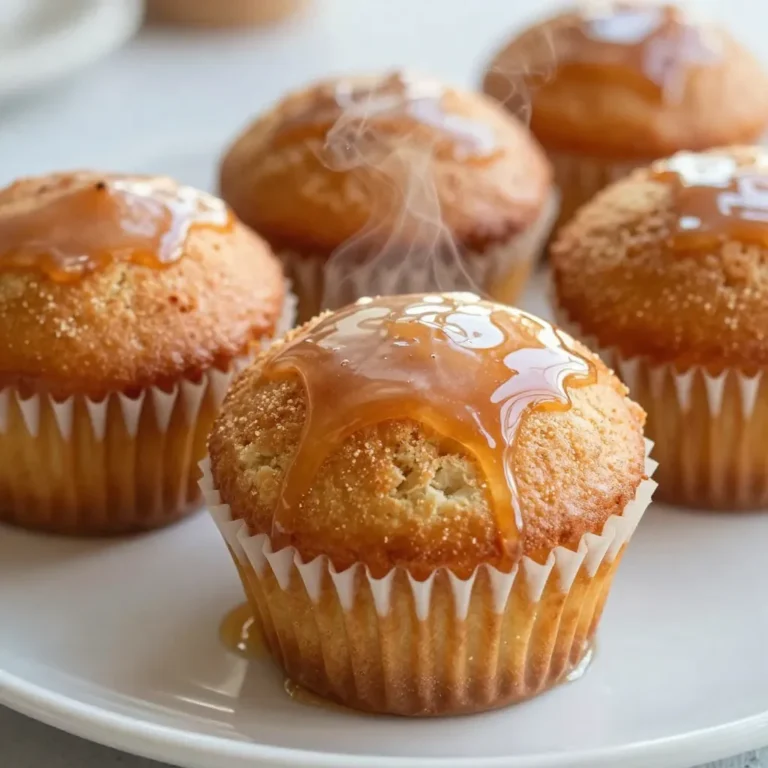
Maple Glazed Donut Muffins Delicious and Easy Recipe
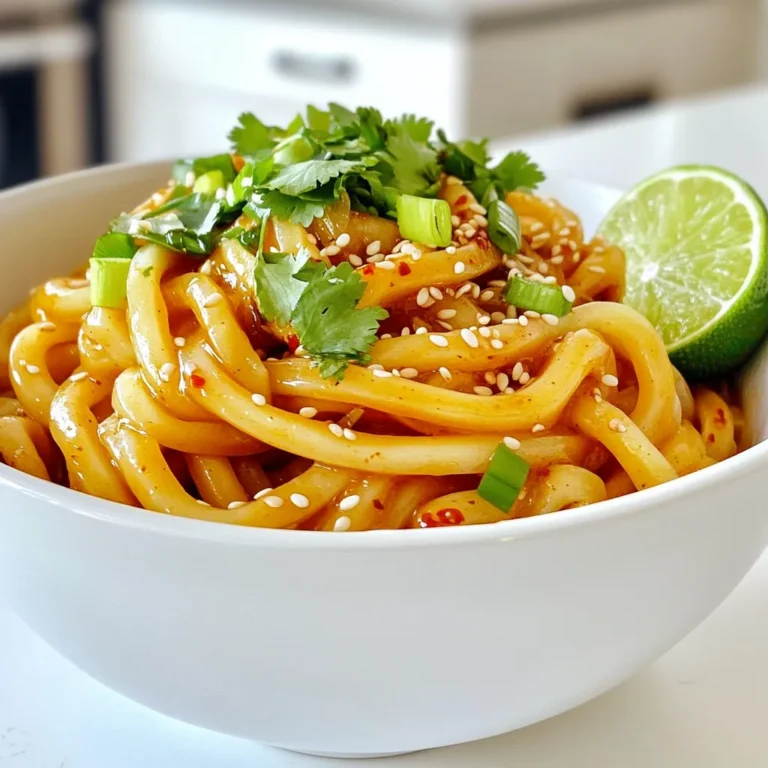
Spicy Garlic Udon Noodles Fast and Flavorful Meal
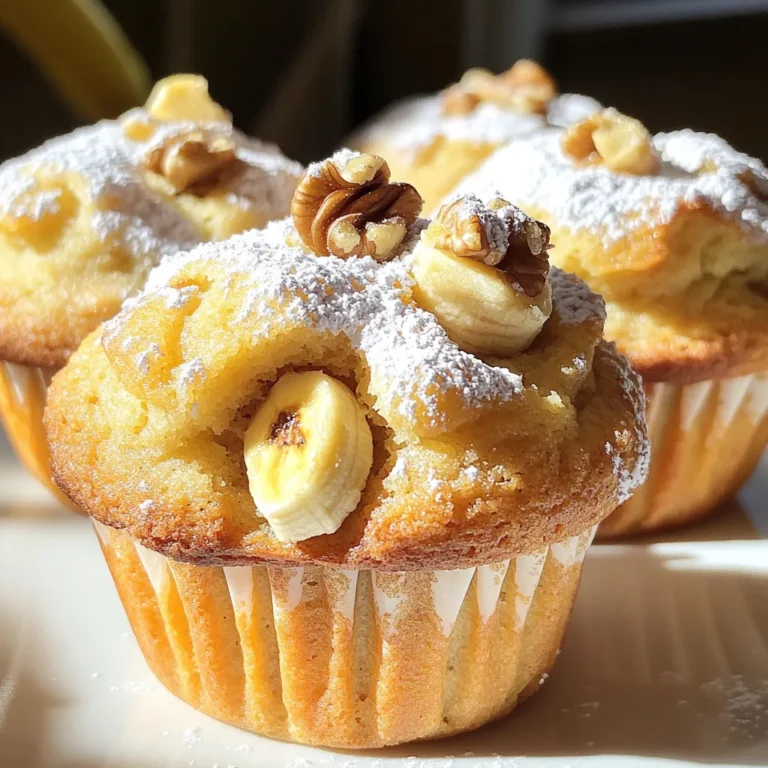
Banana Nut Muffins Bakery Style Moist and Fluffy Delight
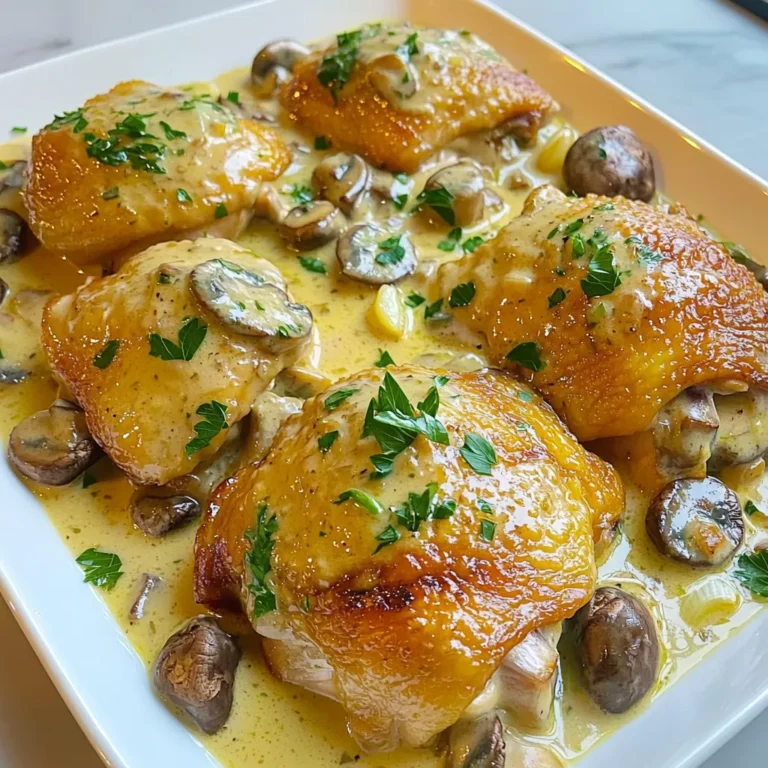
Creamy Garlic Mushroom Chicken One Pan Delight
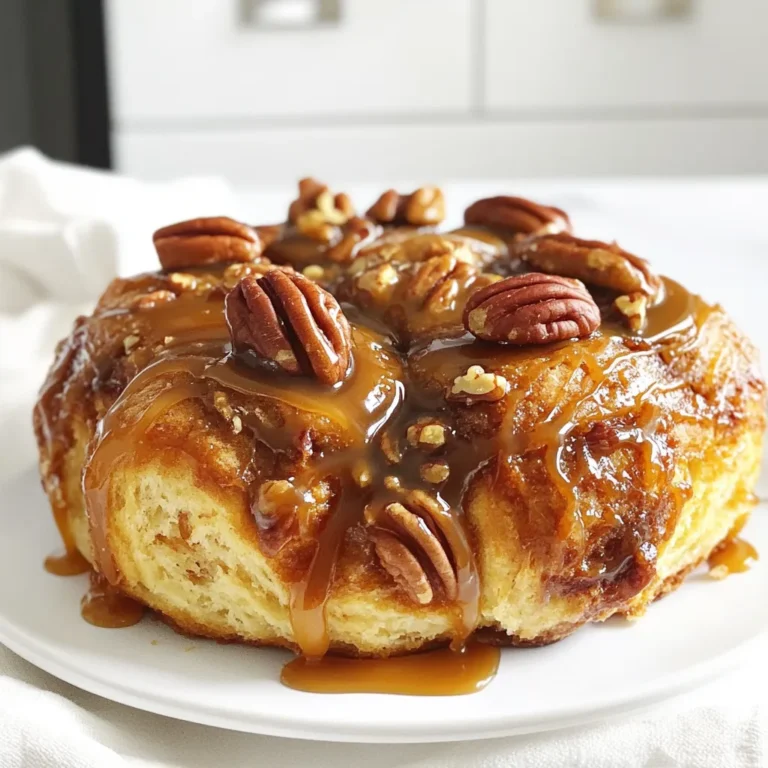
Caramel Pecan Sticky Buns Delightful and Easy Recipe
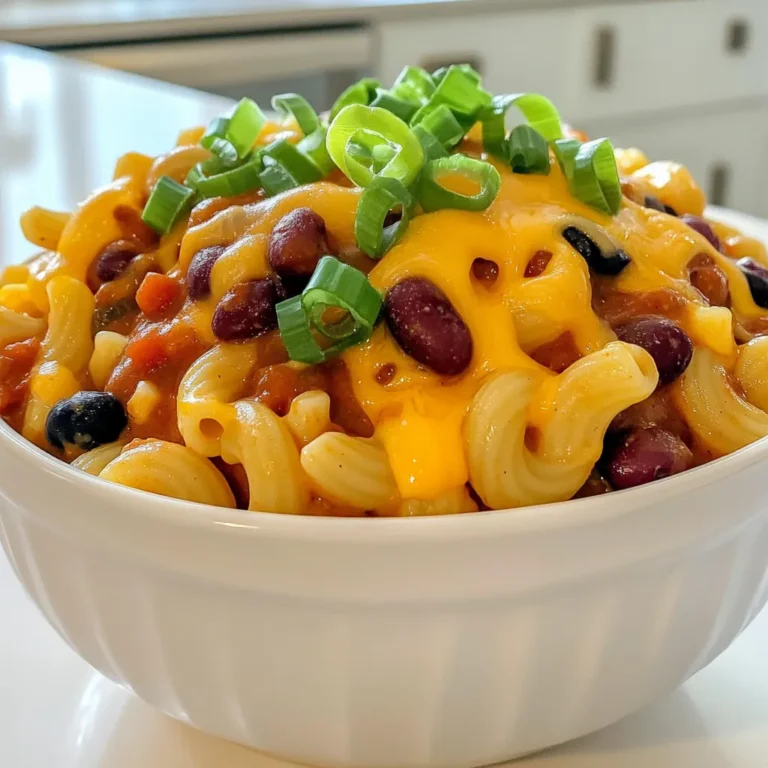
Savory Slow Cooker Chili Mac & Cheese Recipe
PREV
1
…
8
9
10
…
86
NEXT