WANT TO SAVE THIS RECIPE?
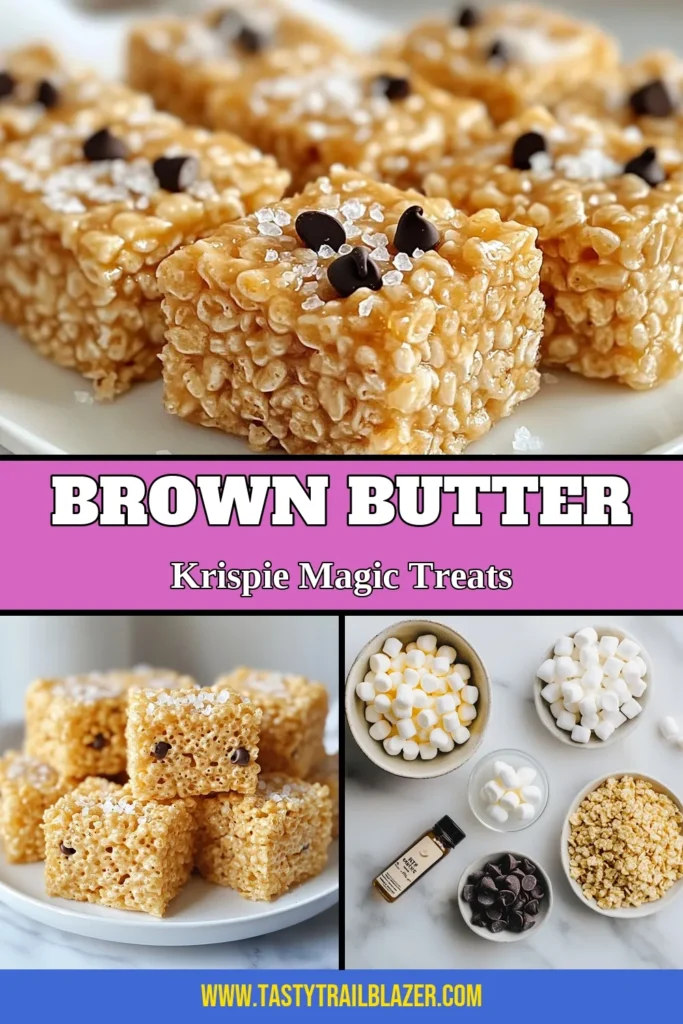
Looking for a sweet and simple snack? Brown Butter Rice Krispie Treats are your answer! This easy recipe combines the rich, nutty flavor of browned butter with gooey marshmallows and crunchy cereal. I’ll guide you step-by-step to create these delicious treats that will impress friends and family. Whether you enjoy them as a snack or dessert, let’s dive into this delightful twist on a classic treat!

Why I Love This Recipe
- Rich Flavor: The brown butter adds a deep, nutty flavor that elevates the classic Rice Krispie treat to a whole new level.
- Quick and Easy: This recipe can be prepared in just 10 minutes, making it a perfect last-minute treat for gatherings.
- Customizable: You can easily add your favorite mix-ins like dark chocolate chips or nuts to personalize your treats.
- Great for Sharing: These treats can be cut into squares and are perfect for sharing at parties or school events.
Ingredients
List of Ingredients
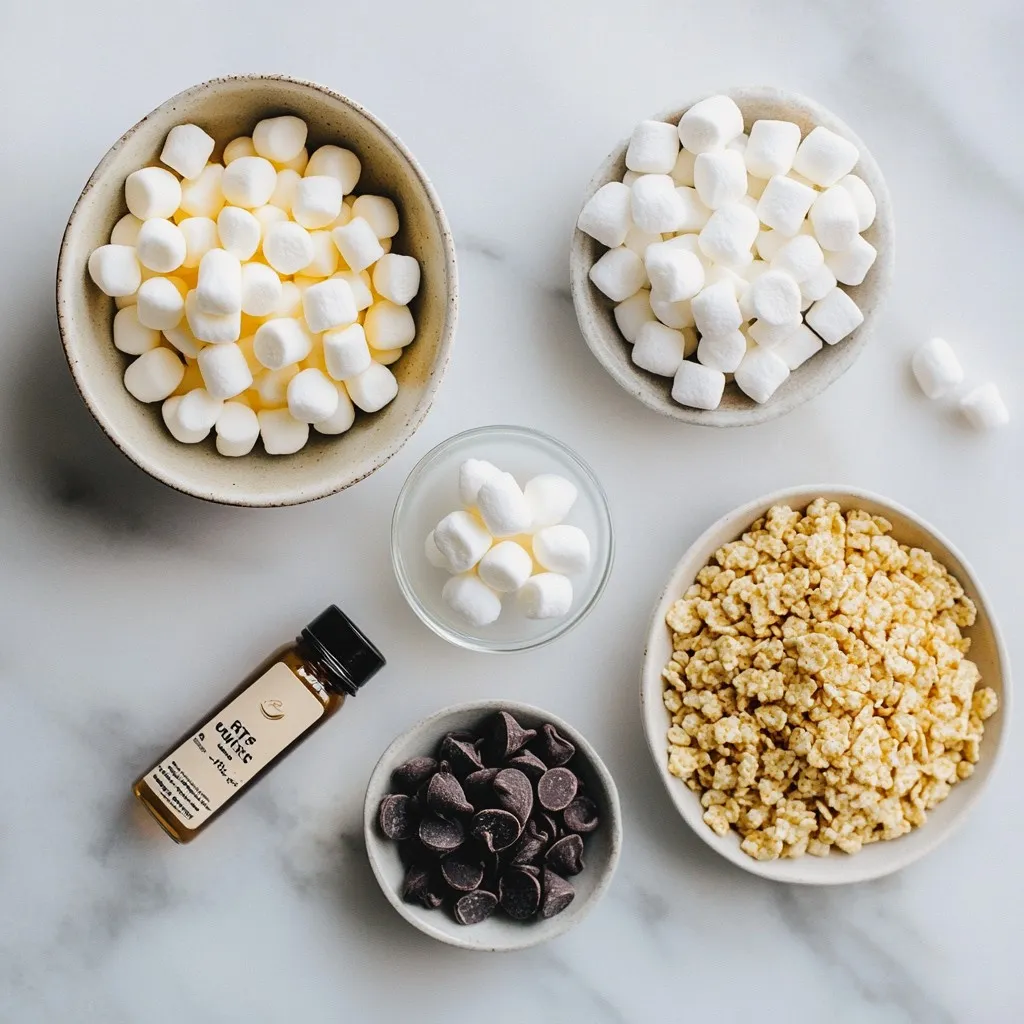
– 4 tablespoons unsalted butter
– 1 package (10 oz) mini marshmallows
– 6 cups Rice Krispies cereal
– 1 teaspoon vanilla extract
– 1/4 teaspoon sea salt
– 1/2 cup dark chocolate chips (optional)
Gather these simple ingredients before you start. You have butter, marshmallows, and Rice Krispies. Each one plays a key role in making your treats taste great. The unsalted butter gives a rich flavor. The mini marshmallows add sweetness and stickiness, while Rice Krispies provide that perfect crunch.
Don’t forget the sea salt! It balances the sweetness. The vanilla extract adds a warm note. If you want some extra fun, dark chocolate chips are a great choice. They melt nicely and add a layer of rich chocolate flavor. You can mix those in or sprinkle them on top for a tasty treat.
With these ingredients ready, you can create a sweet snack everyone will enjoy!
Step-by-Step Instructions
Melting the Butter
Start by heating 4 tablespoons of unsalted butter in a large saucepan over medium heat. Keep stirring as the butter melts and begins to foam. This should take about 2-3 minutes. Watch closely as the color changes to a golden brown. You will also notice a rich, nutty aroma. This is the perfect moment to remove the pan from heat to avoid burning.
Combining Ingredients
Next, add a package of 10 oz mini marshmallows into the browned butter. Stir continuously until the marshmallows melt completely. This should take another 2-3 minutes. Once smooth, mix in 1 teaspoon of vanilla extract and 1/4 teaspoon of sea salt. Both will enhance the flavor.
Incorporating Rice Krispies
Now, it’s time to add 6 cups of Rice Krispies cereal. Gradually fold the cereal into the melted marshmallow mixture. Be gentle to keep the cereal crispy. If you want a chocolate twist, fold in 1/2 cup of dark chocolate chips at this stage. They will melt slightly and add more flavor.
Preparing to Serve
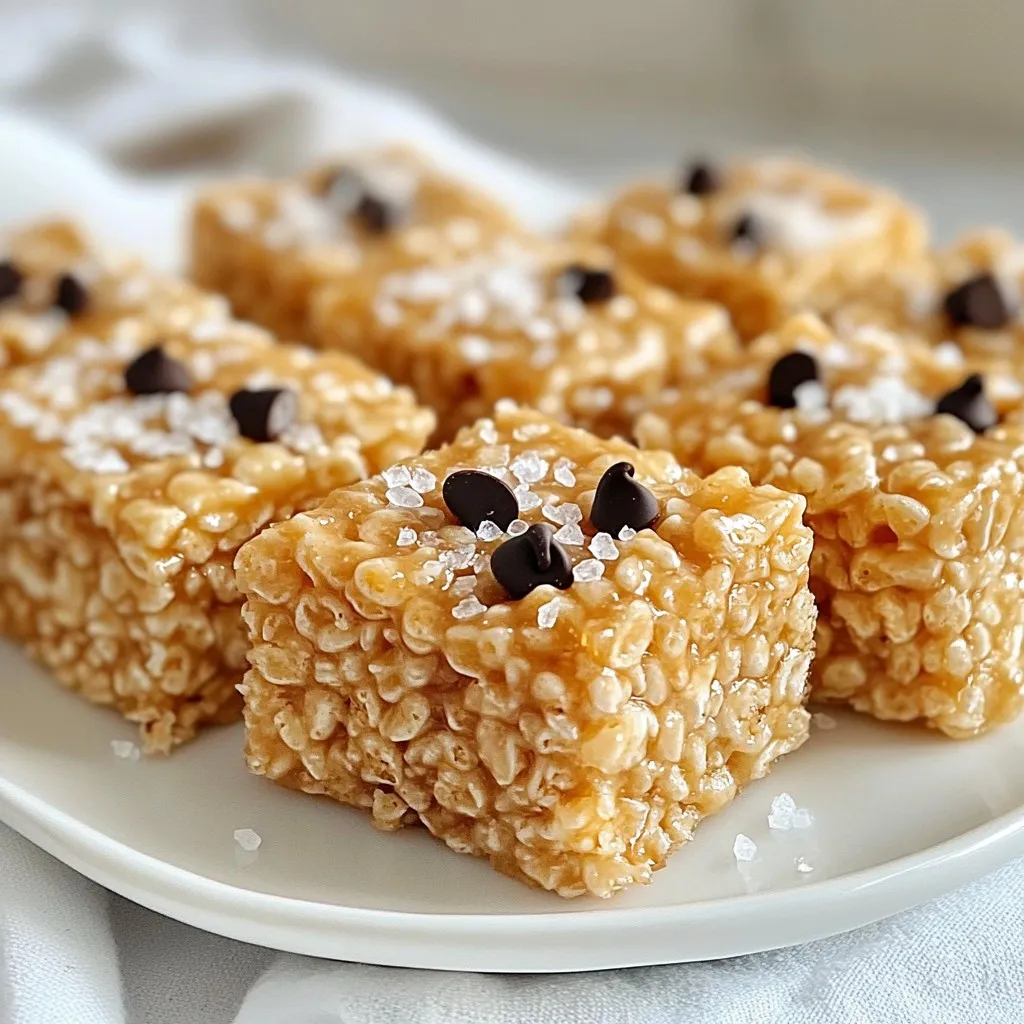
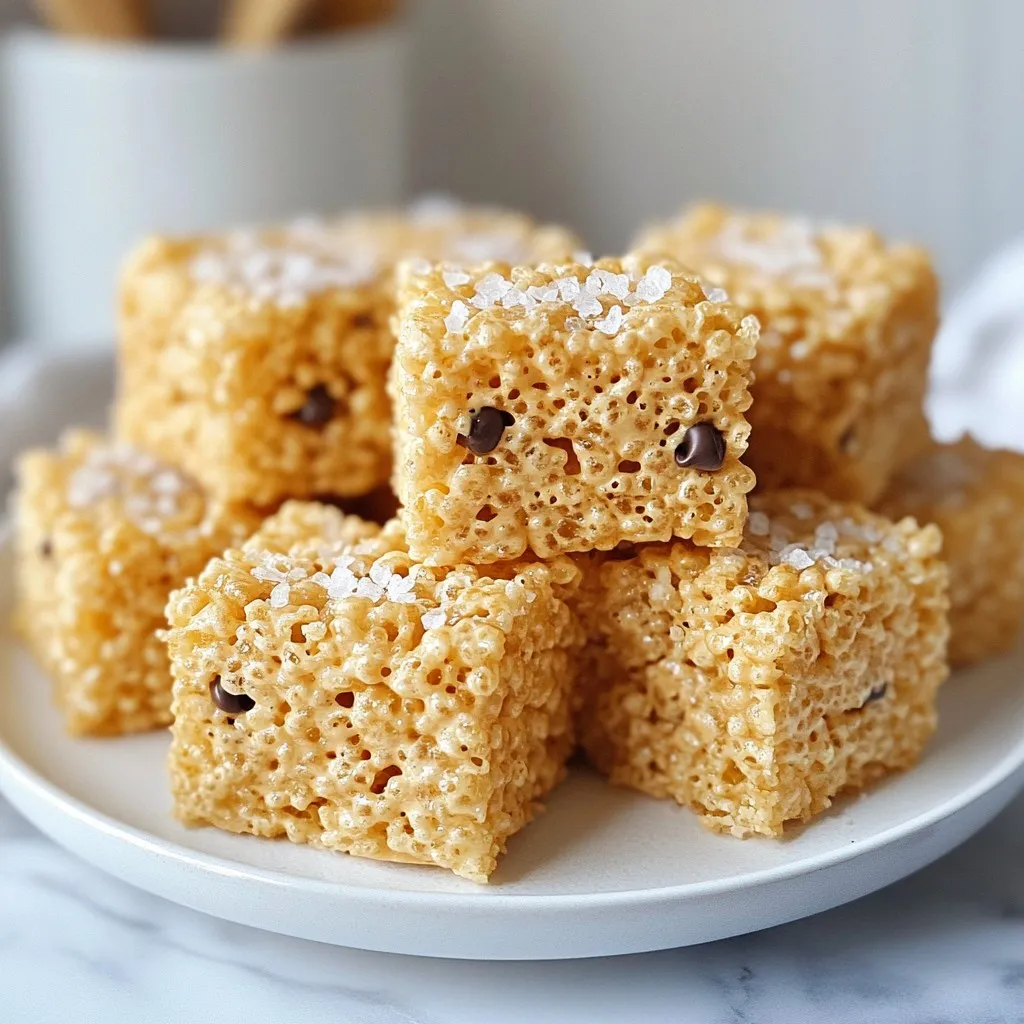
Lightly grease a 9×13 inch baking dish with non-stick spray or butter. Pour the mixture into the dish. Use wax paper or greased hands to gently press the mixture down. Aim for an even distribution and a flat surface. Let the treats set for at least 30 minutes at room temperature. Once firm, cut them into squares or rectangles.
Tips & Tricks
Perfecting Brown Butter
To make great brown butter, watch for key signs. You want the butter to foam up and turn a lovely golden brown. This change usually takes about 5 to 7 minutes. The smell should be nutty and warm. If it starts to smell burnt, you need to act fast. Remove the pan from heat to stop the cooking.
To avoid burning the butter, stir it often. Use a light-colored pan to see the color change better. If you notice dark bits forming at the bottom, it’s time to take it off the heat. Brown butter adds a rich flavor, so getting it right is vital.
Serving Suggestions
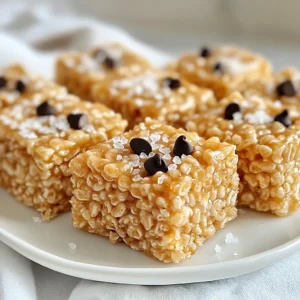
Presentation matters! Serve your Rice Krispie treats on a colorful plate or a rustic wooden board. This makes them look more inviting. You can drizzle melted chocolate over the top. A sprinkle of sea salt adds a nice touch too.
For extra flavor, think about adding toppings. Chopped nuts or dried fruit can add crunch and sweetness. You could also try using peanut butter chips or white chocolate chips for a fun twist. The options are endless, so feel free to get creative!
Pro Tips
- Perfecting Brown Butter: Make sure to keep a close eye on the butter as it browns; it can go from perfect to burnt very quickly. Stir constantly to achieve an even color and nutty aroma.
- Marshmallow Melting: For an extra smooth mixture, use low heat when melting the marshmallows. This will help prevent them from becoming too sticky and clumpy.
- Pressing the Mixture: Use a piece of greased wax paper to press the Rice Krispie mixture down firmly in the baking dish. This will help create a more uniform texture and prevent sticking.
- Storage Tips: Store the treats in an airtight container at room temperature. They will stay fresh for up to a week, but they are best enjoyed within the first few days!
Variations
Flavor Enhancements
You can easily change the taste of your Brown Butter Rice Krispie Treats. Adding different types of chips can bring new flavors. For a sweet twist, try white chocolate chips. If you want a nutty flavor, peanut butter chips work well. You can also mix in nuts for crunch. Chopped pecans or walnuts add great texture. Dried fruits, like cranberries or raisins, can add a bit of zest. Just toss in about a half cup of your choice when mixing the Rice Krispies.
Dietary Substitutions
If you need to make the treats gluten-free, switch to certified gluten-free Rice Krispies. Many brands now offer this option, so check the label. For a vegan version, replace the butter with coconut oil or vegan butter. Use dairy-free marshmallows instead of regular ones. This way, you can enjoy these treats without dairy or gluten. Both options keep the treats tasty and fun for everyone.
Storage Info
Storing Brown Butter Rice Krispie Treats
To keep your treats fresh, store them in an airtight container. This will keep them soft and chewy. Place a piece of wax paper between layers if you stack them. This prevents them from sticking together. You can store them at room temperature for up to three days. If they last longer, they may become hard.
Freezing Tips
For long-term storage, freeze your Brown Butter Rice Krispie Treats. Wrap each treat in plastic wrap. Then put them in a freezer bag. This protects them from freezer burn. You can freeze them for up to three months.
When you’re ready to enjoy, take them out and let them thaw at room temperature. You can also warm them in the microwave for about 10-15 seconds. This restores their soft texture. Enjoy your treats any time!
FAQs
Can I use regular butter instead of unsalted?
Yes, you can use regular butter, but unsalted butter is best. Unsalted butter gives you control over salt. This way, you can add just the right amount. It also lets the brown butter flavor shine through without extra salt. Plus, the taste is richer and more balanced.
How do I make Rice Krispie Treats less sticky?
To make your Rice Krispie treats less sticky, try these tips:
– Lightly grease your hands before mixing. This helps keep the mixture from sticking.
– Use fresh ingredients. Old marshmallows can be extra sticky.
– Add a sprinkle of powdered sugar. This can help absorb some stickiness.
– Let the treats cool completely before cutting. This helps them hold their shape better.
Can I add other ingredients to the recipe?
Absolutely! Get creative with your treats. Here are some fun additions:
– Mix in crushed cookies for extra flavor.
– Try adding nuts for crunch.
– Use different types of chocolate chips like white or peanut butter.
– Toss in dried fruits for a sweet twist.
What is the best way to cut Rice Krispie Treats?
Cutting Rice Krispie treats can be tricky. Here’s how to do it right:
– Let the treats cool completely in the pan.
– Use a sharp knife for clean cuts.
– Lightly oil the knife to prevent sticking.
– Cut into squares or rectangles with even pressure. This keeps the edges neat and tidy.
You’ve learned how to make delicious Brown Butter Rice Krispie Treats. We covered the key ingredients and step-by-step instructions. Tips for perfecting your treats helped you make them shine. You can also experiment with flavors and storage options.
Enjoy these treats fresh or share them with friends. Remember, cooking should be fun and tasty! Have fun trying different variations and topping
Brown Butter Rice Krispie Treats
Deliciously chewy and nutty Rice Krispie treats made with brown butter and optional dark chocolate.
Prep Time 10 minutes mins
Cook Time 30 minutes mins
Total Time 40 minutes mins
Course Dessert
Cuisine American
Servings 12
Calories 150 kcal
- 4 tablespoons unsalted butter
- 1 package (10 oz) mini marshmallows
- 6 cups Rice Krispies cereal
- 1 teaspoon vanilla extract
- 1 quarter teaspoon sea salt
- 1 half cup dark chocolate chips (optional)
In a large saucepan over medium heat, melt the unsalted butter. Continuously stir as the butter melts until it starts to foam. Keep stirring until the butter turns a golden brown color and emits a nutty aroma, about 5-7 minutes. Remove from heat immediately to prevent burning.
Add the mini marshmallows to the browned butter in the saucepan, stirring until they are completely melted and the mixture is smooth. This should take about 2-3 minutes.
Stir in the vanilla extract and sea salt. Mix to combine.
Gradually add the Rice Krispies cereal to the melted marshmallow mixture, folding gently until fully incorporated. If you desire a layer of chocolate, you can also fold in dark chocolate chips at this point.
Lightly grease a 9x13 inch baking dish with non-stick spray or butter. Pour the mixture into the prepared dish. With a piece of wax paper or greased hands, gently press the mixture into the dish until evenly spread and flat.
Allow the treats to set for at least 30 minutes at room temperature. Once set, cut into squares or rectangles.
Serve them on a colorful plate or a wooden board. Drizzle melted chocolate over the top and sprinkle a little sea salt for added flavor.
Keyword Brown Butter, dessert, Rice Krispie Treats
WANT TO SAVE THIS RECIPE?