
Welcome to the world of chocolate chunk scones! If you love fresh, warm treats, you’re in for a delight. In this guide, I’ll show you how to make scones that are crispy outside and soft inside. With simple ingredients and easy steps, you can create a delicious treat that feels like a bakery special. So grab your apron, and let’s get baking these tasty chocolate chunk scones!
Ingredients
Complete List of Ingredients
– 2 cups all-purpose flour
– 1/3 cup granulated sugar
– 1 tablespoon baking powder
– 1/2 teaspoon salt
– 1/2 cup cold unsalted butter, cubed
– 3/4 cup heavy cream
– 1 teaspoon vanilla extract
– 1 cup chocolate chunks (dark or milk chocolate, your choice)
– 1 egg (for egg wash)
– Extra sugar for sprinkling on top
I love to use simple, fresh ingredients for my scones. First, I grab all-purpose flour, which gives the right texture. Then, I add granulated sugar for sweetness. Baking powder helps the scones rise, while a pinch of salt balances the flavors.
Next, cold unsalted butter is key. I cube it and mix it in to create a crumbly mix. Heavy cream makes the dough rich and moist, and a dash of vanilla adds depth. For the star, I choose chocolate chunks—dark or milk, depending on my mood.
Finally, I prepare an egg wash for a golden, shiny top. I also sprinkle a bit of extra sugar on the scones for that bakery touch. These ingredients come together to create a delightful treat that fills your kitchen with warmth and joy.
Step-by-Step Instructions
Prepping the Oven and Baking Sheet
Set your oven to 400°F (200°C). This temperature ensures that your scones rise well and get that nice golden color. Next, line a baking sheet with parchment paper. This paper keeps the scones from sticking and helps with easy cleanup.
Making the Dough
First, take a big bowl. In it, whisk together 2 cups of flour, 1/3 cup of sugar, 1 tablespoon of baking powder, and 1/2 teaspoon of salt. This mix gives the scones a good base.
Next, add 1/2 cup of cold, cubed butter. Use a pastry cutter or your fingers to mix the butter into the flour until it looks like coarse crumbs. This step keeps the scones flaky.
Now, stir in 1 cup of chocolate chunks. You can use dark or milk chocolate, based on your taste. In a separate bowl, mix 3/4 cup of heavy cream with 1 teaspoon of vanilla extract. Pour this cream mixture into the flour mix.
Gently stir until just combined. The dough should feel slightly sticky but not too wet. Turn the dough onto a floured surface. Knead it gently just a few times to bring it together. Then, pat it into a circle that is about 1 inch thick.
Shaping and Baking the Scones
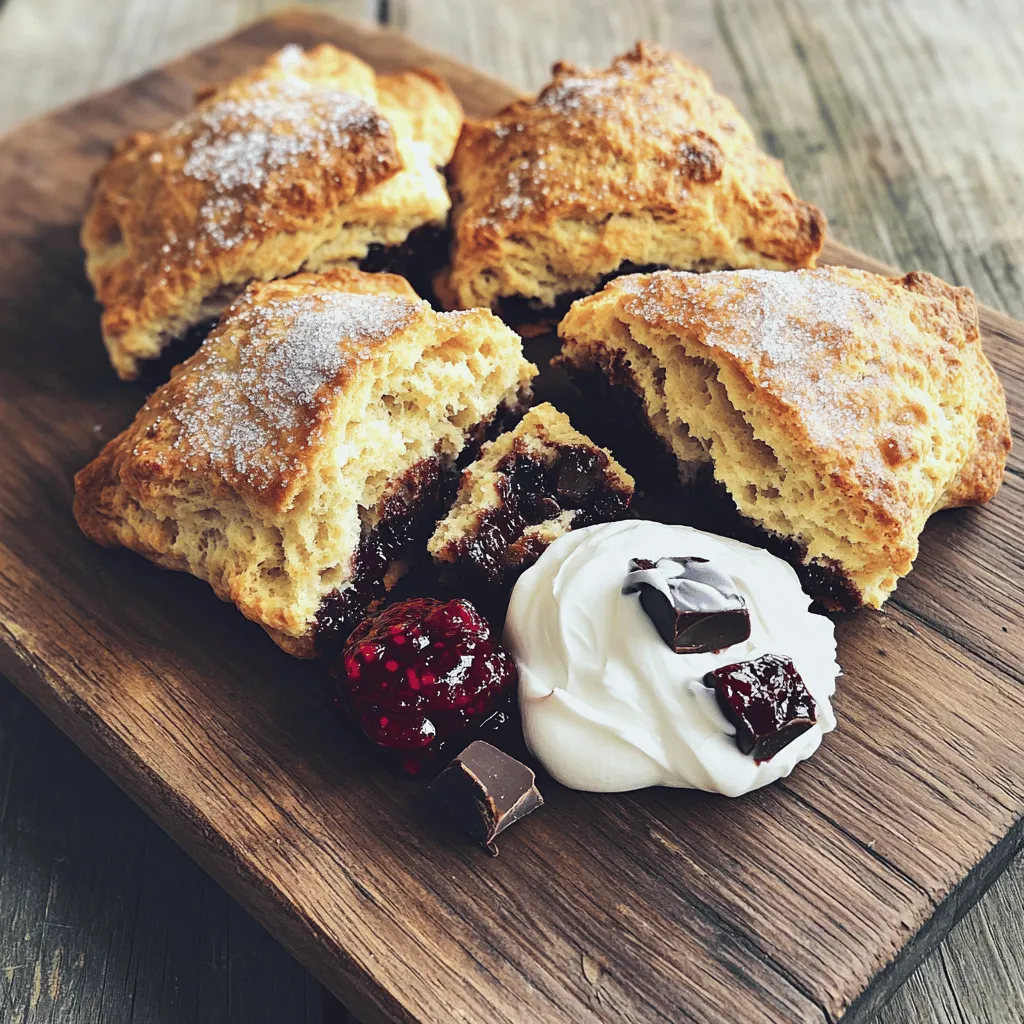
Cut the dough into 8 wedges, like a pizza. Place each wedge on your lined baking sheet.
Now, beat 1 egg and brush it over the top of each scone. This egg wash gives a nice shine. Sprinkle a bit of extra sugar on top for added sweetness.
Bake the scones for 15 to 20 minutes. Look for a golden-brown color on top. Once done, take them out and let them cool for a few minutes before serving. Enjoy your fresh and tasty chocolate chunk scones!
Tips & Tricks
Perfecting Your Scone Texture
To make the best chocolate chunk scones, you must focus on two key things: avoiding overmixing and keeping your ingredients cold.
– Avoiding Overmixing: When you mix, do it gently. If you overmix, your scones can turn tough. Mix just until the dough comes together. It’s okay if it looks a bit lumpy. The secret lies in letting the flour and cream work together without too much fuss.
– Keeping Ingredients Cold: Cold butter is essential. It helps create flaky layers. Before you start, chill your butter in the freezer for about 15 minutes. Also, use cold heavy cream. This helps keep the dough from warming up too much.
To achieve the ideal thickness, pat your dough into a circle about 1-inch thick. This thickness ensures your scones rise well and bake evenly. If they’re too thin, they won’t be as fluffy.
Serving Suggestions
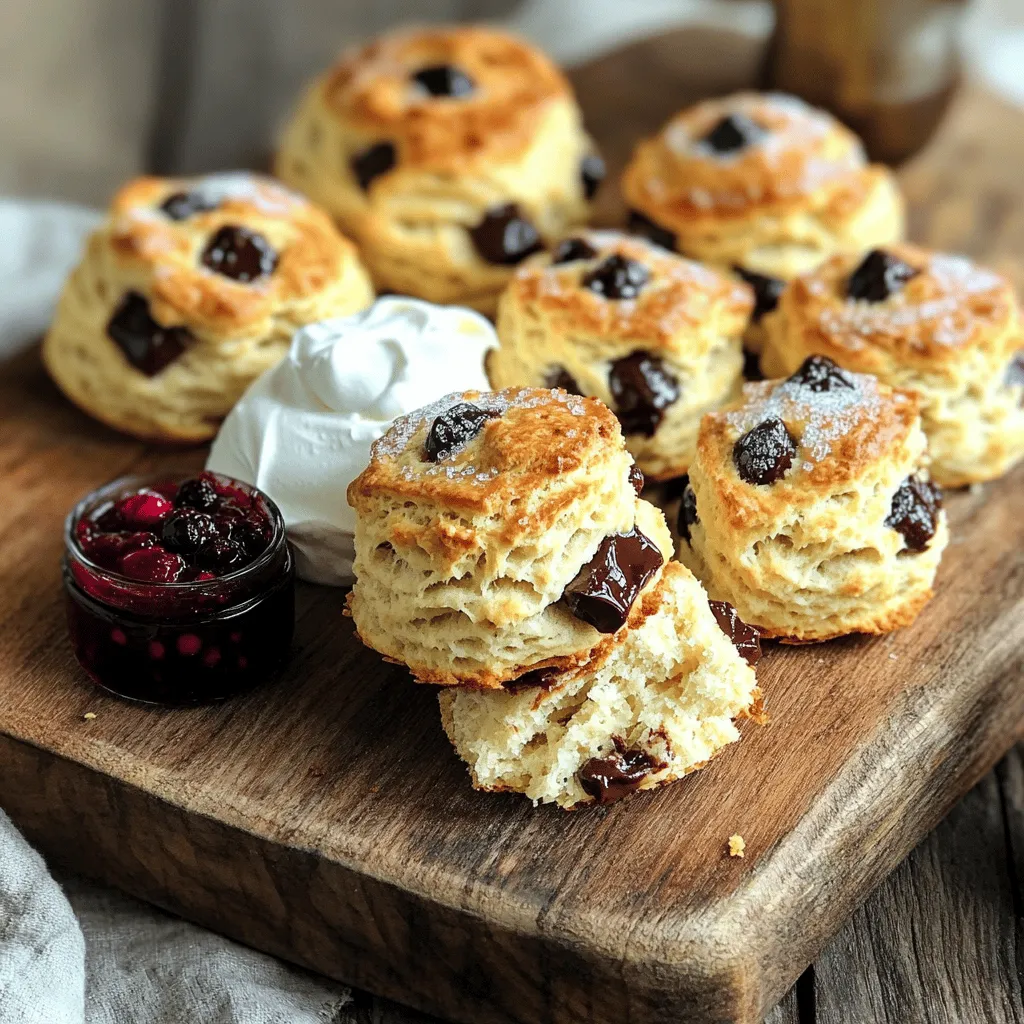
Pair your scones with clotted cream or berry jam. Both options add a rich flavor that complements the chocolate. Clotted cream gives a creamy texture, while berry jam adds a sweet, fruity touch.
For a lovely presentation, arrange the scones on a wooden board. This gives a rustic bakery feel. You can also dust them lightly with powdered sugar before serving. This touch makes them look extra special.
Variations
Ingredient Swaps
Using different types of chocolate can change your scones. Dark chocolate gives a rich taste, while milk chocolate adds sweetness. You can try a mix of both for a balanced flavor.
If you need to swap ingredients for dietary needs, it’s easy. For gluten-free scones, use a gluten-free flour blend. You can find many options at the store. To make these scones vegan, replace the heavy cream with a plant-based cream. Use a flax egg instead of a regular egg to brush on top.
Flavor Additions
You can add nuts or dried fruit to your scones for extra flavor. Chopped walnuts or pecans add a nice crunch. Dried cranberries or apricots bring a sweet burst. Try different combos to find your favorite.
Adding spices can create unique flavor profiles. A pinch of cinnamon or nutmeg can warm up your scones. You can also add a dash of sea salt to enhance the chocolate flavor. Experiment with these options to make your scones special.
Storage Info
Best Ways to Store Scones
To keep your chocolate chunk scones fresh, store them at room temperature. Place them in an airtight container. This way, they stay soft for two days. If you need to keep them longer, refrigerate them. Wrap each scone in plastic wrap and place them in a sealed bag. This keeps them fresh for about a week. For even longer storage, freeze the scones. Use the same wrapping method as before. They can last up to three months in the freezer. Just remember to label the bags with the date!
Reheating Techniques
To enjoy that freshly baked taste again, reheating is key. The oven gives the best results. Preheat it to 350°F (175°C). Place the scones directly on the oven rack for about 5 to 10 minutes. This warms them evenly and keeps them crisp. If you’re in a hurry, you can use a microwave. Heat them for 10 to 15 seconds. But be careful! Microwaving too long can make them tough. Enjoy your warm scones with a cup of tea or coffee!
FAQs
How do you know when the scones are done baking?
You know the scones are done when they turn golden brown on top. This usually takes about 15 to 20 minutes in a preheated oven at 400°F (200°C). You can also check by gently tapping the top. If it sounds hollow, they are done. Let them cool slightly before serving to keep them soft and warm.
Can I make the dough ahead of time?
Yes, you can make the dough ahead of time! Just prepare it and wrap it tightly in plastic wrap. You can store it in the fridge for up to 24 hours. When you’re ready to bake, just cut the dough into wedges and follow the baking steps. This saves time and makes it easy for a quick treat.
What is the best way to enjoy chocolate chunk scones?
The best way to enjoy chocolate chunk scones is warm with clotted cream or berry jam. Butter also works well if you want something simple. You can even pair them with a nice cup of tea or coffee. This makes for a cozy afternoon snack or a delightful breakfast.
How long do homemade scones last?
Homemade scones last about 2 to 3 days at room temperature. Keep them in an airtight container to stay fresh. You can also freeze them for up to three months. Just thaw at room temperature before enjoying. That way, you can have fresh scones whenever you want!
You now have all the ingredients, steps, and tips to make perfect chocolate chunk scones. From prepping the oven to shaping the dough, each detail matters. Remember to keep your ingredients cold for a light texture and try different flavors for a unique twist. You can store these scones to keep them fresh and tasty. Your scone-making journey can bring joy and deliciousness to your kitchen. Enjoy sharing them with others or savoring them alone. Happy baking!
