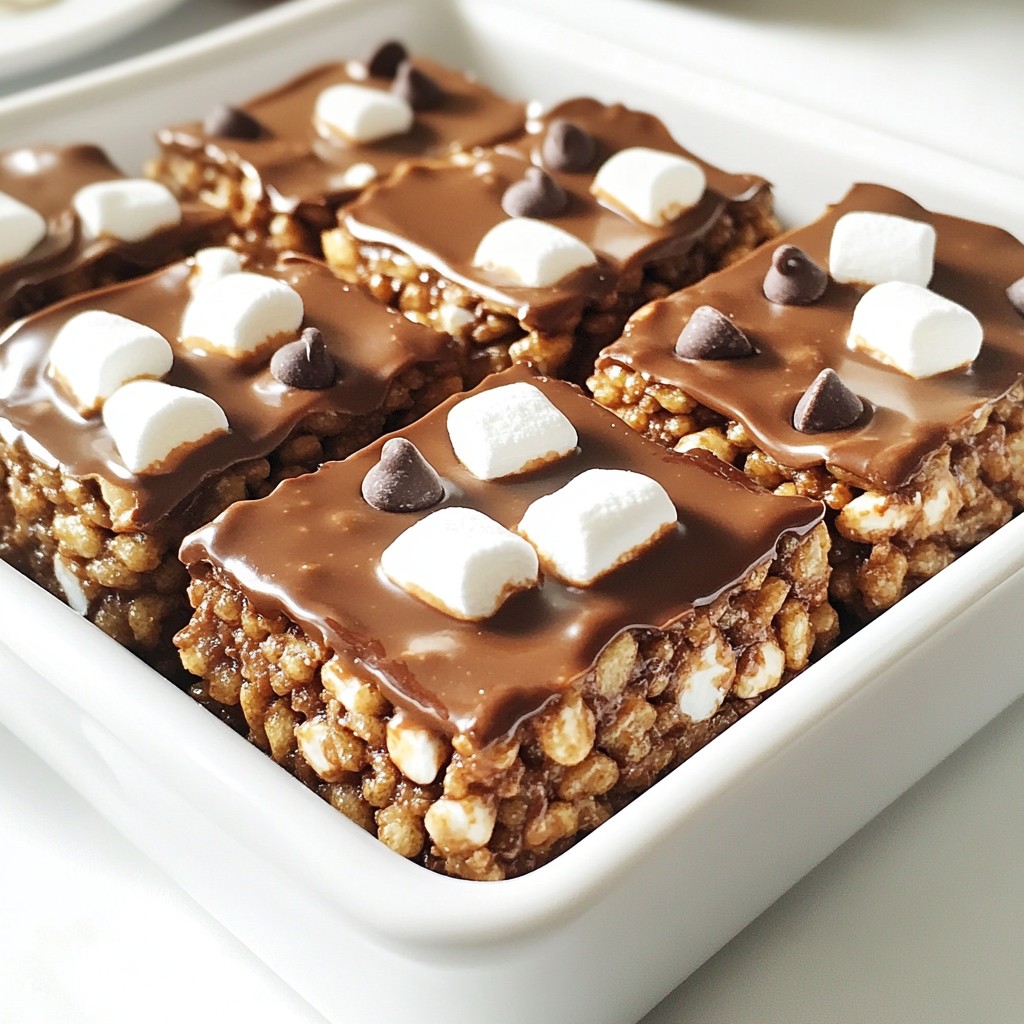
Get ready to treat yourself with my Chocolate Peanut Butter Rice Krispie Treats Delight! This recipe brings together the sweet crunch of Rice Krispies and the rich flavors of chocolate and peanut butter. With easy steps, you'll whip up a tasty snack that satisfies any craving. Whether you're sharing or keeping them all to yourself, these treats are sure to be a hit at your next gathering. Let’s dive in!
Why I Love This Recipe
- Easy to Make: This recipe is quick and requires minimal ingredients, making it perfect for a last-minute treat.
- Delicious Flavor Combo: The combination of chocolate and peanut butter is a classic that everyone loves.
- Customizable: You can easily add your favorite mix-ins like nuts or dried fruit for a personal touch.
- Perfect for Sharing: This recipe yields a generous amount, making it ideal for parties or gatherings.
Ingredients
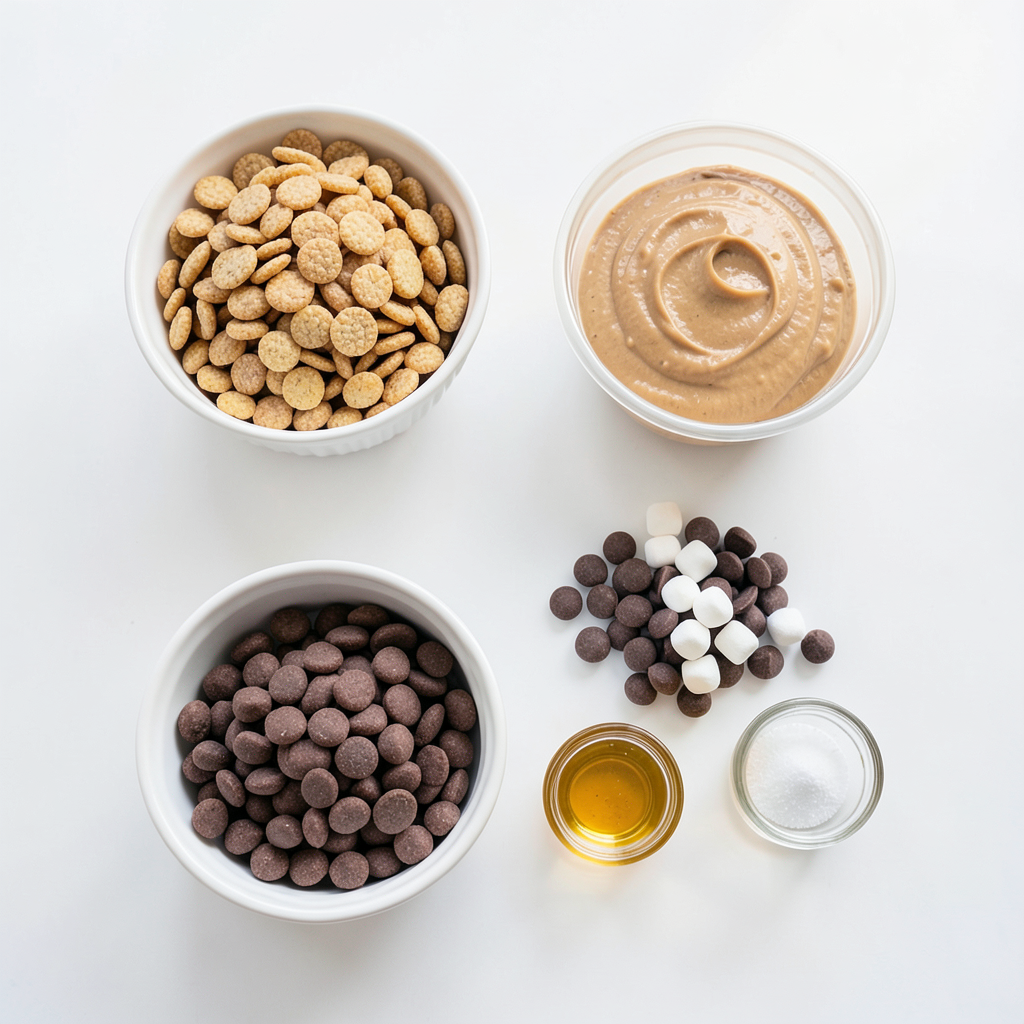
List of Ingredients
- 4 cups Rice Krispies cereal
- 1 cup creamy peanut butter
- 1 cup semi-sweet chocolate chips
- 1 cup mini marshmallows
- 1/4 cup honey or maple syrup
- 1 teaspoon vanilla extract
- 1/4 teaspoon salt
These ingredients come together to create a delicious treat. Rice Krispies provide the perfect crunch. Creamy peanut butter adds rich flavor and creaminess. Semi-sweet chocolate chips offer a sweet touch. Mini marshmallows give a soft and gooey texture. Honey or maple syrup sweetens the mix naturally. Vanilla extract enhances the flavors. A pinch of salt balances it all out.
Gather these items before you start. Having everything ready makes cooking easier and fun. You’ll love the mix of flavors and textures in every bite. Each ingredient plays a role in making these treats special. So, let’s get ready to make something amazing!
Step-by-Step Instructions
Preparation Steps
1. Grease or line baking dish: Start by greasing a 9x13 inch baking dish. You can use cooking spray or line it with parchment paper. This helps with easy removal later.
2. Melt chocolate and peanut butter mixture: In a medium saucepan, mix chocolate chips, peanut butter, honey (or maple syrup), and salt over low heat. Stir until smooth and melted. This creates a rich, creamy mixture.
3. Stir in mini marshmallows: Remove the saucepan from heat and quickly stir in mini marshmallows. They will soften and blend into the mix. This makes the treats gooey and delicious.
Combining Ingredients
1. Mix Rice Krispies with chocolate mixture: In a large bowl, pour 4 cups of Rice Krispies cereal. Then pour your melted chocolate and peanut butter mix over the cereal. Use a spatula to fold it gently. Make sure all the cereal gets coated.
2. Press into prepared pan: Transfer the mixture into your greased baking dish. With damp hands or a spatula, press the mix firmly into an even layer. This helps the treats hold together well.
Finishing Touches
1. Cooling and setting time: Let the treats cool at room temperature for about 30 minutes. If you’re short on time, put them in the fridge for 15 minutes.
2. Cutting and serving suggestions: Once set, lift the treats out of the pan if you used parchment paper. Cut them into squares or bars. For a fun touch, serve them on a colorful plate and add some extra chocolate chips or crushed peanuts on top!
Tips & Tricks
Perfecting Texture
To achieve that perfect gooeyness, start by melting the chocolate and peanut butter slowly. Stir until smooth. When you add mini marshmallows, mix them in quickly. This step helps them melt and blend well.
Pressing the mixture into the pan is key. Use slightly damp hands or a spatula to press it down evenly. This helps the treats hold their shape. Make sure you press firmly but gently to avoid crushing the cereal.
Flavor Enhancement
You can enhance the flavor by adding toppings. Try crushed peanuts, extra chocolate chips, or even a sprinkle of sea salt. These mix-ins add texture and taste.
Adjusting sweetness is easy too. If you prefer less sweet, cut back on honey or maple syrup. Taste the mixture before it sets to find your perfect balance.
Troubleshooting Common Issues
If your mixture is too dry, add a bit more melted chocolate or peanut butter. This will help it stick together better. If it’s too wet, increase the Rice Krispies a little at a time.
For even cooling, spread the mixture evenly in the pan. If you want faster cooling, place it in the fridge. This helps the treats set quicker without losing texture.
Pro Tips
- Use Fresh Ingredients: Ensure your marshmallows and chocolate chips are fresh for the best flavor and texture in your treats.
- Experiment with Flavors: Try adding a pinch of cinnamon or a splash of espresso powder to the melted mixture for a unique flavor twist.
- Keep It Cool: If your mixture feels too sticky when pressing it into the pan, dampen your hands or spatula to make it easier to handle.
- Storage Tips: Store the treats in an airtight container at room temperature to maintain their chewy texture for up to a week.
Variations
Flavor Variations
You can make these treats even more fun. Try adding nuts or seeds for a crunchy bite. Chopped peanuts or almonds work well. You can also use sunflower seeds for a nut-free option.
Feel free to switch up the chocolate too! Dark chocolate gives a rich flavor. White chocolate adds a sweet twist. You can mix different types for a unique taste.
Dietary Modifications
If you need a gluten-free treat, use gluten-free Rice Krispies. They taste just as good! For vegan options, swap the honey with maple syrup. Use dairy-free chocolate chips too. This way, everyone can enjoy them.
Seasonal Ideas
Make these treats special for holidays. Add colorful sprinkles for birthdays or festive events. You can even shape them into holiday-themed designs. For Halloween, use orange and black sprinkles. For Christmas, go with red and green.
These ideas make your treats stand out for any occasion!
Storage Info
Best Practices for Storage
To store leftover treats, you need an airtight container. This keeps them fresh. Make sure the treats cool completely first. If they are warm, they can get soggy. Place a piece of parchment paper between layers. This helps avoid sticking.
Shelf Life
At room temperature, these treats last about three days. If you put them in the fridge, they can stay fresh for a week. Freezing is another option. In the freezer, they can last up to three months. Just remember to wrap them well to avoid freezer burn.
Reheating and Reviving Treats
If your treats harden, there are easy ways to soften them. You can microwave them for a few seconds. Just heat them in short bursts. This keeps them from melting away. Another option is to place a slice of bread in the container. The bread adds moisture. It helps keep the treats soft and fresh.
FAQs
Common Questions
Can I use natural peanut butter instead of creamy? You can use natural peanut butter, but it may change the texture. Natural peanut butter is often runnier and less sweet. This might make your treats a bit softer and less sticky. If you prefer a firmer treat, stick with creamy peanut butter.
What can I substitute for honey or maple syrup? You can use agave nectar or brown rice syrup as a substitute. Both options add sweetness and moisture. You can also try using granulated sugar, but you may need to adjust the liquid in the recipe.
Serving Suggestions
How should I serve these treats? Serve the treats on a colorful plate for a fun look. You can cut them into squares or bars. For a special touch, sprinkle some chocolate chips or crushed peanuts on top. This adds texture and makes them look even more appealing.
Ideas for pairing with beverages These treats pair well with milk, coffee, or hot chocolate. The rich flavors of chocolate and peanut butter complement these drinks nicely. You can also enjoy them with a scoop of vanilla ice cream for a fun dessert.
Nutritional Information
Caloric information per serving Each serving has about 150 calories. This can vary based on the type of peanut butter and chocolate you use. Always check your ingredients for exact numbers.
Allergen considerations for this recipe This recipe contains peanuts, dairy, and gluten. If you have allergies, be cautious. You can use gluten-free Rice Krispies and dairy-free chocolate to make it safer for those with dietary restrictions.
You now have a tasty way to make Rice Krispies treats. You learned the ingredients you need and how to prepare them step by step.
Remember, you can add flavors and adjust the sweetness. Storing your treats properly keeps them fresh longer. With these tips, your treats will delight everyone. Enjoy experimenting, and share your yummy creations!