
Craving a sweet snack that’s quick and easy? Look no further! My no-bake peanut butter Rice Krispie treats are a simple delight. With just a few ingredients like creamy peanut butter, honey, and Rice Krispies, you can whip these up in no time. These treats are perfect for any occasion, and even better, they require no oven. Ready to impress your friends and satisfy your sweet tooth? Let’s get started!
Ingredients
To make no-bake peanut butter rice krispie treats, you only need a few simple ingredients. Each one plays a key role in creating the perfect balance of flavor and texture. Here’s what you will need:
– 3 cups Rice Krispies cereal
– 1 cup creamy peanut butter
– 1/2 cup honey or maple syrup
– 1/2 cup powdered sugar
– 1 teaspoon vanilla extract
– 1/4 cup mini chocolate chips (optional)
– A pinch of salt
These ingredients work together to create a sweet, crunchy, and chewy treat. Rice Krispies give the bars their crunch, while the peanut butter adds richness. Honey or maple syrup acts as a natural sweetener, and powdered sugar helps bind everything. The vanilla extract adds a warm flavor, and a pinch of salt enhances all the tastes. If you like chocolate, the mini chocolate chips add a fun twist!
Each ingredient is easy to find and makes this recipe simple and fun.
Step-by-Step Instructions
Preparation Steps
1. Combining the peanut butter and honey: Start by grabbing a large mixing bowl. Add 1 cup of creamy peanut butter and 1/2 cup of honey (or maple syrup) to the bowl. Microwave this mixture for about 30 seconds to 1 minute. This makes it warm and easy to mix. Stir it until smooth.
2. Mixing in the remaining ingredients: Next, add 1/2 cup of powdered sugar, 1 teaspoon of vanilla extract, and a pinch of salt to your bowl. Use a spatula to mix everything together. The mixture will be thick, but that’s okay.
3. Folding in Rice Krispies and chocolate chips: Now it’s time for the fun part! Slowly fold in 3 cups of Rice Krispies cereal. Make sure every piece is coated with the peanut butter mix. If you want extra sweetness, fold in 1/4 cup of mini chocolate chips.
Assembling the Treats
1. Lining the baking pan: Take an 8×8-inch square baking pan. Line it with parchment paper. Leave some paper hanging over the sides. This helps you lift the treats out later.
2. Pressing the mixture into the pan: Pour the mixture into your lined pan. Use a spatula or your hands to press it down firmly. Make sure it’s even and packed tightly. This keeps the treats together.
Setting the Treats
1. Refrigeration time and technique: Place the pan in the fridge for at least 1 hour. This helps the bars firm up.
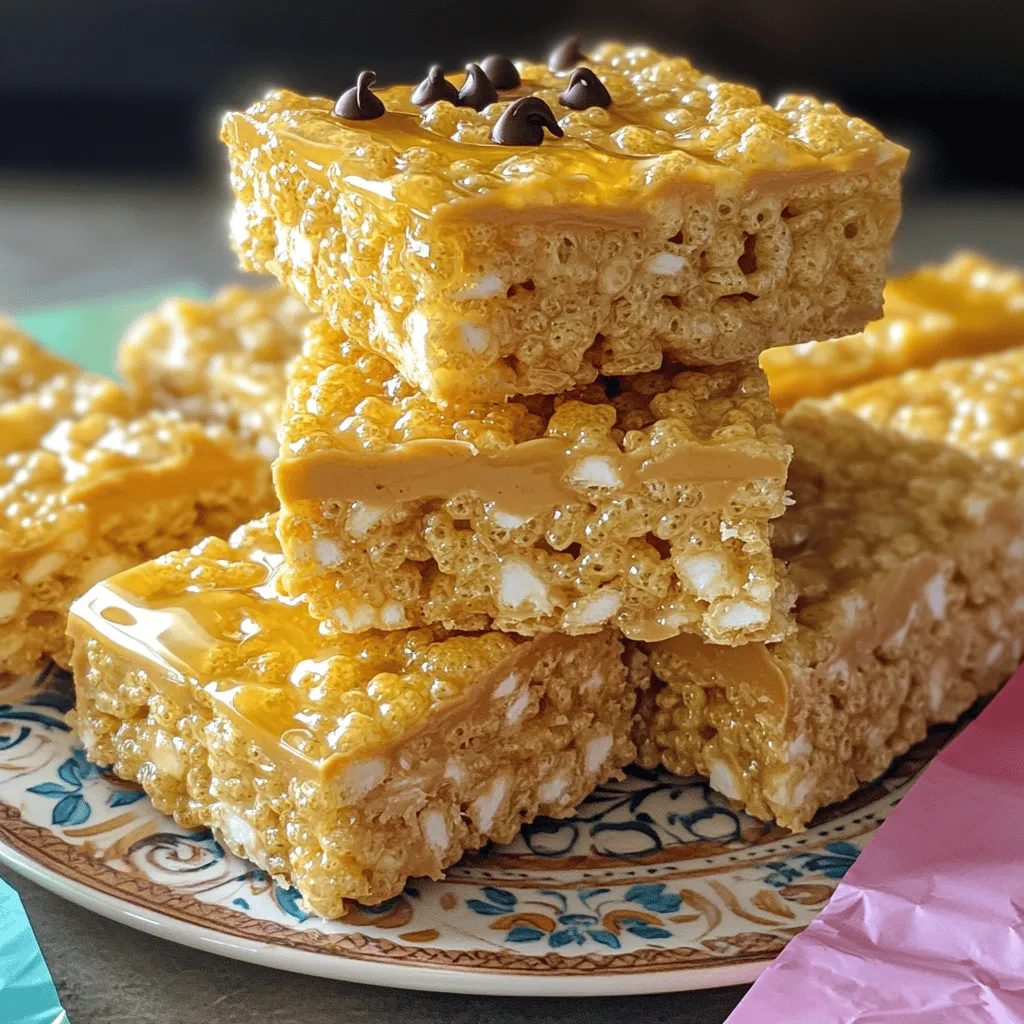
2. Cutting and serving recommendations: Once set, lift the bars from the pan using the parchment paper. Cut them into squares or rectangles. You can stack them on a plate and add more mini chocolate chips on top for a fun look!
Tips & Tricks
Expert Tips for Perfecting the Recipe
– Ensuring the mixture is well combined: Mix the peanut butter and honey until smooth. Microwave them for 30 seconds to help. This warmth makes blending easier. After adding powdered sugar, stir well. A good mix means tasty bars.
– How to achieve the best texture: Press the mixture firmly into the pan. Use a spatula or your hands for even pressure. This helps the bars hold together. A tight pack stops them from crumbling later.
Customization Suggestions
– Adding nuts or seeds: You can mix in chopped nuts or seeds for crunch. Almonds, walnuts, or sunflower seeds work great. This adds flavor and nutrition, making them even better.
– Experimenting with different sweeteners: Try using agave syrup instead of honey. Maple syrup also works well. Each sweetener gives a unique taste. Have fun and find your favorite!

Variations
Flavor Variations
You can change the taste of your no-bake peanut butter Rice Krispie treats with some easy swaps. For a different nutty flavor, try using almond butter or cashew butter instead of peanut butter. Each nut butter adds a unique taste. If you want a creamier treat, go for a chocolate hazelnut spread.
Adding mix-ins can make your treats more fun. You can fold in dried fruits like raisins, cranberries, or apricots. These add sweetness and chewiness. You can also use seeds like sunflower or pumpkin seeds for extra crunch.
Themed Variations
Make your treats special by changing their look for holidays. You can tint the peanut butter mixture with food coloring. For Halloween, add orange dye. For Christmas, try red and green. Kids love the colorful treats!
You can also make chocolate-covered peanut butter treats. After pressing the mixture into the pan, cut them into squares. Melt some dark or milk chocolate and dip each square. Let them cool on a wire rack. This adds a rich flavor and a nice look.
Storage Info
How to Store Leftover Treats
To store leftover treats, use an airtight container. Place parchment paper between layers to avoid sticking. Keep the container in a cool, dry place. If you want to keep them fresh longer, put them in the fridge. This helps maintain their texture and taste.
Shelf Life
These treats last about a week at room temperature. If stored in the fridge, they stay fresh for about two weeks. Always check for any signs of spoilage before eating. Enjoy your treats while they’re still tasty!
FAQs
Common Questions
Can I freeze no-bake peanut butter rice krispie treats?
Yes, you can freeze them. Wrap the treats tightly in plastic wrap. Then, place them in a freezer-safe container. They can last for up to three months in the freezer. To eat, just thaw them in the fridge overnight.
How can I make these treats vegan?
To make vegan treats, swap honey for maple syrup or agave syrup. Use a vegan chocolate if you add chocolate chips. The rest of the ingredients are already vegan-friendly.
What can I substitute for Rice Krispies?
If you do not have Rice Krispies, you can use other cereals. Crisped rice, puffed rice, or even cornflakes work well. Just ensure they have a similar crunch. You can also use granola for a chewier texture, but it will change the taste a bit.
In this post, we covered how to make tasty no-bake peanut butter Rice Krispie treats. We went through the simple ingredients, the easy steps, and helpful tips. You can customize these treats with various flavors and storage methods. Enjoy making these treats with your favorite twists. They’re quick, fun, and perfect for any occasion!
