


LATEST RECIPES


LET'S GET COOKING!
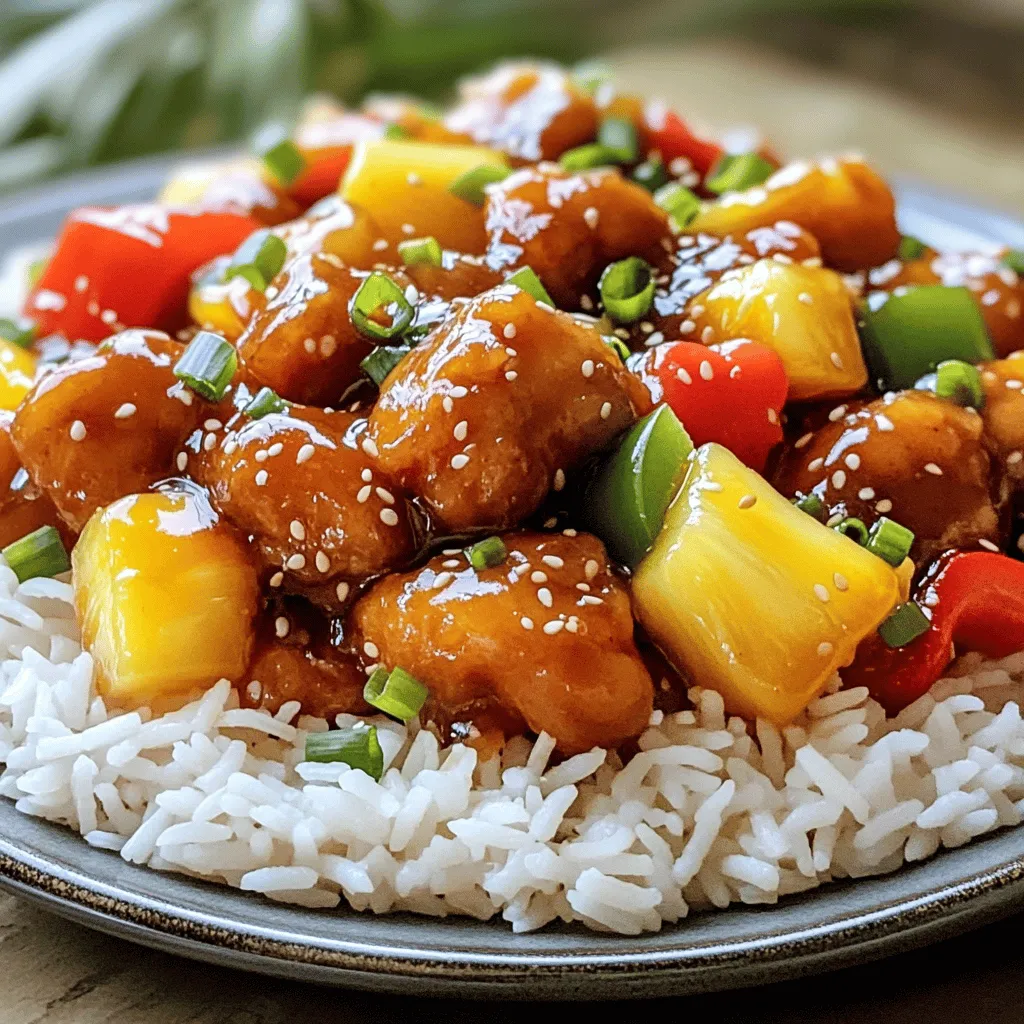
Sweet and Sour Chicken Better Than Takeout Recipe
Craving takeout but want something homemade? My Sweet and Sour Chicken Better Than Takeout recipe will satisfy your taste buds without the delivery wait. You’ll...
Read Full Recipe →