
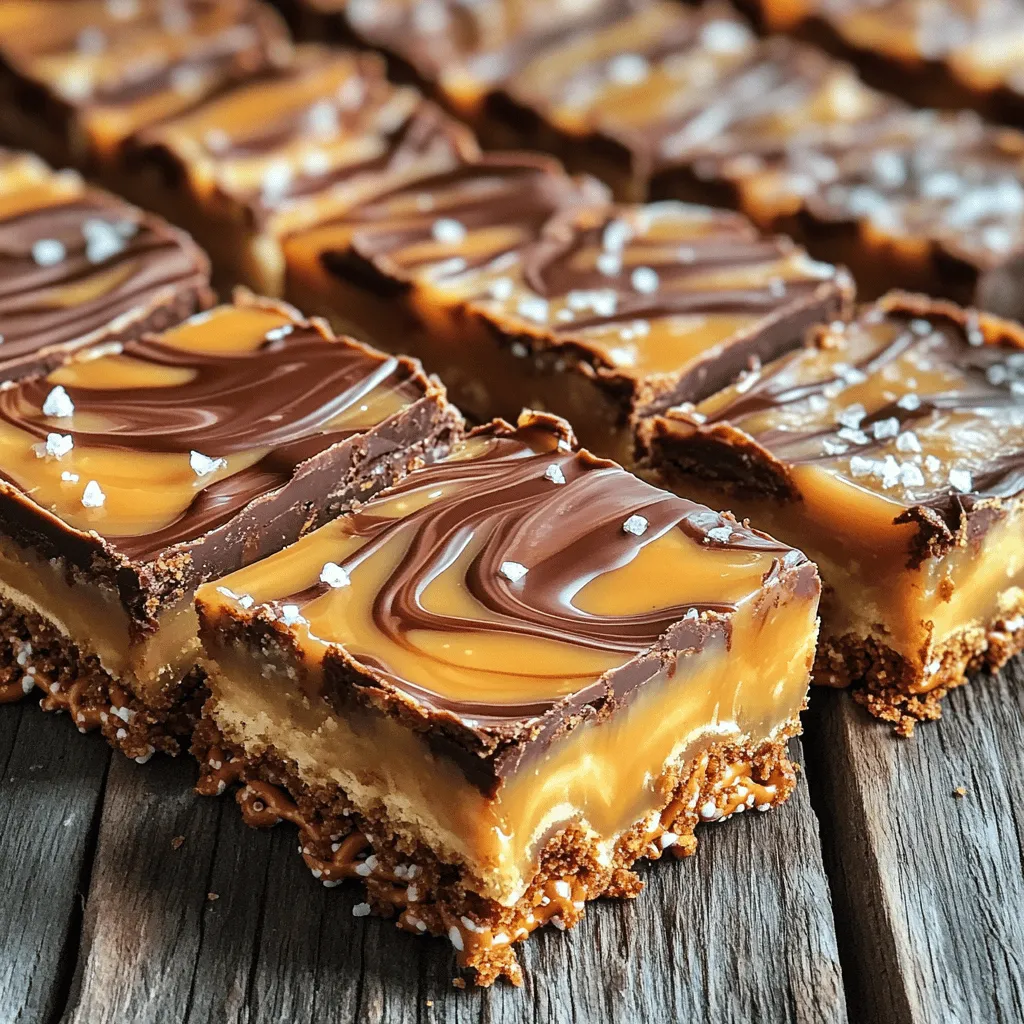
Get ready to treat your taste buds with these Salted Caramel Pretzel Bars! This no-bake delight is quick to make and satisfying to eat. With a crunchy pretzel base and a rich caramel layer, every bite is a perfect mix of sweet and salty. You won’t believe how easy it is! Join me as we dive into this fun recipe that you’ll want to make again and again.
Ingredients
Complete List of Ingredients
To make Salted Caramel Pretzel Bars, you will need the following items:
– 2 cups pretzel sticks, crushed
– 1/2 cup unsalted butter, melted
– 1/4 cup granulated sugar
– 1 cup sweetened condensed milk
– 1 cup chocolate chips (semi-sweet or dark)
– 1/2 cup caramel sauce (store-bought or homemade)
– Sea salt for sprinkling
These ingredients come together to create a sweet and salty treat that everyone will love.
Ingredient Substitutes
If you don’t have some ingredients, here are easy swaps you can use:
– Instead of unsalted butter, use coconut oil for a dairy-free option.
– You can swap granulated sugar for brown sugar to add a richer flavor.
– If you can’t find sweetened condensed milk, you can make your own using milk and sugar.
– Use white chocolate chips instead of semi-sweet or dark for a different taste.
– For the caramel sauce, you can use maple syrup for a lighter flavor.
These substitutes will still give you tasty bars.
Tips for Quality Ingredients
Use high-quality ingredients for the best flavor. Here are some tips:
– Choose fresh pretzels. They should be crunchy but not stale.
– Look for good chocolate chips. The better the chocolate, the richer your bars will taste.
– If making caramel sauce, try to use pure sugar and natural butter. This makes a big difference in taste.
– Always check the expiration date on sweetened condensed milk. You want it fresh for the best flavor.
Using quality ingredients makes your Salted Caramel Pretzel Bars even more delicious!
Step-by-Step Instructions
Preparing the Pretzel Base
To start, gather your pretzel sticks. You need 2 cups, crushed. Place them in a large mixing bowl. Add 1/2 cup of melted unsalted butter and 1/4 cup of granulated sugar. Mix until the pretzels are well coated. This mixture is the base of your bars. It should feel crumbly yet hold together when pressed.
Next, take a lined 9×9 inch baking pan. Pour the pretzel mixture into the pan. Use the back of a measuring cup to press it down firmly. Make sure it forms an even layer across the bottom. This step is key for a sturdy bar.
Making the Chocolate Layer
Now, let’s make the chocolate layer. In a saucepan, combine 1 cup of sweetened condensed milk with 1 cup of chocolate chips. Use low heat and stir constantly. This keeps the chocolate from burning. Continue stirring until the chocolate is completely melted and smooth.
Once melted, pour this chocolate mixture over the pressed pretzel base. Use a spatula to spread it evenly. This layer adds richness and a nice contrast to the salty pretzel base.
Assembling the Bars
It’s time to add the caramel! Drizzle 1/2 cup of caramel sauce over the chocolate layer. Use a knife or toothpick to swirl it gently. This creates a pretty marbled effect.
Next, sprinkle sea salt generously over the top. This salt enhances the sweet and salty flavors.
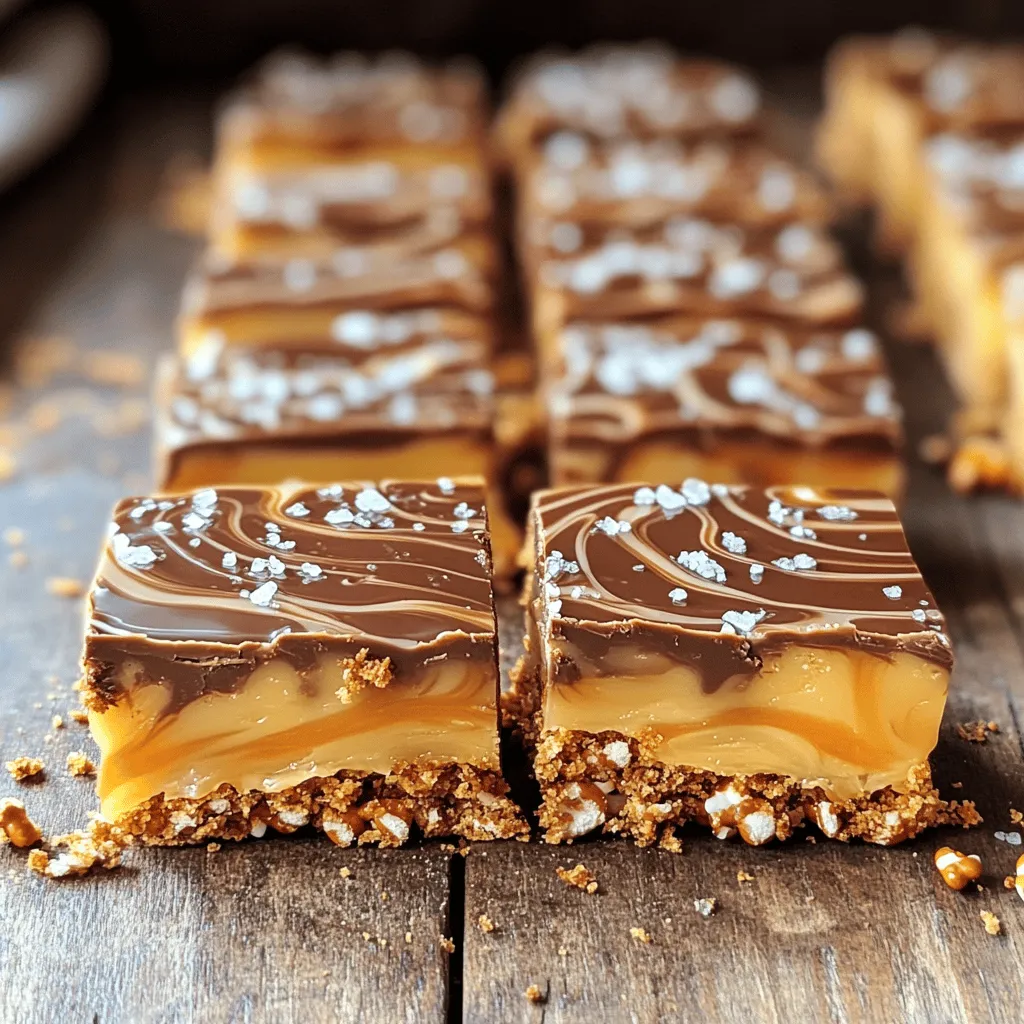
Finally, cover the pan and refrigerate for at least 2 hours. This lets the bars firm up. Once set, lift the bars out using the parchment paper. Cut them into squares or rectangles as you prefer. Enjoy your salted caramel pretzel bars!
Tips & Tricks
Common Mistakes to Avoid
When making Salted Caramel Pretzel Bars, watch out for a few common pitfalls. First, do not overmix the pretzel base. Mixing too much can lead to a crumbly crust. Second, ensure that your chocolate mixture is smooth. If it is chunky, it won’t spread well. Stir continuously over low heat to avoid burning. Lastly, let the bars chill long enough. If you cut them too early, they will not hold together.
Enhancing Flavor with Add-ins
To take your bars to the next level, consider some tasty add-ins. Try mixing in a handful of chopped nuts for crunch. Pecans or almonds work great. You can also add a layer of peanut butter for extra creaminess. For a fun twist, toss in some mini marshmallows. They add a nice chewy texture and flavor contrast.
Serving and Presentation Tips
Presentation matters, even for no-bake treats! Once your bars are set, cut them into neat squares or rectangles. Drizzle extra caramel on top for a beautiful finish. A sprinkle of sea salt enhances the flavor and looks great too. Serve them chilled on a nice platter. You can even top them with fresh fruit for color and taste.
Variations
Different Toppings Ideas
You can make salted caramel pretzel bars even more fun with toppings. Here are some ideas:
– Chopped nuts: Add almonds, pecans, or peanuts for crunch.
– Mini marshmallows: These add a chewy texture and sweetness.
– Crushed candies: Use M&Ms or toffee bits for a pop of color and flavor.
– Drizzled chocolate: A white or milk chocolate drizzle makes it extra special.
Feel free to mix and match these toppings. They will add great flavor and texture.
Flavor Swaps for Chocolate
If you want to change the chocolate flavor, try these swaps:
– Milk chocolate: Use this for a sweeter taste.
– White chocolate: This gives a creamier flavor.
– Dark chocolate: Choose this for a rich, bold taste.
– Peanut butter chips: These add a nutty twist.
Each option brings its own flavor. Choose what you love most.
Alternative Crunchy Base Options
You can switch up the base for your bars, too. Here are some fun ideas:
– Graham cracker crumbs: These add a sweet and buttery taste.
– Rice cereal: This gives a light and crispy texture.
– Crushed cookies: Use Oreos or chocolate wafers for a unique flavor.
Each base option changes the whole feel of the bars. Try different ones to find your favorite!
Storage Info
How to Store Leftovers
To store your salted caramel pretzel bars, place them in an airtight container. You can layer parchment paper between the bars to prevent sticking. Keep the container in the fridge for best results. This way, they stay fresh and tasty. If you follow these steps, your bars will maintain their flavor and texture.
Freezing Instructions
You can also freeze these bars for later enjoyment. First, cut them into squares. Then wrap each piece in plastic wrap. Place the wrapped bars in a freezer-safe bag or container. Be sure to remove as much air as possible. You can freeze them for up to three months. When you’re ready to eat, thaw them in the fridge overnight.
Shelf Life of Salted Caramel Pretzel Bars
These salted caramel pretzel bars last about a week in the fridge. The flavors deepen as they sit, making them even more delicious. If stored correctly, they will stay great for a longer time. Just remember to check for any signs of spoilage before enjoying. Always keep your bars sealed tight to maintain freshness.
FAQs
Can I make these bars vegan?
Yes, you can make these bars vegan. Start by using vegan butter instead of regular butter. For the chocolate, choose dairy-free or dark chocolate chips. Use coconut cream or a plant-based sweetened condensed milk for a creamy texture. This way, you keep the same sweet and salty taste without any animal products.
Can I use another type of nut or candy?
Absolutely! You can mix in different nuts or candies. Try using chopped almonds, pecans, or walnuts for a new twist. If you want to add candy, mini M&Ms or crushed Oreos work well. Just make sure to adjust the amount to keep the balance of flavors.
How do I know when they are set?
You will know the bars are set when they feel firm to the touch. After refrigerating for at least 2 hours, check the edges. They should pull away from the pan a bit. You can also gently press the center; it should not feel sticky. Once they are firm, they are ready to cut into squares.
This blog post covered the key steps to make salted caramel pretzel bars. We reviewed the best ingredients and how to substitute them. I shared tips for quality, common mistakes, and ways to enhance flavor. You now have ideas for variations and how to store your bars.
Remember, making treats like these should be fun! Enjoy the process and get creative with your toppings. Happy baking!
